
Photoshop Blending Modes Descriptions -Part2-
2020年8月27日
Continuing with the first part, I’ll explain the other 13 Blending Modes.
[clink url=”https://soft-no-sosa.com/?p=9690&lang=en&preview=true”]
Let’s go over the last time
We can roughly categorize the Blending Modes into 3 types.
Darken Blending Modes
- Darken
- Multiply
- Color Burn
- Linear Burn
- Darker Color
Lighten Blending Modes
- Lighten
- Screen
- Color Dodge
- Linear Dodge (Add)
- Lighter Color
Contrast Blending Modes
- Overlay
- Soft Light
- Hard Light
- Vivid Light
- Linear Light
- Pin Light
- Hard Mix
There are 10 other different modes, and this article will explain 8 of them as well (For the other 2 types, check the previous post).
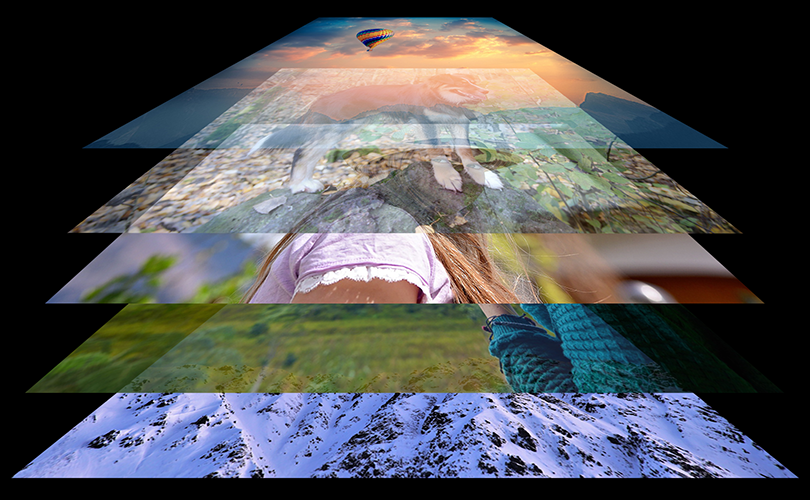
I’ll use these two layers this time.
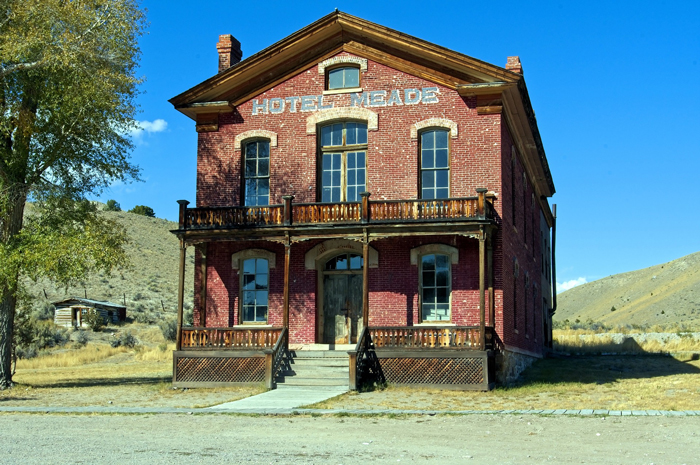
Layer 1 [Base color]
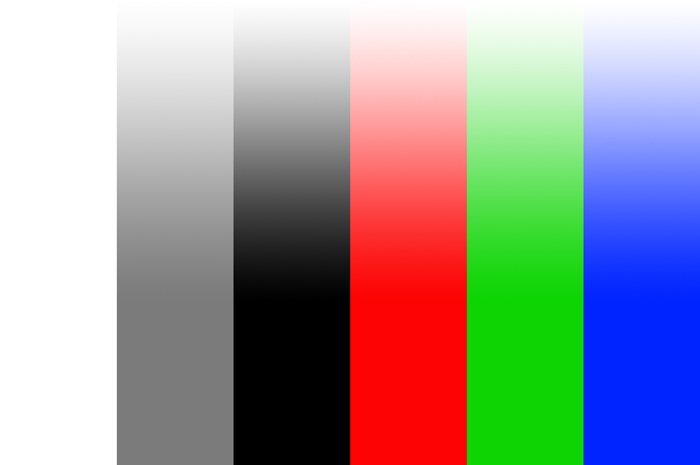
Layer 2 [Blend color](The upper is translucent.)
Work with putting layer 2[Blend color] on top of layer 1[Base color].
The state in which the two layers are stacked is called [Result color].
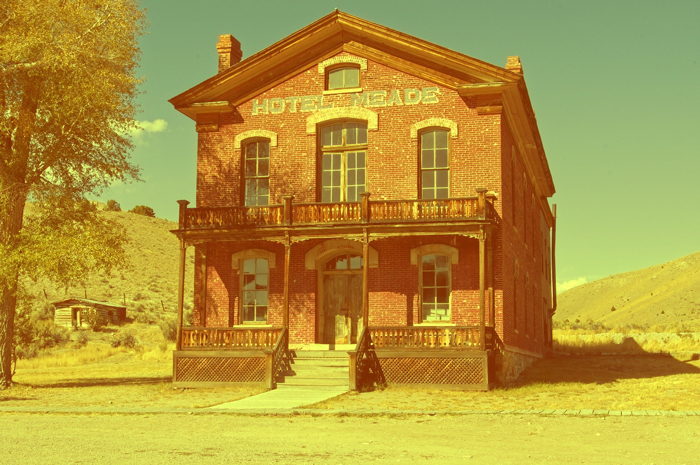
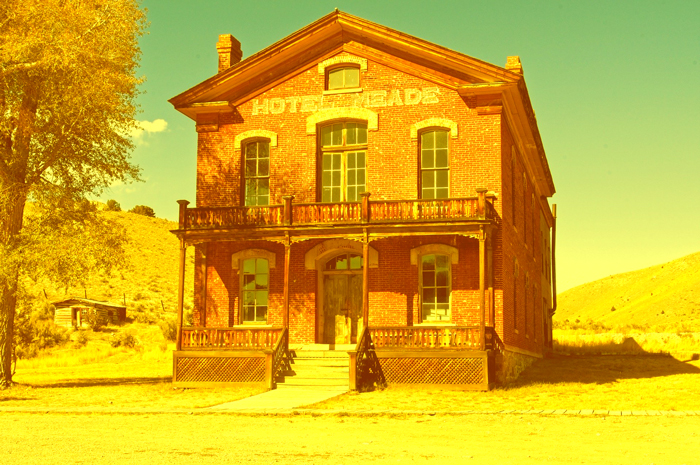
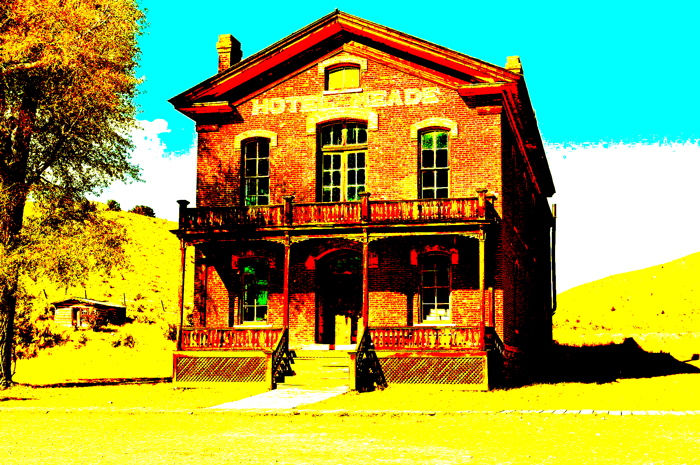
15. Hard Light [Contrast Blending Modes]
Hard Light has a stronger contrast than the Overlay.
Black and white are reflected as they are, which is like a strong lighting effect.

Example of combining image with a layer of [RGB:190 150 60].
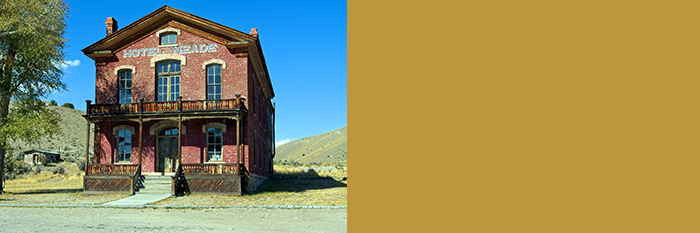
Result
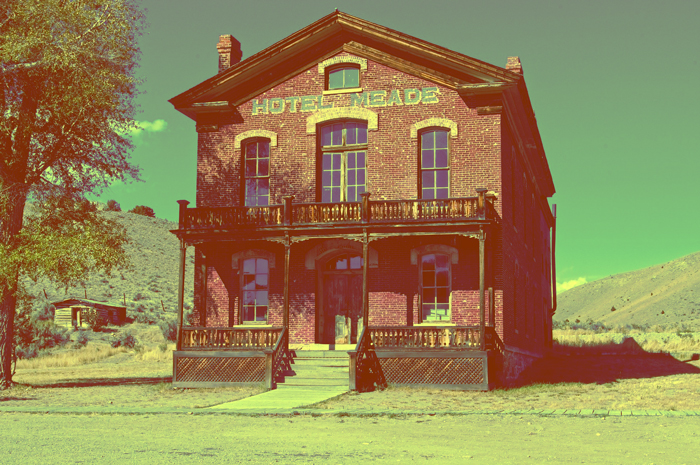
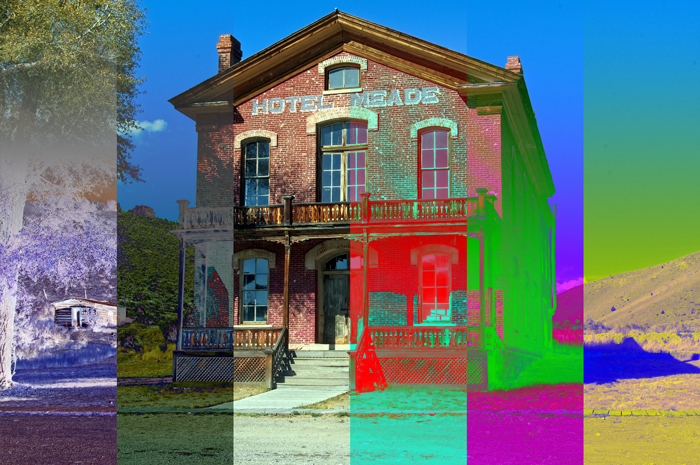
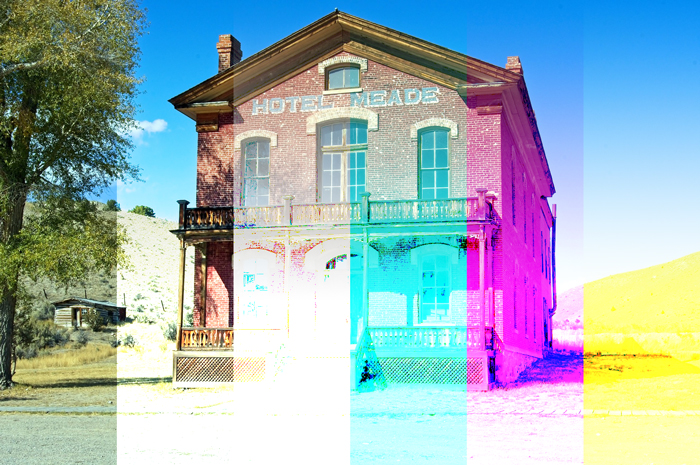
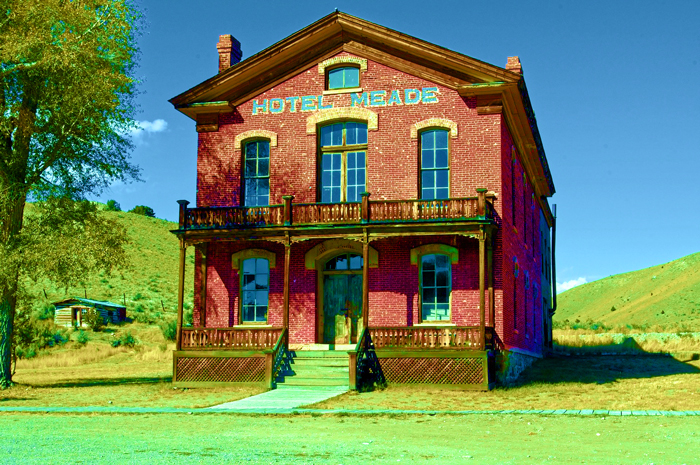
16. Vivid Light [Contrast Blending Modes]
It increases or decreases the contrast, depending on the blend color, and burns or dodges the color.
If the blend color (light source) is lighter than 50% gray, the contrast is reduced to lighten the image.
If the blend color is darker than 50% gray, the contrast is increased to darken the image.
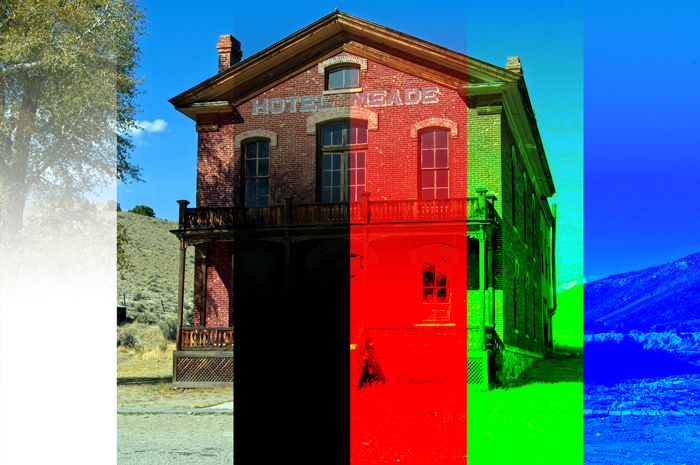
Example of combining image with a layer of [RGB:190 150 60].
Result
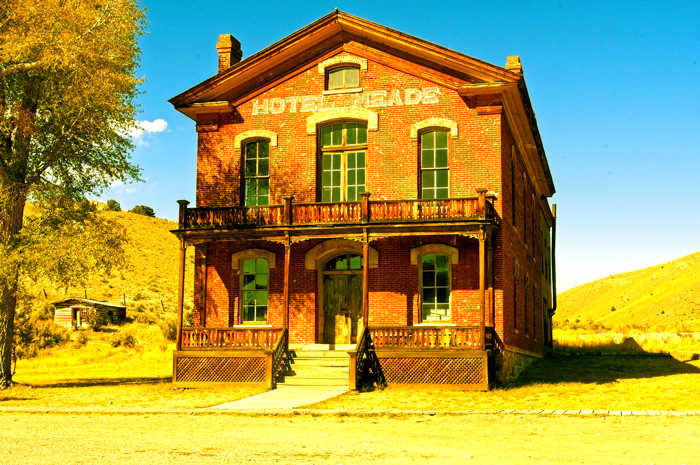
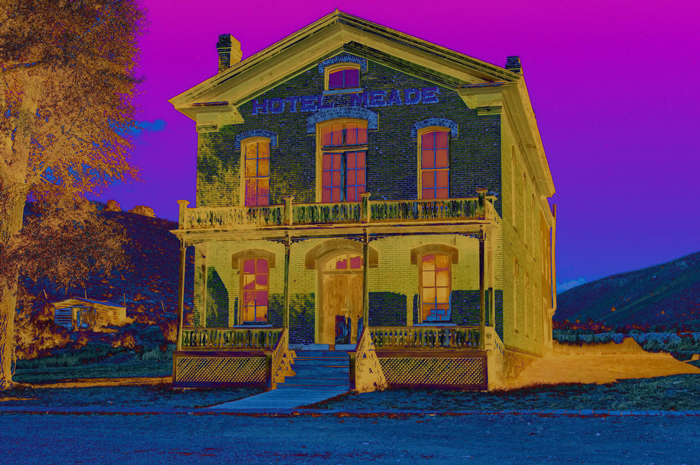
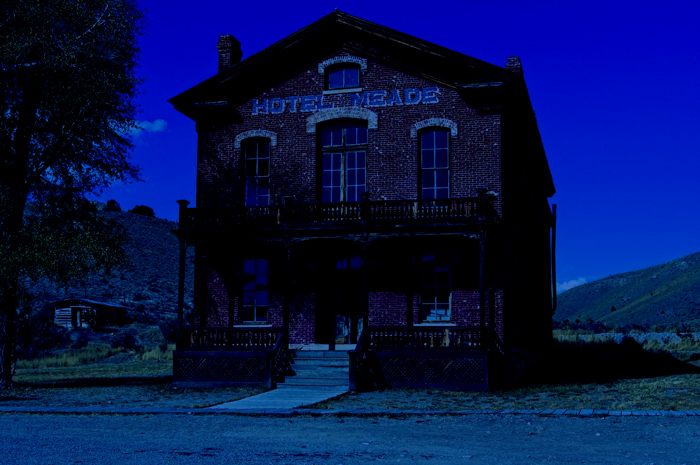
17. Linear Light [Contrast Blending Modes]
It decreases or increases the brightness depending on the blend color, and burns or dodges the color.
If the blend color (light source) is lighter than 50% gray, the brightness is increased to lighten the image.
If the blend color is darker than 50% gray, the brightness is reduced to darken the image.
Example of combining image with a layer of [RGB:190 150 60].
Result
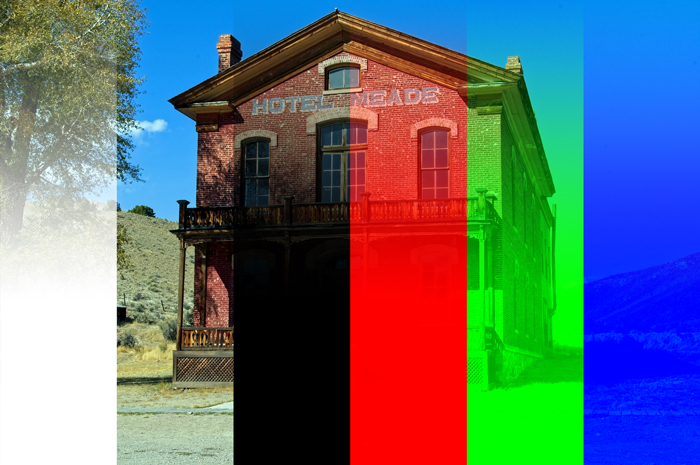
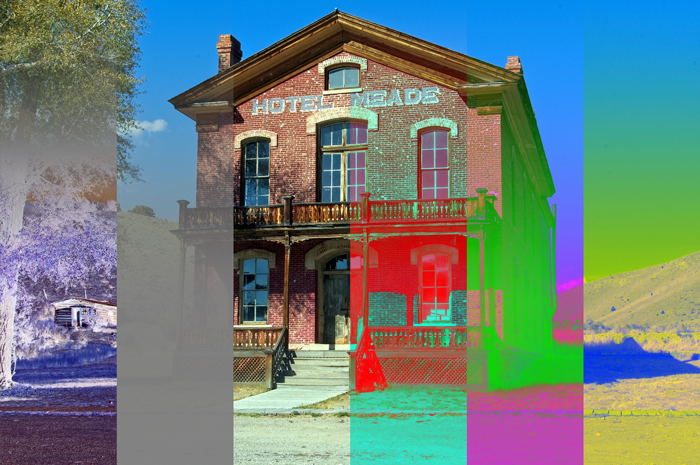
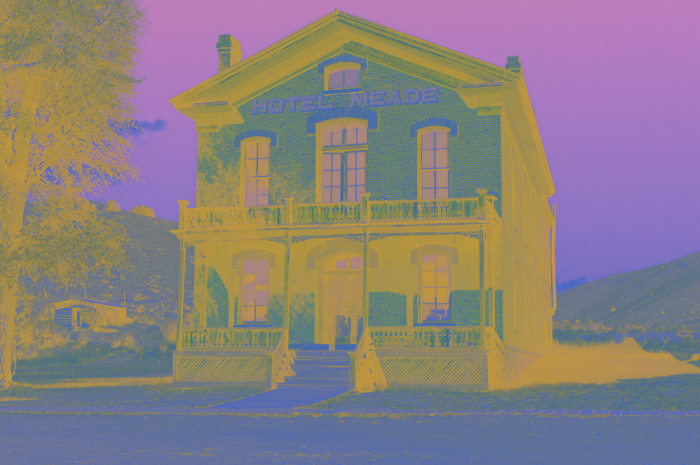
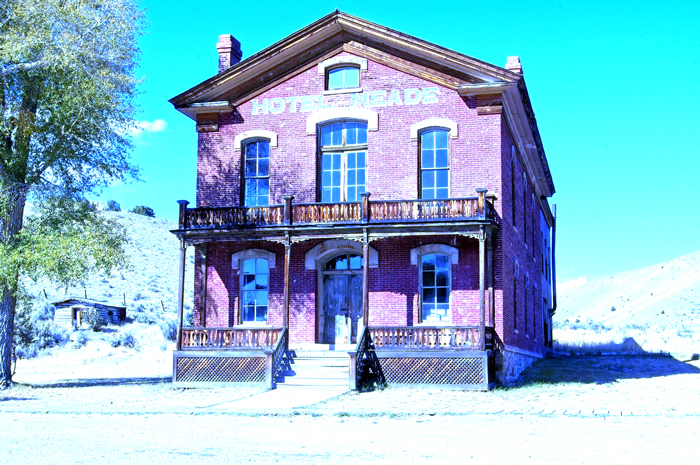
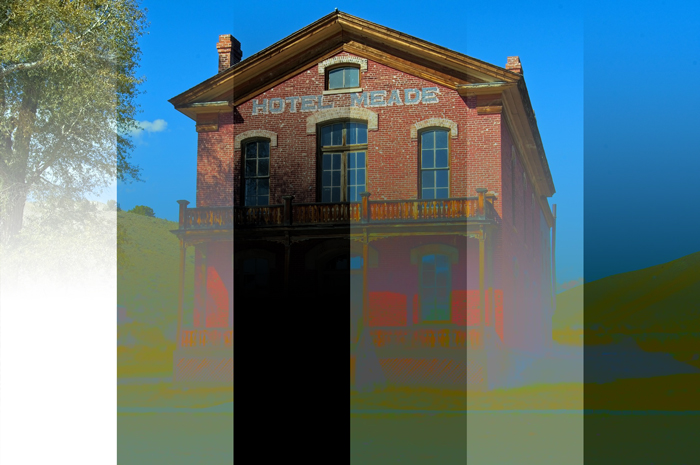
18. Pin Light [Contrast Blending Modes]
The color will be replaced according to the blend color. If the blend color (light source) is lighter than 50% gray, pixels darker than the blend color will be replaced, and pixels lighter than the blend color will not be changed.
If the blend color is darker than 50% gray, pixels lighter than the blend color will be replaced, and pixels darker than the blend color will not be changed.
This is useful for adding special effects to images.
Example of combining image with a layer of [RGB:190 150 60].
Result
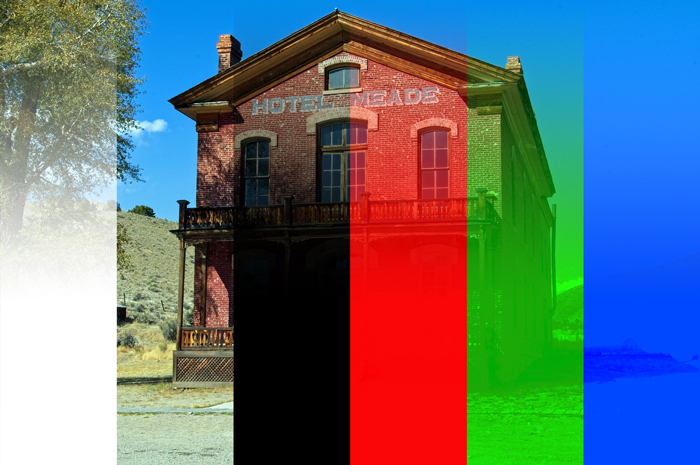
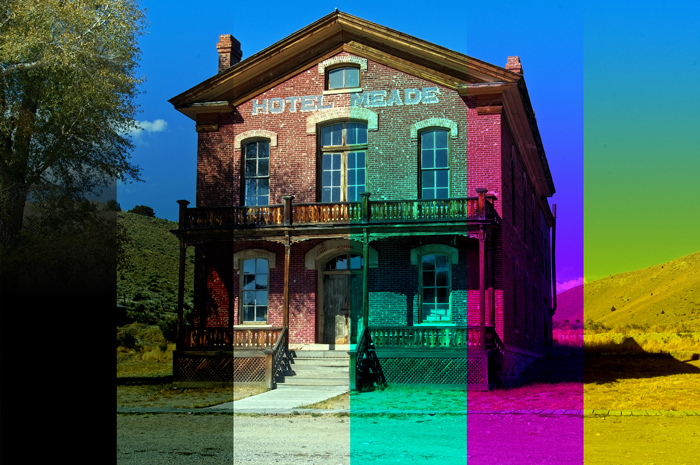
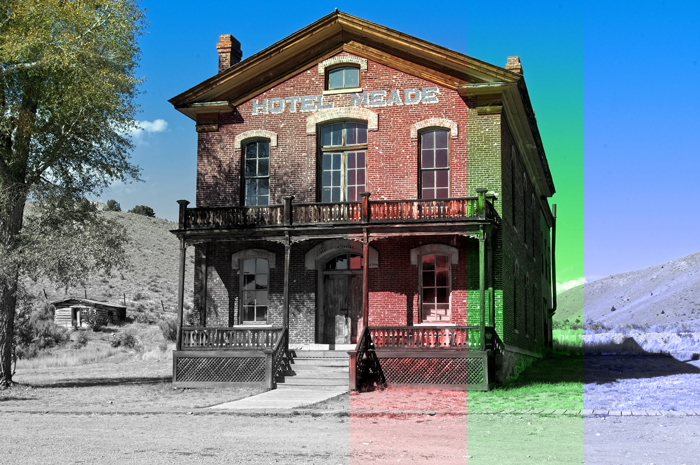
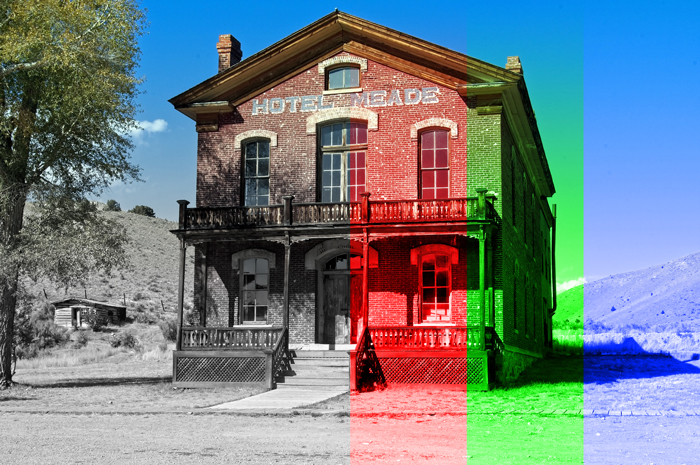
19. Hard Mix [Contrast Blending Modes]
Adds the Red, Green and Blue channel values of the blend color to the RGB values of the base color.
A channel with a total of 255 or more receives a value of 255; a channel with a total less than 255 receives a value of 0.
All blended pixels have RGB value of either 0 or 255.
This turns all pixels into additive primary colors (red, green or blue), white, or black.
Example of combining image with a layer of [RGB:190 150 60].
Result
20. Difference [Others]
Removes the blend color from the base color or removes the base color from the blend color, based on the color information in each channel.
Removes the color with lower brightness value from the one with higher value.
Blending with white inverts the base color, but blending with black does not change the color.
Example of combining image with a layer of [RGB:190 150 60].
Result
21. Exclusion [Others]
This is similar to the Difference, but the contrast of the effect will be lower.
When combined with white, the base color value is inverted, but there is no change when combined with black.
Example of combining image with a layer of [RGB:190 150 60].
Result
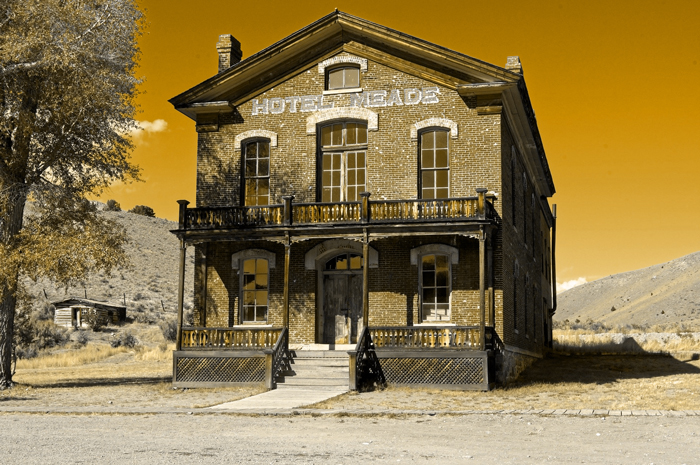
22. Subtract [Others]
Subtracts the blend color from the base color based on the color information in each channel.
In 8-bit and 16-bit images, the resulting negative value is clipped to zero.
Example of combining image with a layer of [RGB:190 150 60].
Result
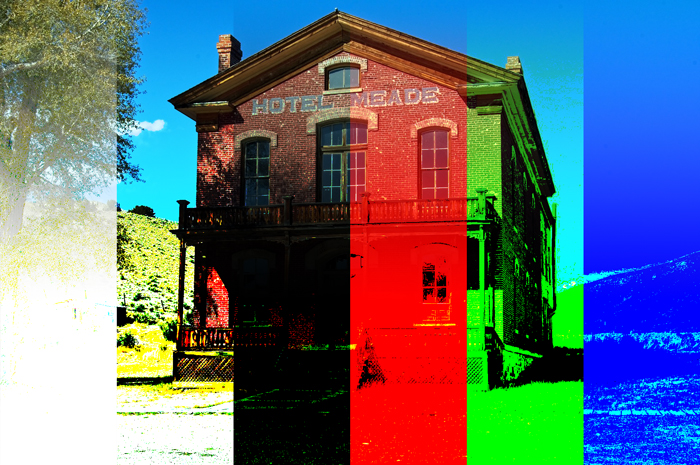
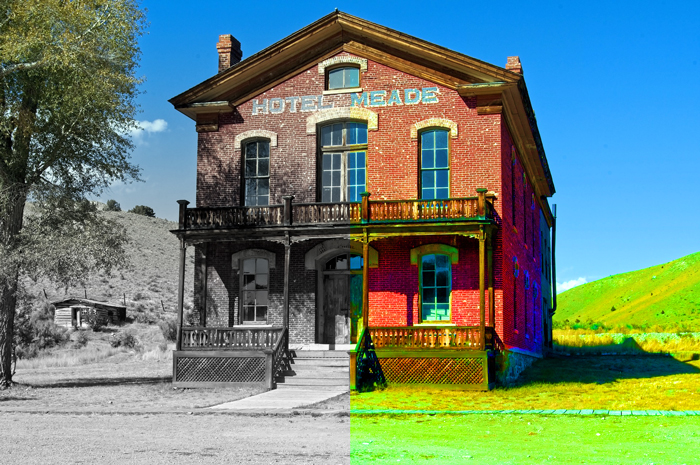
23. Divide [Others]
Separates the base color from the blend color based on the color information in each channel.
Example of combining image with a layer of [RGB:190 150 60].
Result
24. Hue [Others]
A result color is created that has the luminance and saturation of the base color and the hue of the blend color.
Example of combining image with a layer of [RGB:190 150 60].
Result
25. Saturation [Others]
Creates the result color using the luminance and hue of the base color and the saturation of the blend color.
If you paint an area with zero saturation (gray) in this mode, nothing is changed.
Example of combining image with a layer of [RGB:190 150 60].
Result
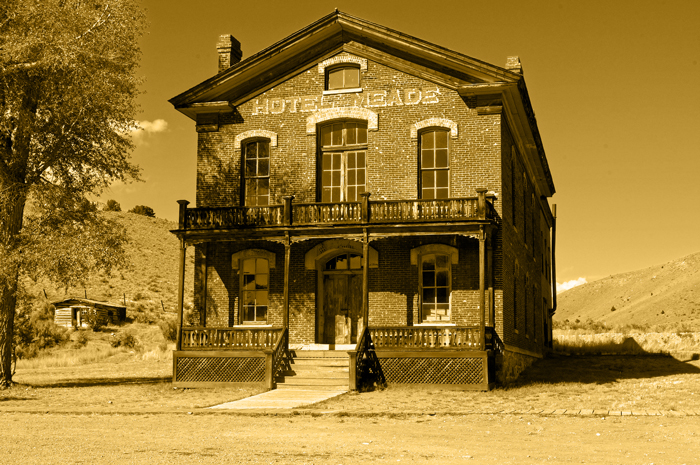
26. Color [Others]
Creates the result color using the luminance of the base color and the hue and saturation of the blend color.
This preserves the gray levels in the image and is useful for colorizing monochrome images and tinting color images.
Example of combining image with a layer of [RGB:190 150 60].
Result
27. Luminosity [Others]
Creates the result color using the hue and saturation of the base color and the luminance of the blend color. In this mode, the inverse effect of Color mode is created.
Example of combining image with a layer of [RGB:190 150 60].
Result
(Source: Adobe/Blending modes https://helpx.adobe.com/photoshop/using/blending-modes.html)
How was it?
There are 27 different Blending modes, so you can use them in a variety of situations!
Some of them are quite similar, but you can try them out and use them well.
関連記事
-
 How to Create Lighting Effects in Photoshop
 -
Add Hair and Improve Photo Quality
-
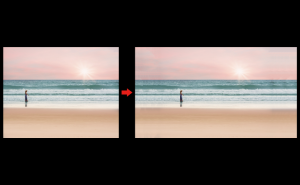
How to Extend Background with Content-Aware Crop
-
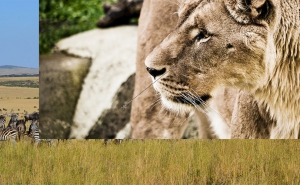
How to Combine Two Images Naturally
-
How to Edit Photos with Vanishing Point
-
Correct an Image Distortion with the Adaptive Wide Angle Filter
-
Adding Outlines to Images
-
How to Fix Distortion of Image