
How to create an animated GIF in Photoshop
2020年6月22日
An animated GIF, used on websites and personal work pages, are simple yet deep expressions that keep people engaged.
It’s possible to create some pretty interesting expressions depending on how you make them.
In this article, I’ll show you how to create an animated GIF in Photoshop.
What’s a GIF?
To begin with, What is a GIF?
A GIF is one of the file formats for storing images.
While there are many file formats, the outstanding characteristics of GIFs are their lightness of data size and ease of use. There is a strong demand on the web because the number of colors that can be used is 256, and although there is no sound and no high quality audio, it is easy to display without tapping, and it can be displayed quickly on a smartphone.
How is it made?
The structure of a GIF animation is quite simple.
If you ask me, it would be similar to flip-book.
The difference between GIF and the flip-book is that the looped image is continuously displayed as a video.
Sounds interesting, does’t it?
Let’s try it!
Creating an animated GIF in Photoshop
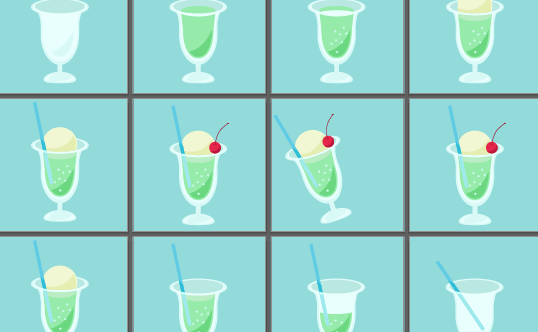
First, prepare the images for the animation.
You can use a photo, but I’d like to use an illustration created in Illustrator.
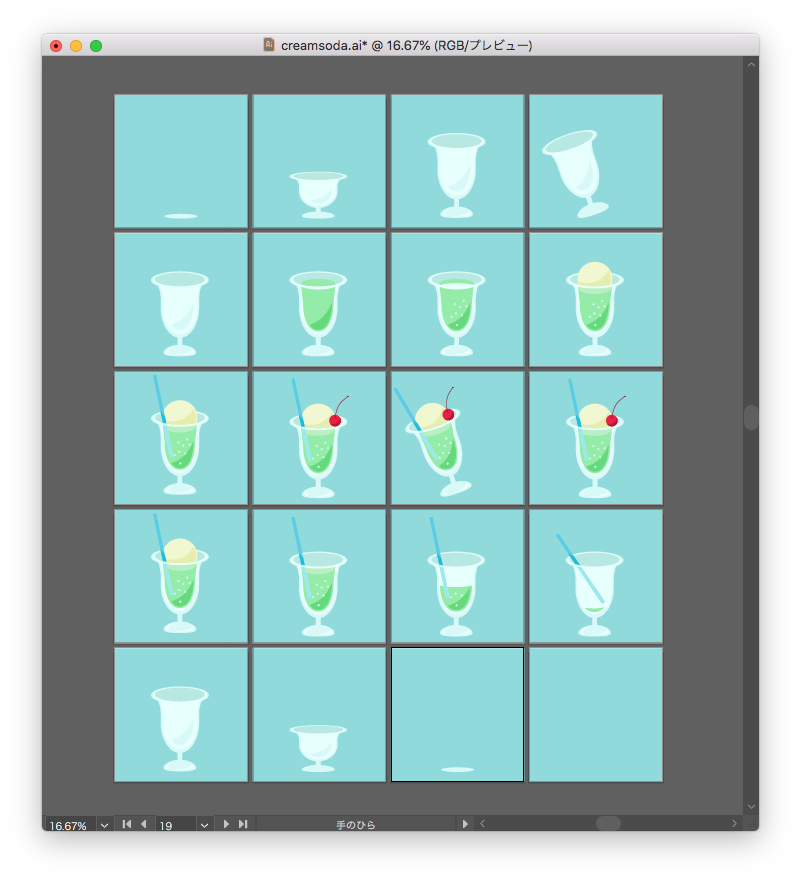
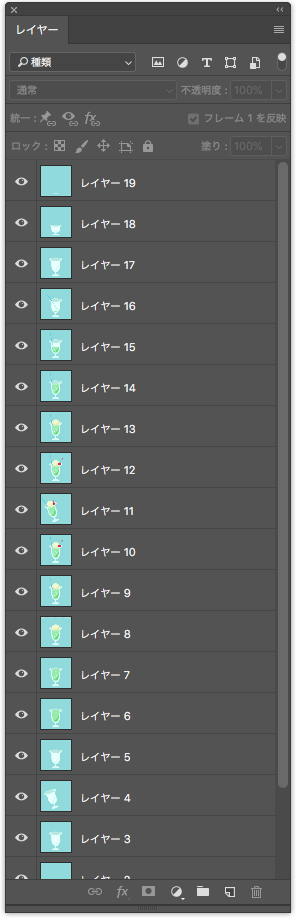
1. Create a document of the same size as your animation in Photoshop CC.
Open the layers panel of the created document, create the same number of layers as the image,and import the image into each layer.
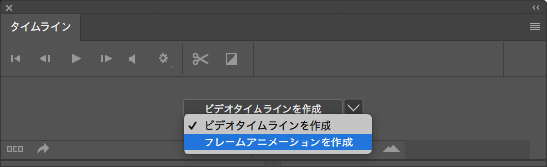
2. Select [Window] > [Timeline] and display the Timeline panel.
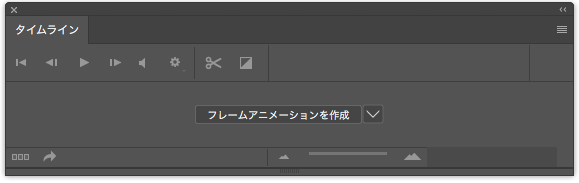
3. Select [Create Frame Animation] from the Timeline panel.
Select the first layer of the animation (make sure the layer is not in the background at this time) and click [Create Frame Animation].
4. The first layer has been selected for the timeline frame.
Before selecting the second layer, click the [Duplicate Selected Frames] in the lower right corner of the Timeline panel to prepare the next frame.
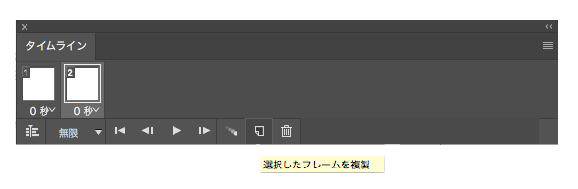
5. Click the second layer with the next frame selected.
Repeat this process, putting all the images to the frame in the order you want them to be displayed.
In the Timeline panel, set the time to be displayed for each frame.

Now, are you ready?
Click the play button in the Timeline panel to see the result!

You can save the frame animation as a GIF by choosing [File] > [Export] > [Save for a Web]
We were able to create an animated GIF easily.
Check out how it works on the PC screen or on your smartphone!
You can also use it to edit your favorite photos or create banners for websites.
That’s the end of my explanation of “How to create an animated GIF in Photoshop”. Thank you.
関連記事
-
 How To Create Realistic Shadows in Photoshop
 -
Make It Snow With Photoshop Brushes
-
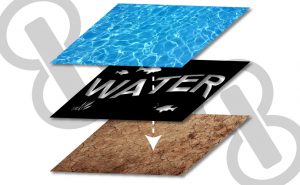
How to place an image in text with Masks in Photoshop
-
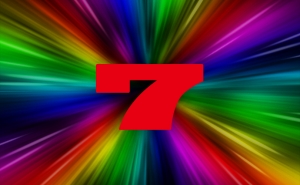
How to Create a Rainbow Gradient Starburst
-
Photoshop Lighting Effects
-
Photoshop Blending Modes Descriptions -Part1-
-
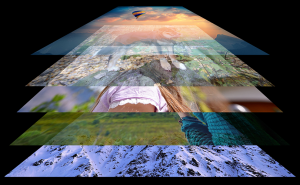
How to Combine Two Images Naturally
-
How to Create Lightning in Photoshop