How To Record Your Screen in QuickTime Player
2020年8月4日
There is an app “QuickTime Player” installed on your Mac from the beginning.
I think many people use this to play videos.
However, there is another good use.
You can “record your screen”.
It is easy to use and you can choose the recording area. Today, I introduce how to use it!
TOC
How to use
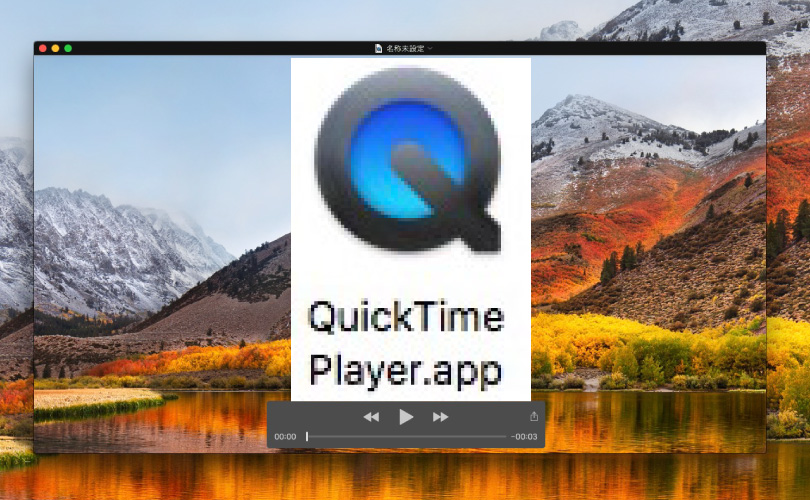
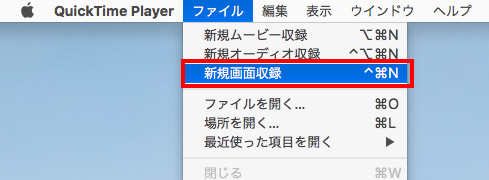
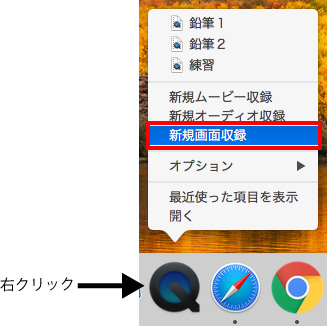
1. Start “QuickTime Player”.
・Select [New Screen Recording] from [File] on the menu bar.
・Or, right click the application’s icon and select [New Screen Recording].
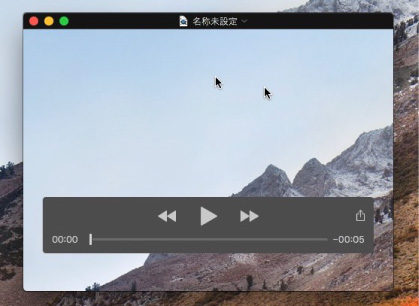
2. The screen below will appear.
Press the recording button in the middle to start recording.
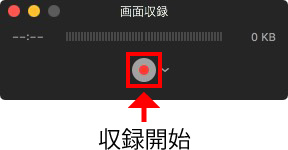
Pressing the arrow next to the button, you can change the recording settings of Microphone or Options.
By choosing “Show Mouse Clicks in Recording” in Options, a black circle will be shown around your pointer when you click.
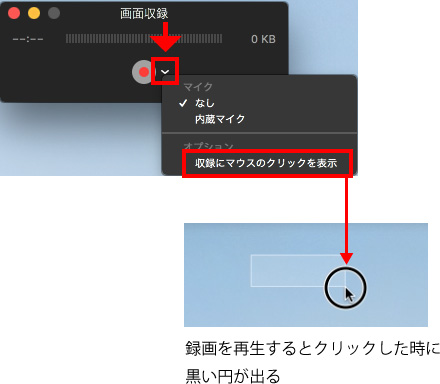
3. Press the record button and the screen below will appear.
Decide the recording area here.
You can choose “entire screen” or “selected area by dragging“.

・Entire screen
Click anywhere on the screen to begin recording the entire screen.
・Selected area by dragging
Drag to select an area to record, then click “Start Recording” within that area.
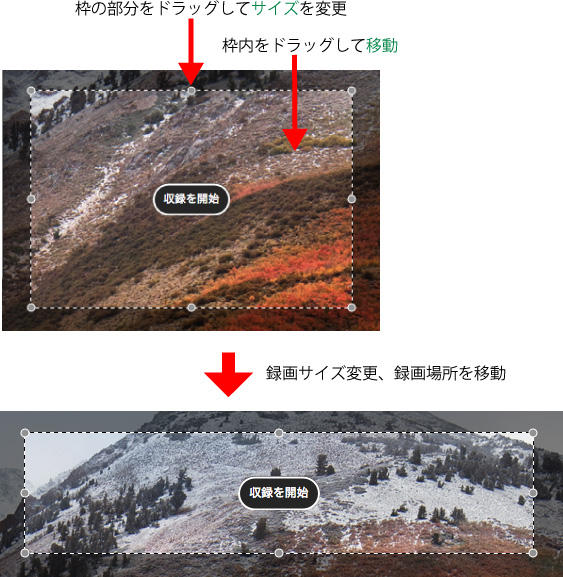
You can resize or move the area.
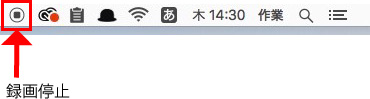
To stop recording, click the Stop button ![]() in the menu bar.
in the menu bar.
Post the videos on YouTube or something else!
When you press the Stop button, the video will be displayed in [QuickTime Player].
After that, you can play it, edit it, or delete it if you don’t like it.
Let’s record your screen!
It’s very easy to record, so why don’t you post it on a video sharing site such as “YouTube”?