How to Create Screen Printing Effect in Illustrator
2020年8月21日
Have you ever heard of “Silk Screen Printing”?
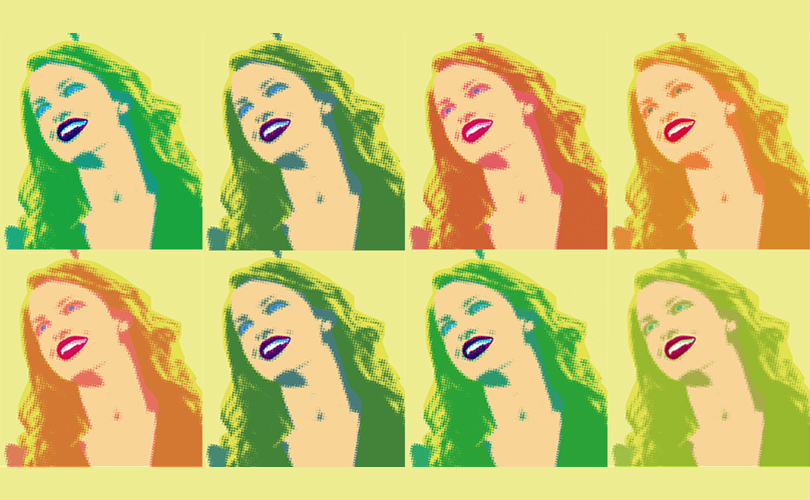
Even if you don’t know about this, you must know the artist “Andy Warhol”.
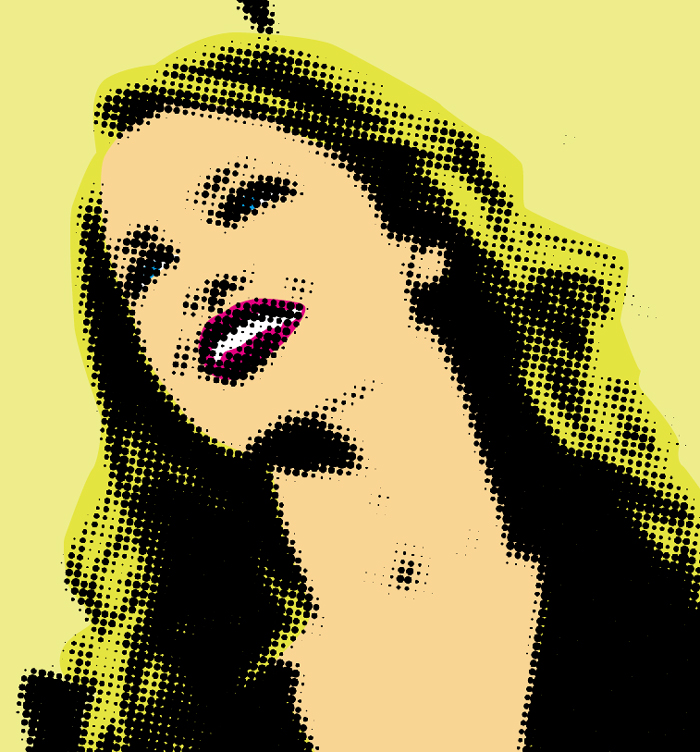
The technique used in his works is called “Silk Screen Printing”.
Just like this.
In this article, I will explain how to add a silk screen printing effect to your images and illustrations.
Introduction
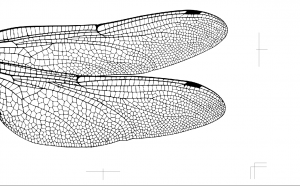
First of all, here is a simple illustration about silk screen printing.
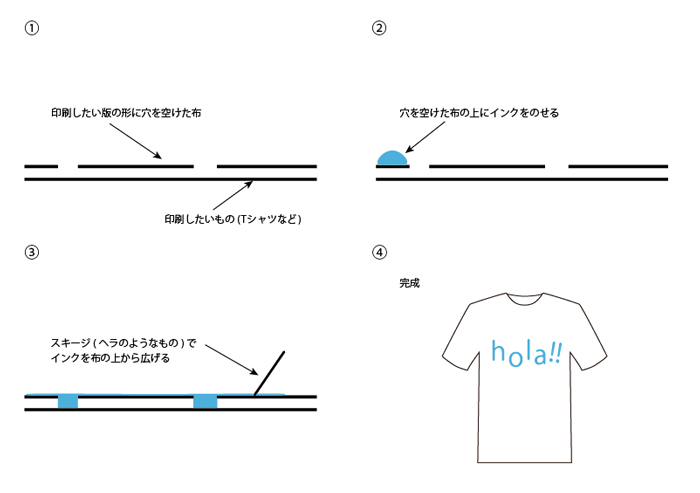
To summarize it simply, Screen printing works by placing a sheet with some holes on top of another sheet and spreading ink on the top, and then it is printed on the underneath sheet.
1. Embed Image in Illustrator
In this case, I’m using this woman’s image.
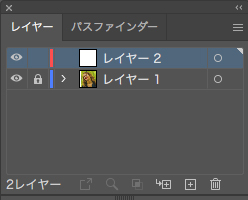
*Layer “Woman”

Lock the layer “Woman” and create a “New Layer” on top of it.
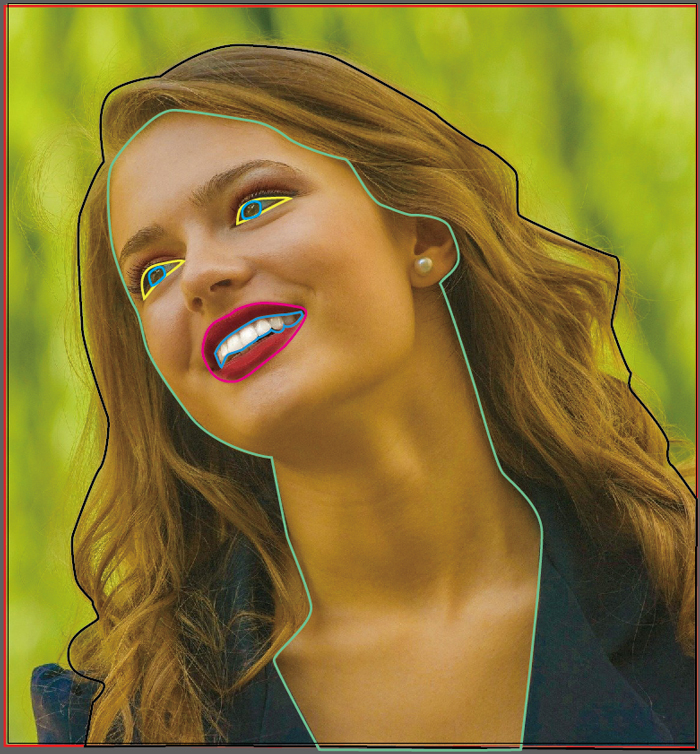
2. Trace the face and body parts with the Pen Tool
Select a new layer and trace the face and body parts roughly. In this case, I traced face, eyes, lips, teeth, hair, and background.
*Layer “Trace”
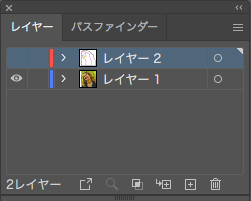
After tracing, unlock layer “Woman” and hide “Trace”.
3. Convert to black and white
With “Woman” selected, choose [Effect] > [Sketch] > [Torn Edges].
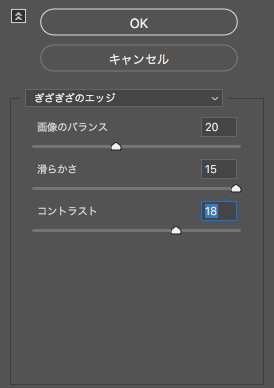
In this case, I set [Image Balance: 20], [Smoothness: 15] and [Contrast: 18] in the dialog box.
As a result, you can see that the image is in black and white tones.
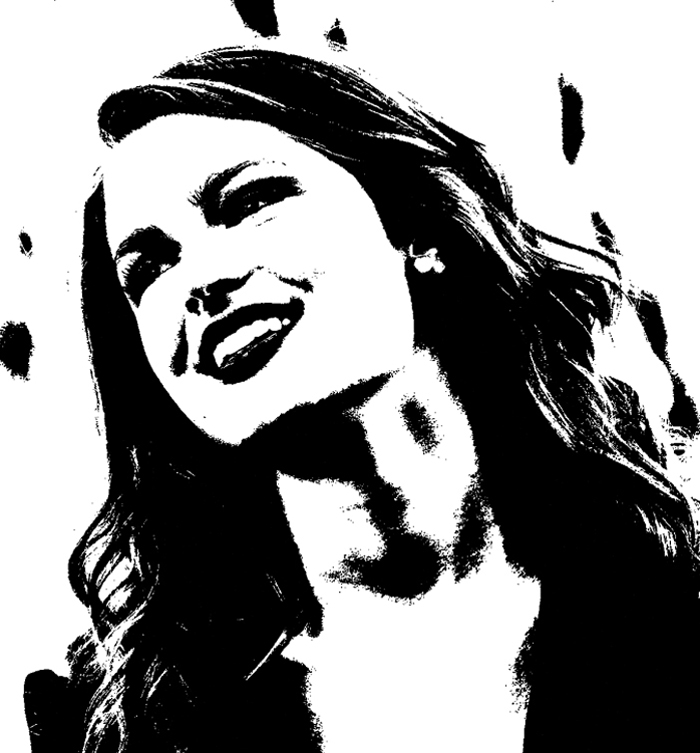
Adjust the value of [Torn Edges] to match your image.
4. Apply the “Color Halftone”
Next, apply [Color Halftone].
With “Woman” selected, choose [Effect] > [Pixelate] > [Color Halftone].
In this case, I set [Max Radius:10px][Channel 1:100][Channel 2:160][Channel 3:90][Channel 4:45] in the [Color Halftone] window.
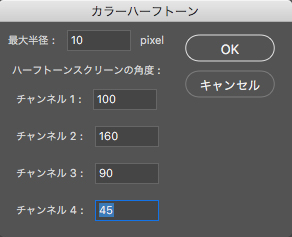
As a result, you will see Halftone dots.

You need to adjust the [Max Radius] depending on the image.
5. Convert image to Grayscale
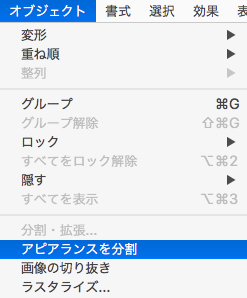
Next, with “Woman” selected, choose [Object] > [Expand Appearance].
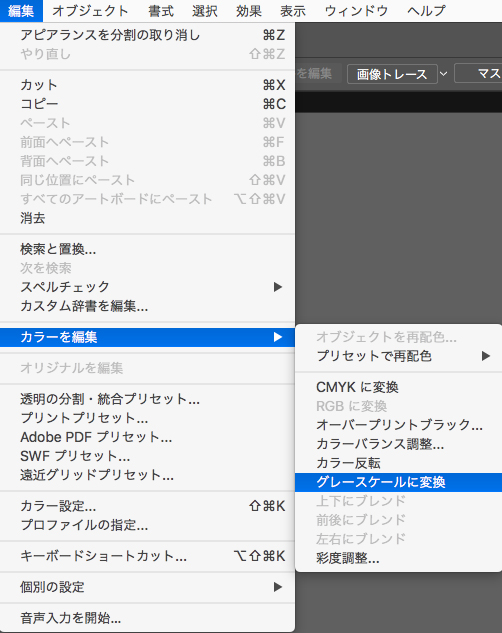
Then, go to [Edit] > [Edit Colors] > [Convert to Grayscale].
Here’s the result.

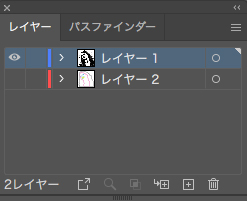
6. Change the order of layers and the Blending mode
Switch the order of the “Woman” and “Trace” layers.
Then, select the image and set the Blending mode to [Multiply] in the [Transparency Panel].

7. Add [Fill] to the “Trace” layer
Set the traced area of Layer [Trace] to [Stroke: None] and add [Fill].

Hiding “Woman” makes it easier to work.
Change the fill and then show “Woman”.
We are almost there.
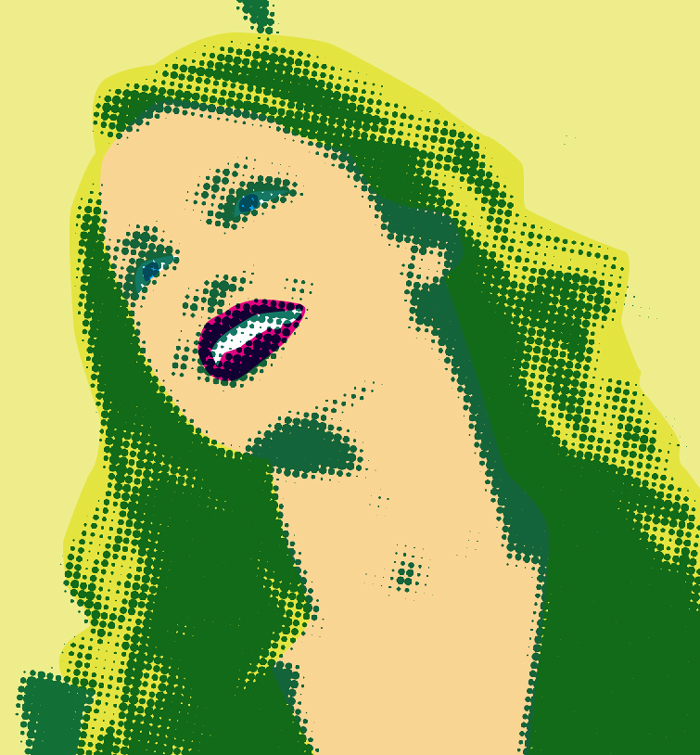
Finally, select ” Woman” and change the fill of the grayscale image to the color of your choice.
Finished!
How was it?
We were able to create an artistic effect without any complicated steps!
How about giving it a try?