How to make realistic clouds with the [Ellipse Tool]
2020年6月9日

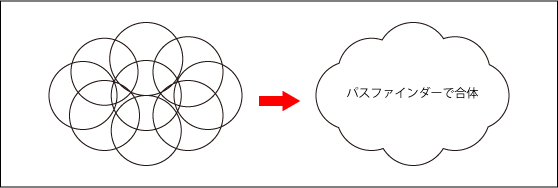
You can create cute clouds like a cartoon by overlapping the ellipses with the Ellipse Tool and merging them with Pathfinder.
But what I’m going to introduce here is how to create more realistic clouds.
It may seem difficult to draw fluffy clouds, but you can easily draw them using the Ellipse Tool. It’s easy and happens in a flash because you don’t have to use a pen tool to draw cloud shapes.
TOC
Procedure
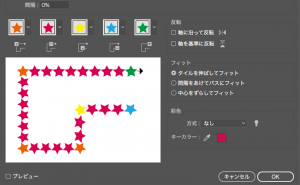
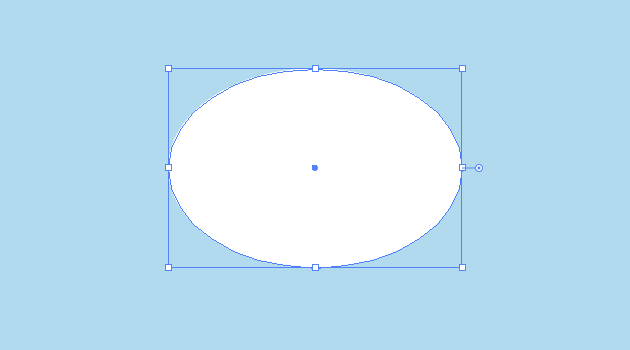
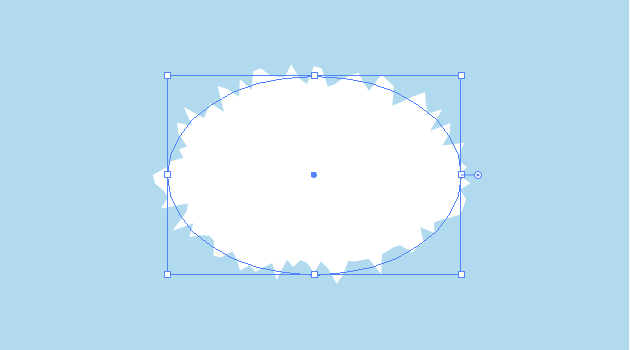
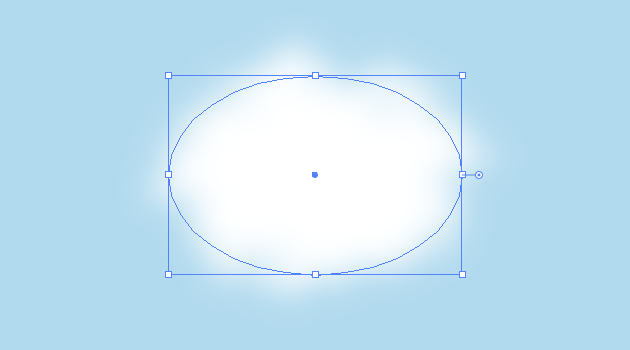
1. Draw a white circle with Ellipse Tool.
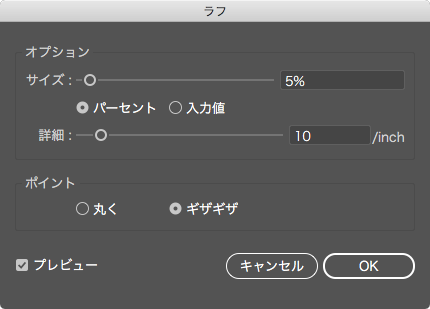
2. Choose [Effect] from Menu Commands > [Distort Transform] > [Roughen] and apply it to 5% of the size.
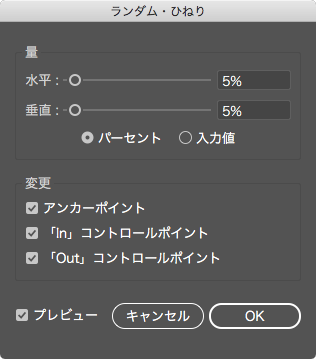
3.Apply [Effect] > [Distort Transform] > [Tweak]

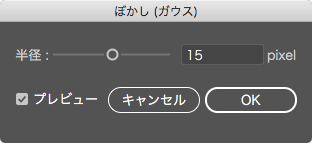
4. Furthermore, apply [Effect] > [Blur] > [Gaussian]. I recommend between 15 and 30 pixels.
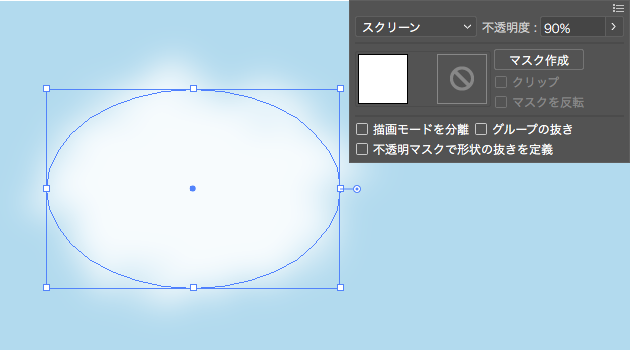
5.Finally, click on [Opacity] in the [Appearance] panel. Choose [Screen] and decrease the opacity 90% or so.
Point
Drag and drop the selected cloud object into the Graphic Styles panel, and register the graphic style.
If you draw some ellipse and apply your registered graphic style, you can make clouds more easily by same appearance.
If you draw some ellipse and apply your registered graphic style, you can make clouds more easily by same appearance.
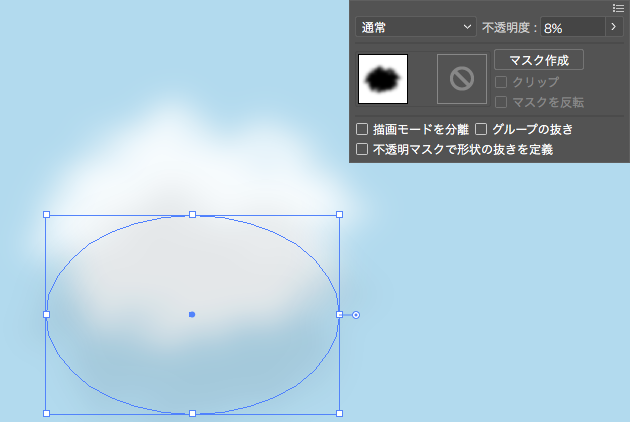
6.To add shadow, copy the clouds, change the [Fill] to black, and set the [Opacity] to 5%-10%. Place in appropriate position.
7.Duplicate the cloud you have created. It seems like realistic cloud by changing the size of the ellipse and transform it. Try changing the Gaussian value and opacity. You can make it look more sky-like by adding a gradation to the blue sky.

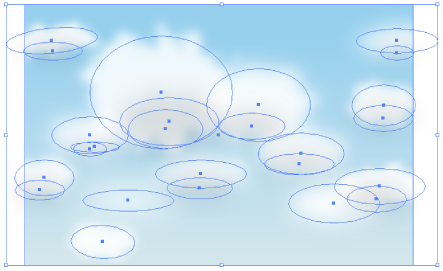 You can see that the clouds are made of only ellipses.
Once you get the hang of it, you can create realistic clouds with simple operations. Not only clouds, but also smoke and fog. So, I hope you’ll give it a try.