Use Warp Effect in Illustrator
2020年7月6日

Warp
“Warp” in Illustrator is a feature that transforms the appearance of an object.
Warp makes it easy to create shapes that would take a lot of effort to draw by hand.
Only the appearance changes, so you can remove or modify only the warp from the Appearance panel.
This is a video of me working with Warp.
Varieties of Warp
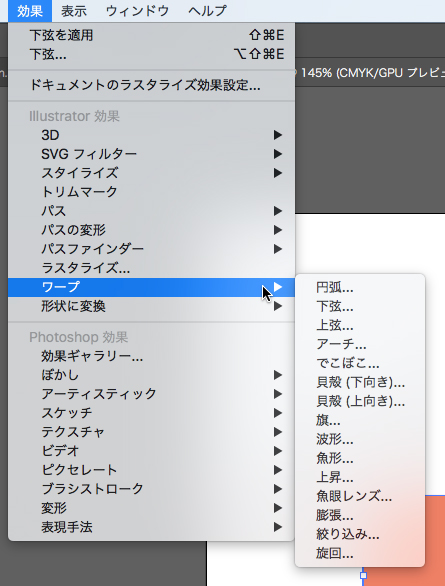
“Warp” is in the menu bar “Effect”.
There are many different kinds of Warp.
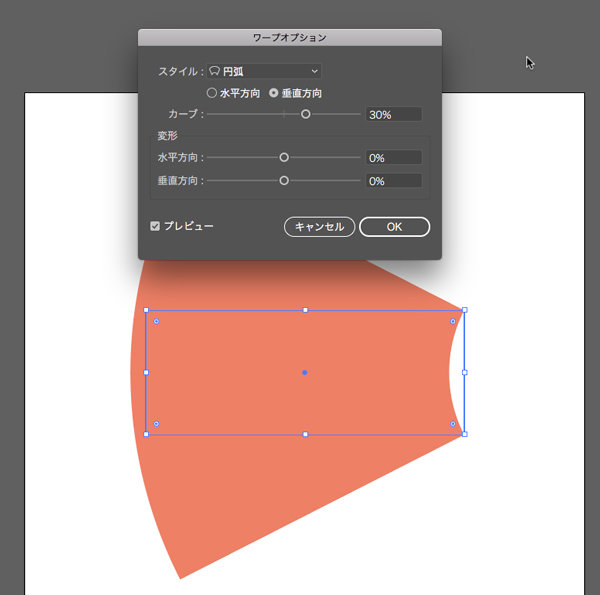
“Arc”
If you apply the “Arc” to the rectangle, it looks like this.
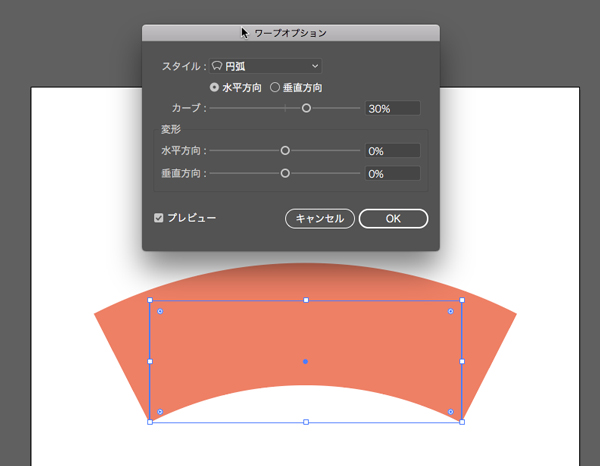
You can choose the direction from “horizontal” or “vertical”.
By changing the “Bend” or “Distortion”, you can create many different shapes.
From the shape of the path, you can see that the original rectangle is still there.
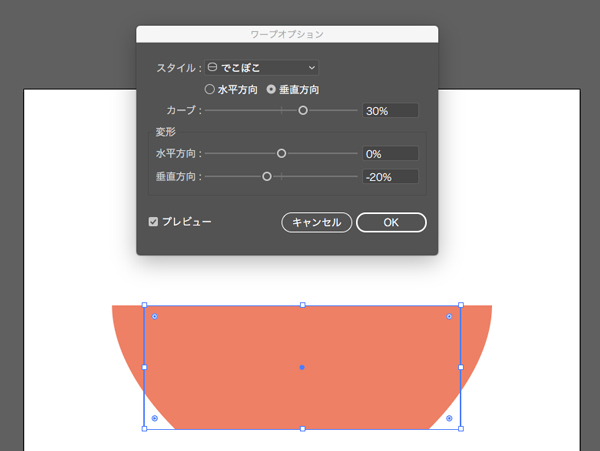
“Bulge”
I applied the “Bulge” to the same rectangle and changed the values.
It looks just right for the shape of the bowl or flowerpot.
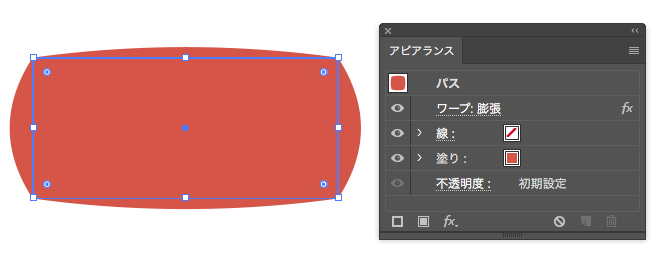
Appearance Panel
The warp you applied will look like this in the Appearance panel.
Select “Inflate” and delete it to return to the rectangle.
You can also change the warp type.
When you select “Expand Appearance”, the original rectangle is gone and the path changes to the shape of the path as it looks.
Use warp to make patterns on the sphere.
So let’s try to design with Warp.
First, start by using Warp to create a pattern on the sphere.
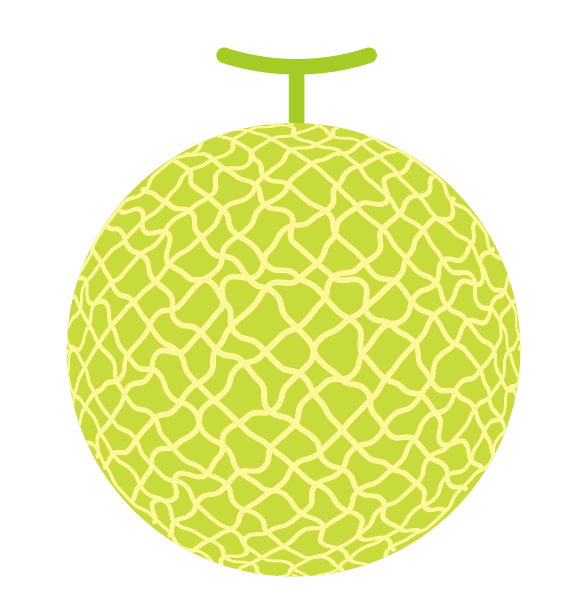
Make a pattern of melon.
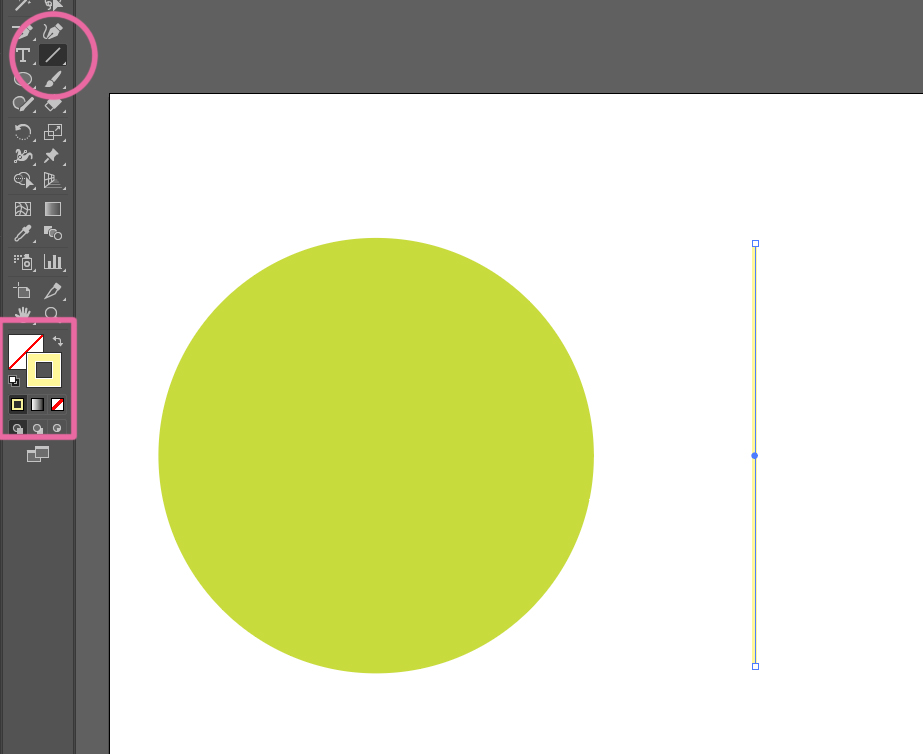
Use the Ellipse Tool to draw the base of the melon, and use the Line Segment Tool to draw strokes that will become the pattern of the melon.
The strokes are colored.
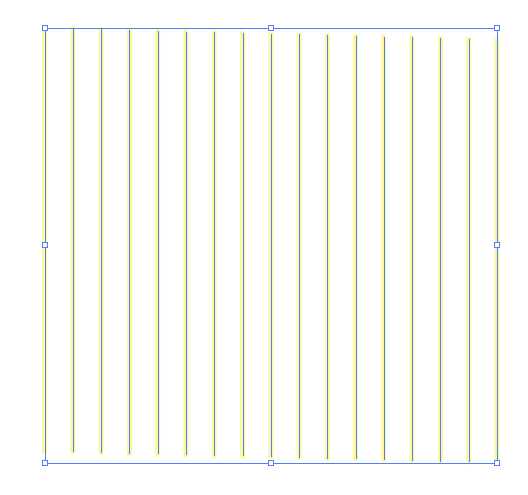
Copy the strokes you drew to the side. After that, press command (win:ctrl) + D to repeat the process.
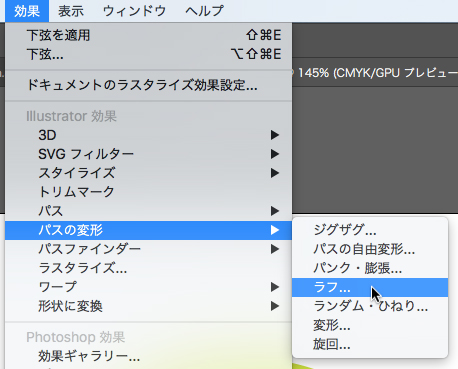
Go to [Effect] > [Distort Transform] > [Roughen] and bend the strokes randomly.

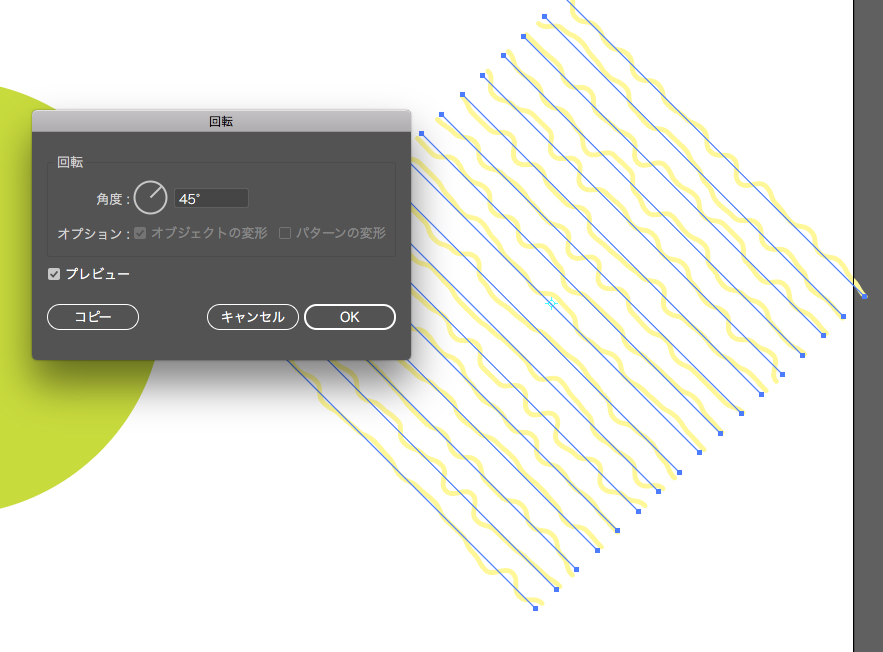
Use the Rotate tool to make the strokes diagonal.
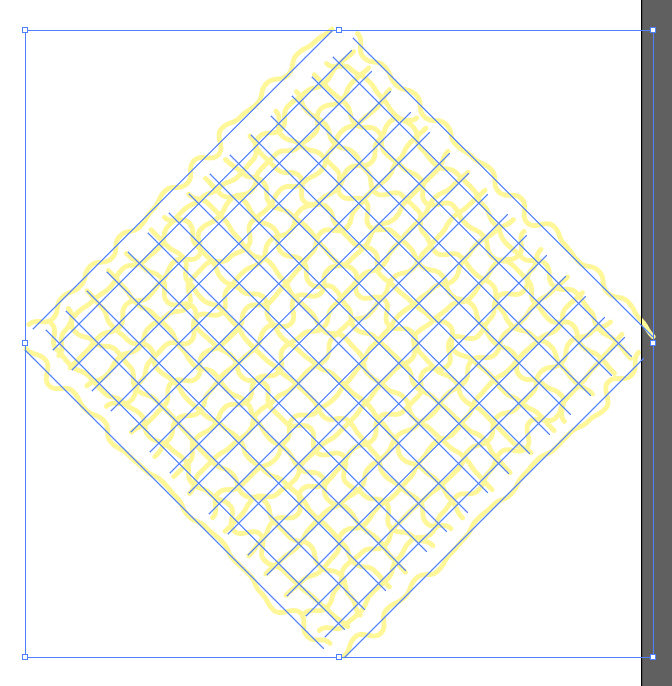
Then, using the Rotate tool as well, copy it at 90 degrees.
Select all the strokes and group them together. This is a point!
If you don’t group them together, they won’t fit the sphere.
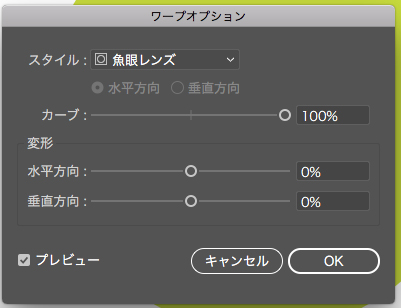
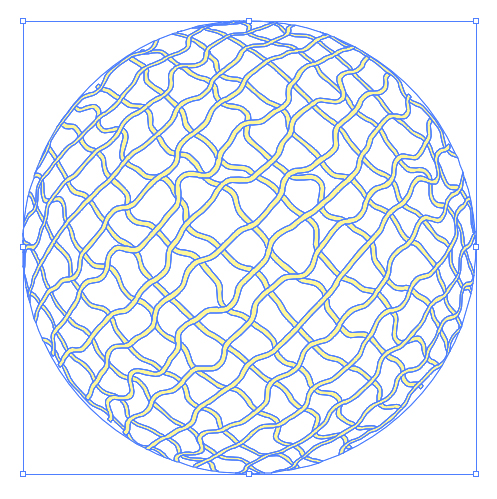
Apply the Fisheye.
The bend size is up to you.
As a result, this is what it looks like.

Materialize the pattern
Changes the strokes to a fill.
[Object] > [Path] > [Outline Strokes]
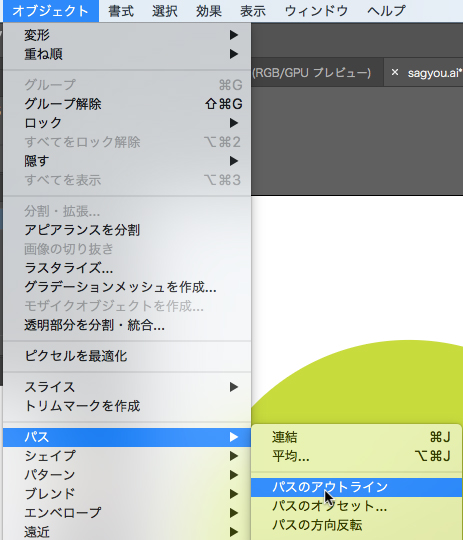
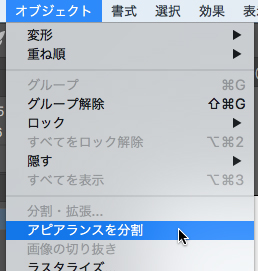
Materialize the appearance.
[Object] > [Expand Appearance]
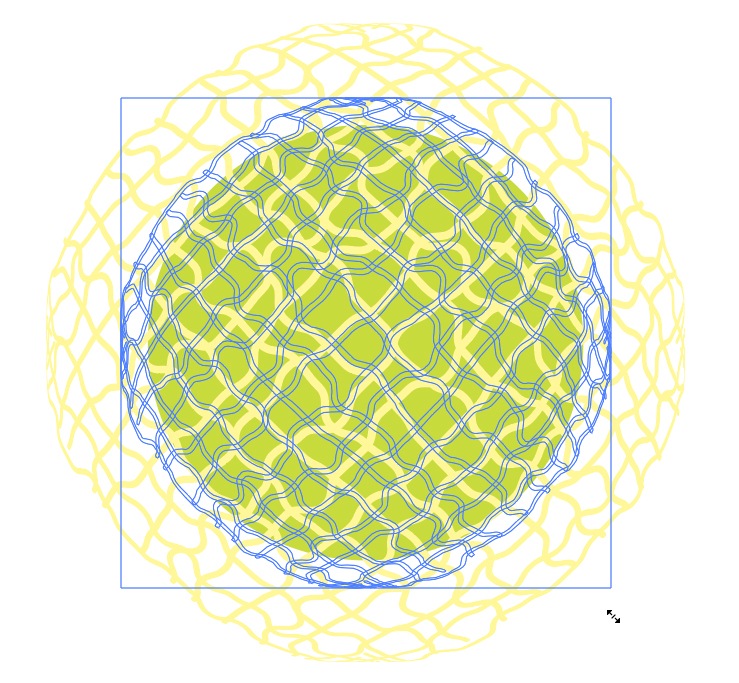
Fit the pattern to the shape of a sphere.
Shrink the pattern to fit the circular shape.
Holding down the option (win:alt) key will shrink the image toward the center, so it’s easy to adjust to the circle.
You should also press shift key so that the aspect ratio remains the same.
Adjust the area where the pattern protrudes from the circle.
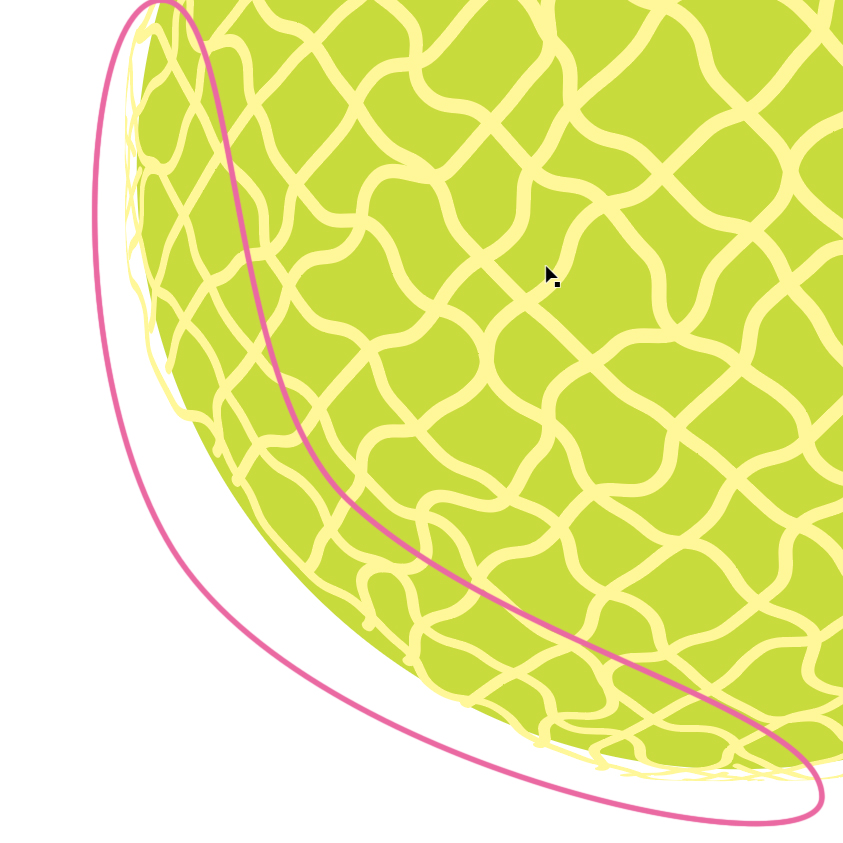
Copy the base circle and place it on the pattern.
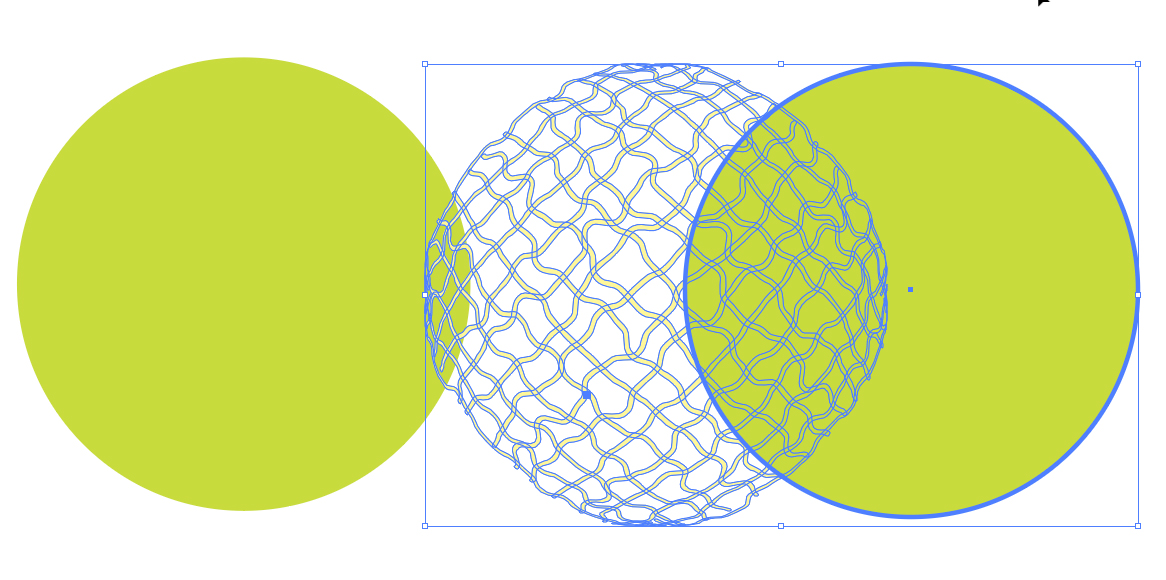
[Pathfinder Panel] > [Crop]
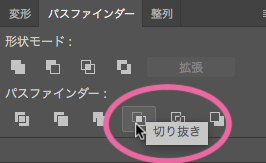
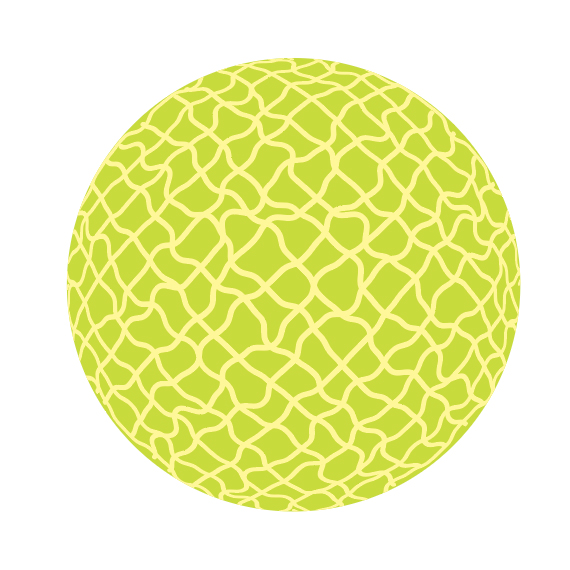
The pattern that overlaps perfectly with a circle has been cut out.
This is what it looks like when stacked with the base circle.
Create a stem end with warp.
Use the Stroke tool to draw a stem end.
Select the Round Cap.
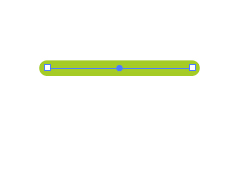
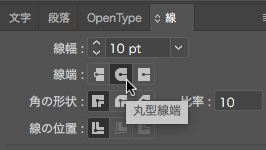
Apply the “Arc” to make it look more like a stem end.
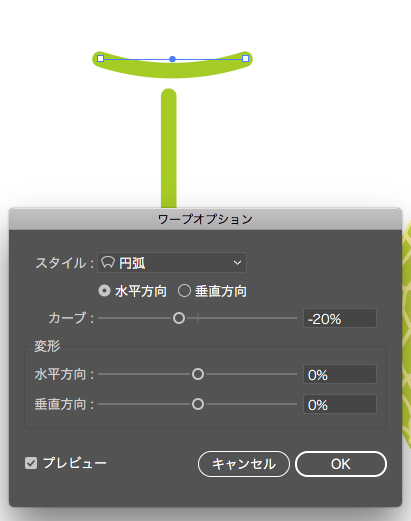
Finished!
The melon pattern, which would be so hard to draw by hand, is so easy in Illustrator!
Conclusion
What did you think of the warp “Fisheye”?
Warp allows you to draw illustrations easily without a pen and paper tab.
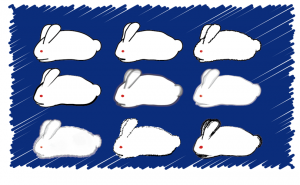
I used the Rectangle tool and Warp to draw this illustration, too.
Please try it out.
関連記事
-
 How to Give a Hand Drawn Look to Your Vectors
 -
Mastering the Align Panel in Illustrator
-
What is the “Offset Path” in Illustrator?
-
Adding Outlines to Images
-
How To Create Grunge Texture
-
How to Create Screen Printing Effect in Illustrator
-
Mastering the Compound Path – Part2 (Practices)
-
How to Make a Sunburst Vector Easily