How to Make Trim Marks (Crop Marks)
2020年7月1日
About Trim Marks
Trim marks are placed at the center or four corners of a printed piece of paper to indicate the finished size and the position of the cut.
Normally, your work is printed on a larger paper than the finished size, and it’s cut according to the corner mark.
There are two kinds of lines: inner line, which represent the finished size, and outer line, which represent the area to be filled in, and the interval between them is usually set to 3mm.
For multi-color printing, all plates are printed with register marks to prevent misalignment with the center register.
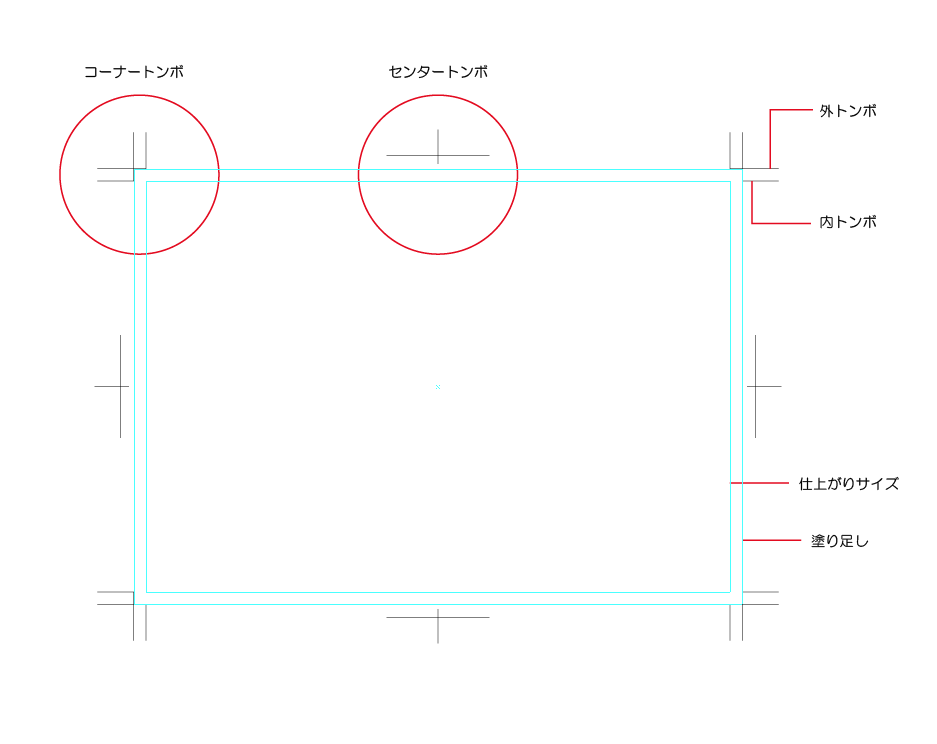
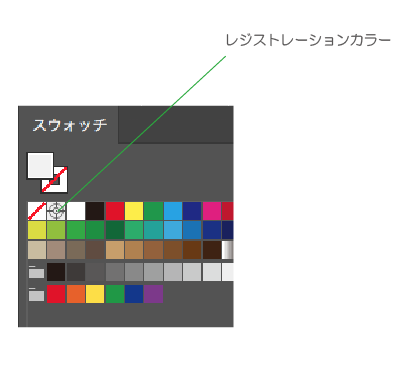
The line weight of the trim marks is usually set to 0.1 mm or 0.3 pt. And the color is set the registration color.
The registration color can be selected from the swatch panel, and it can be used to output trim marks to all plates.
Types of Trim Marks
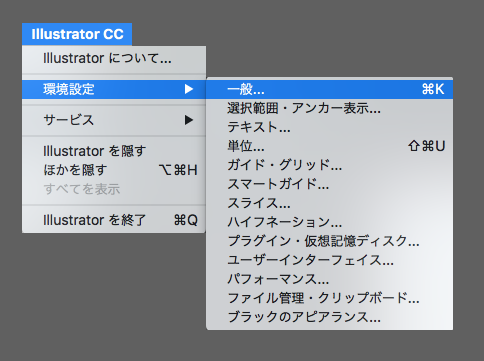
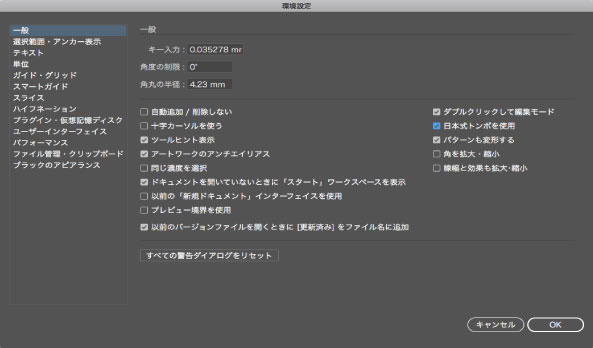
There are two types of trim marks, “Japanese style” and “Western style”. You can select them from [Preference] > [General] > [Use Japanese Crop Marks].
If “Use Japanese Crop Marks” is not selected, Western style will be selected.
These are “Japanese style” and “Western style” Trim Marks.
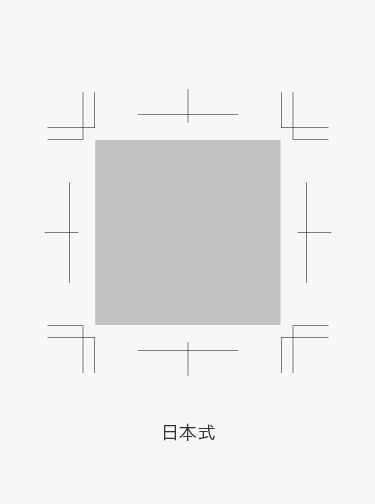

In Japan, it is common to use Japanese style Trim Marks for printing.
So now it’s time to create Trim Marks!
How to make Trim Marks (Japanese Crop Marks)
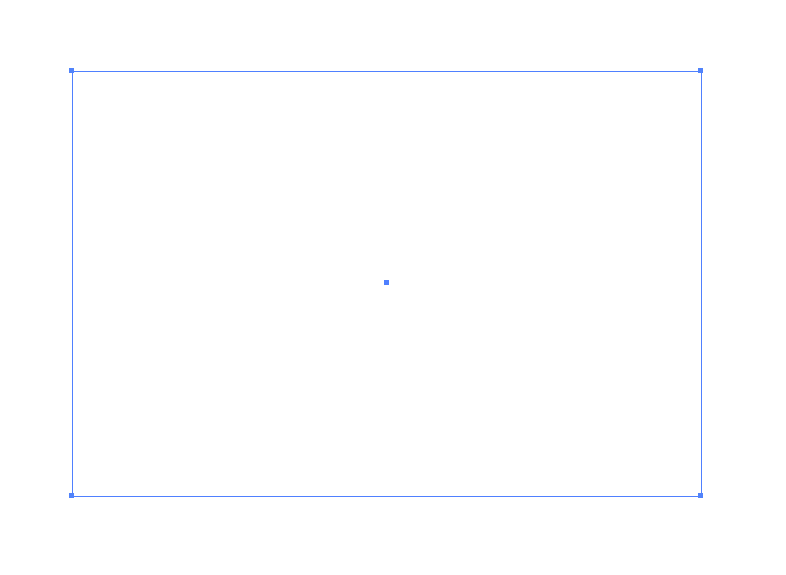
1. First, select an object of the finished size
At this time, be careful to create a trim mark for a fill-only object.
If you create a trim mark on an object with a line, the trim mark will be larger than the finished size by the amount of the line, so be sure to create it for the fill only.
2. Select [Object] > [Create Trim Marks] from the menu bar.
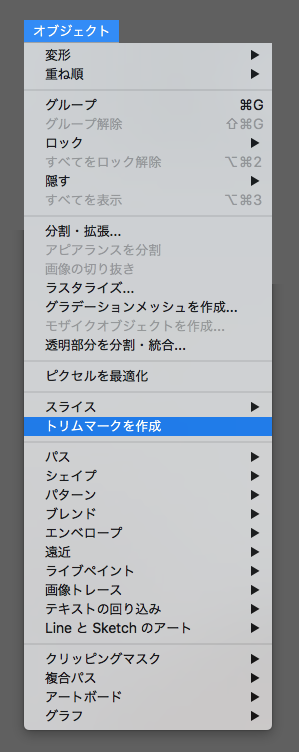
3. Trim Marks have been created.

This concludes the instructions on how to make Trim Marks.
関連記事
-
 How to Easily Recolor in Illustrator
 -
How to Warp Text with Envelope Distort
-
How to Make a Sunburst Vector Easily
-
How to Create a Clipping Mask in Illustrator
-
How To Create Grunge Texture
-
How to Map Symbols to 3D Objects
-
Let’s Create Gold Gradient Text!
-
How to Create Superscript or Subscript in Illustrator