The difference between a [Healing Brush Tool] and a [Clone Stamp Tool]
2020年6月10日
Sometimes, photos may have some unwanted objects in it, or a scratch on it.
Photoshop has many tools for retouching them.
But how should we use it?
- Healing Brush Tool
- Clone Stamp Tool
Let’s compare these two.
Both of them have the same in terms of “partially overlaying another image”.
The difference between them is that the Healing Brush Tool blends overlaid image, while the Clone Stamp Tool just layer image. Today, I’ll show you how to use these.
Healing Brush Tool
What is a Healing Brush Tool?
This tool is like using a brush to paint over the part of the image you want to retouch.
This tool allows you to blend your corrections with the surrounding.
How to use the Healing Brush Tool
Select the “Healing Brush Tool” from the Tools Panel.
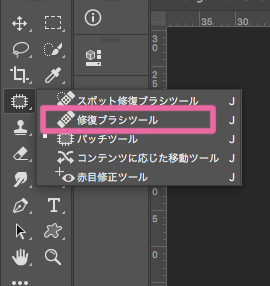
Hold down the option (windows:alt) button and click on the point of the image you want to overlay on top.
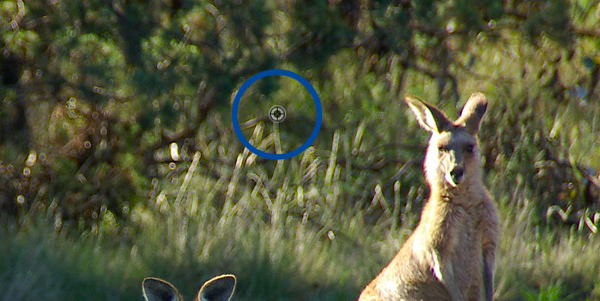
The cursor will look like this.
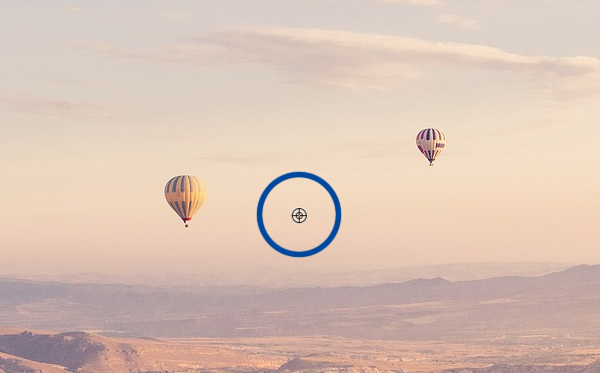
Drag the area you want to delete with the brush.
The area you want to overlap will be linked to the cursor with the + mark.
The trick is to look at the result and re-select the source of the copy so that it doesn’t look unnatural.

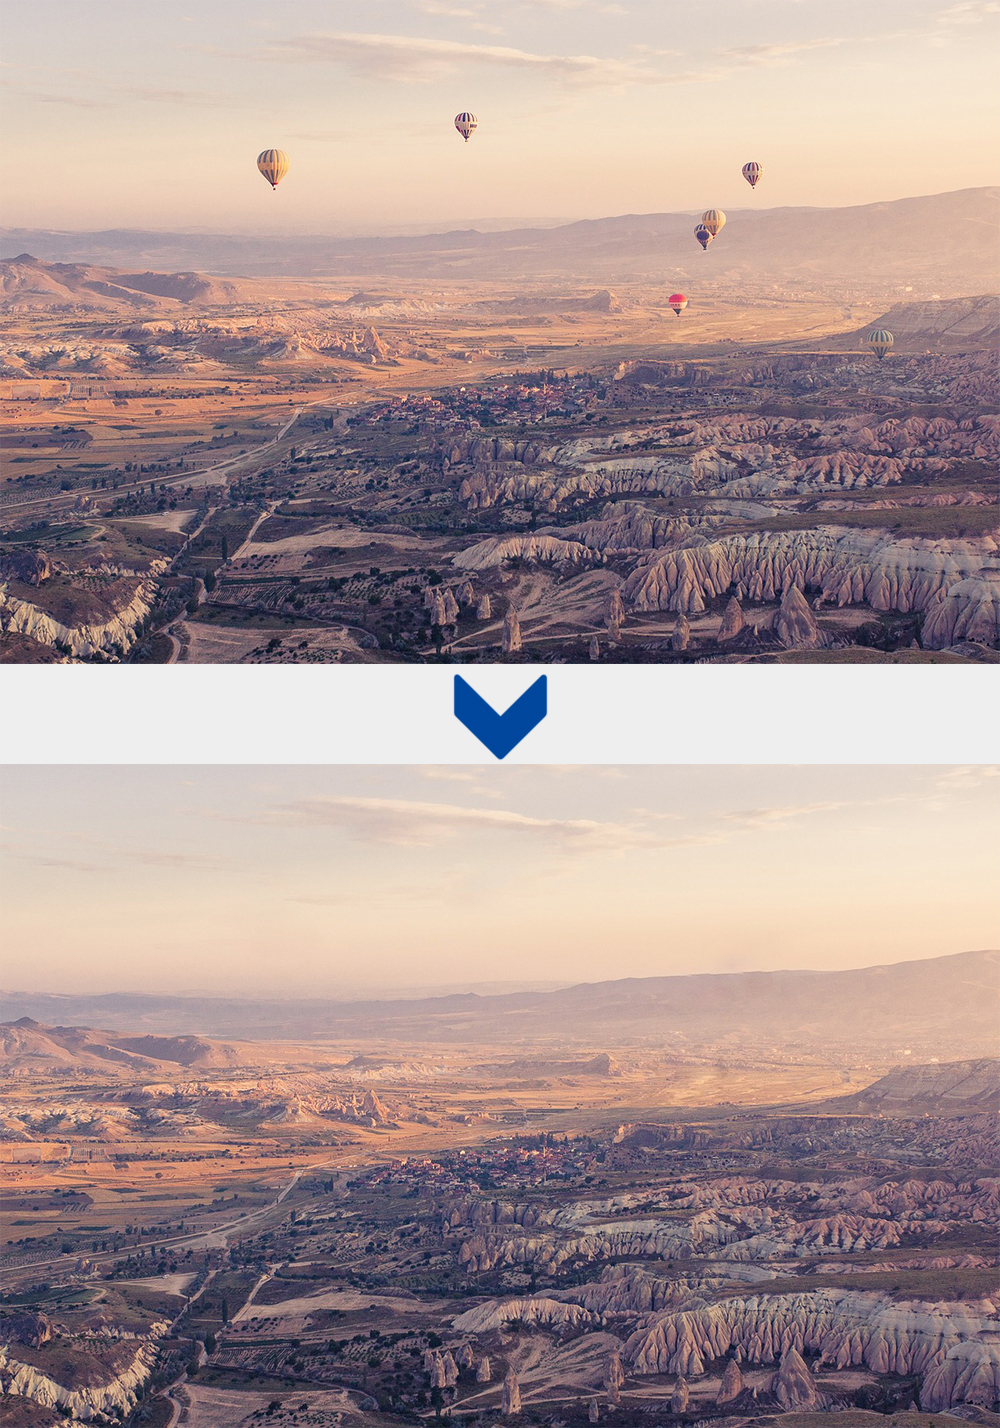
I removed all balloons.
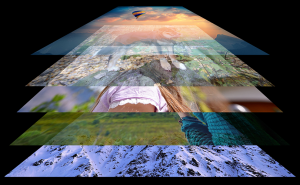
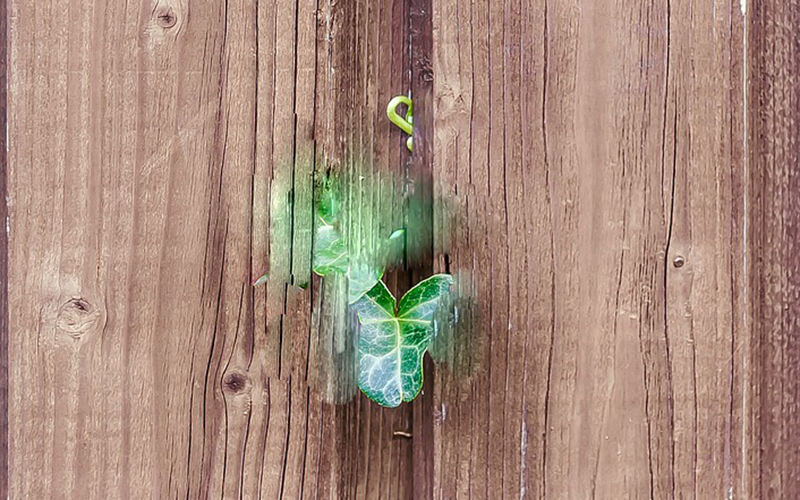
Images not suitable for the Healing Brush Tool
This is an image that I tried to erase the leaves with the Healing Brush Tool.
This tool is not suitable for complex backgrounds or those with a lot of color differences because the process involves painting over and blending.
Clone Stamp Tool
What is the Clone Stamp Tool?
This tool allows you to copy some parts you want to overlay on the correction area.
How to use the Clone Stamp Tool
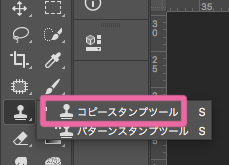
Select the “Clone Stamp Tool” from the Tools panel.
Hold down the option (windows:alt) button and click on the point of the image you want to overlay on top.
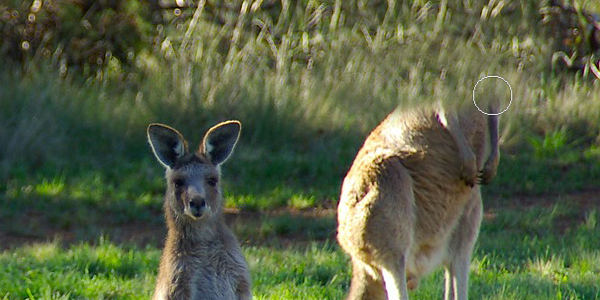
The cursor will look like this.
Drag the area you want to delete with the brush.
The area you want to overlap will be linked to the cursor with the + mark.
The trick is to look at the result and re-select the source of the copy so that it doesn’t look unnatural.
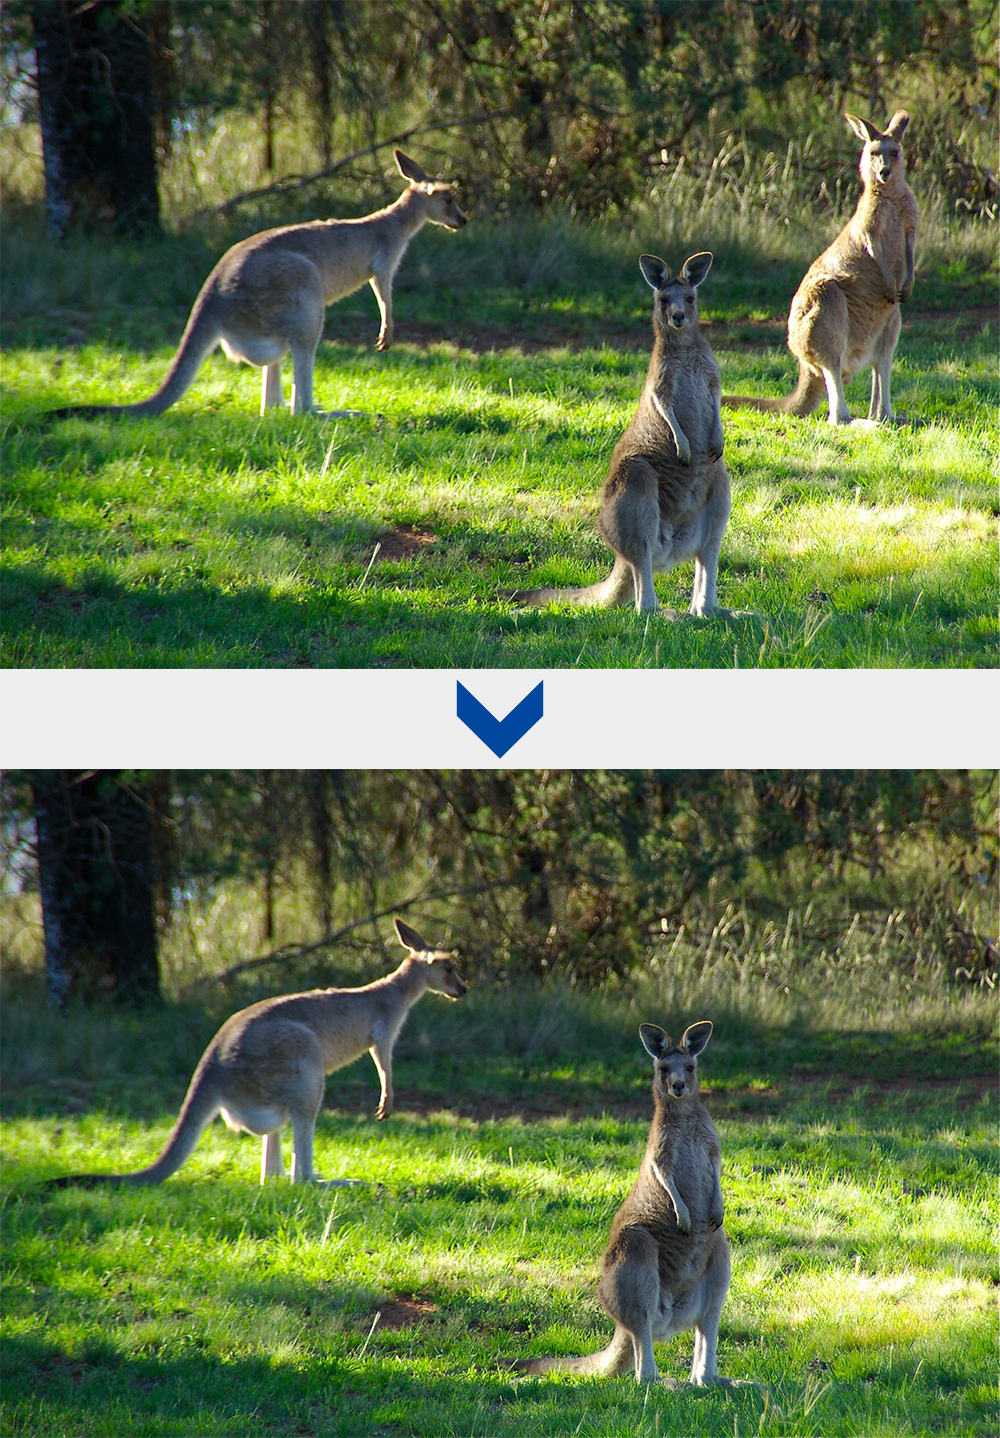
I removed the kangaroo on the right.
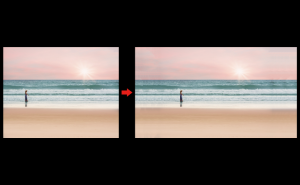
Images that are not suitable for Clone Stamp Tool.
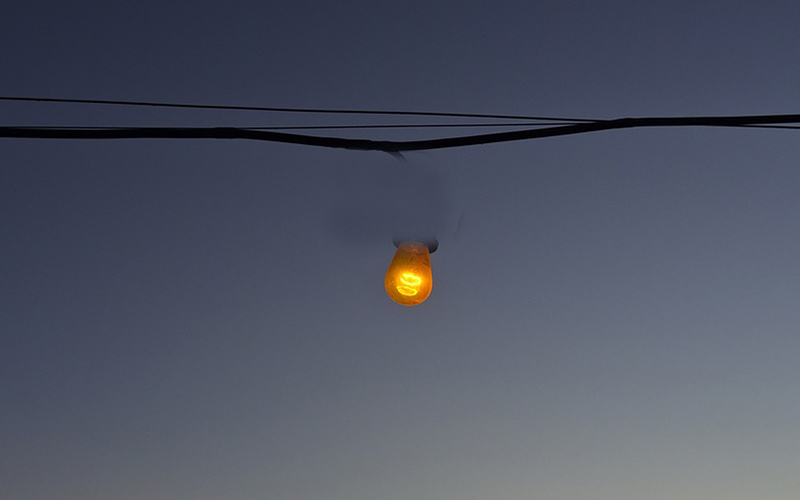
This is an image I tried to remove the light bulb with the Clone Stamp Tool.
This tool is not suitable for an image with gradation because there is no process of blending in with the surrounding area.
Summary
Healing Brush Tool
This tool blends selected area and surroundings.
suitable…simple background.
unsuitable…complex backgrounds, with a lot of different colors.
Clone Stamp Tool
This tool doesn’t blend selected area in with surroundings, but just overlap.
suitable…a somewhat complex background.
unsuitable…gradient background
You can reduce the unnaturalness by hiding correction steadily.
Also, you can make advanced retouching, if you combine the Clone Stamp Tool with the Healing Brush Tool.
関連記事
-
 Photoshop Blending Modes Descriptions -Part2-
 -
How to Create a Water Reflection with Photoshop
-
How to Create a Rainbow Gradient Starburst
-
How to Create Lightning in Photoshop
-
Make It Snow With Photoshop Brushes
-
How to Extend Background with Content-Aware Crop
-
How to Pixelate Faces in Photoshop
-
How to Fix Distortion of Image