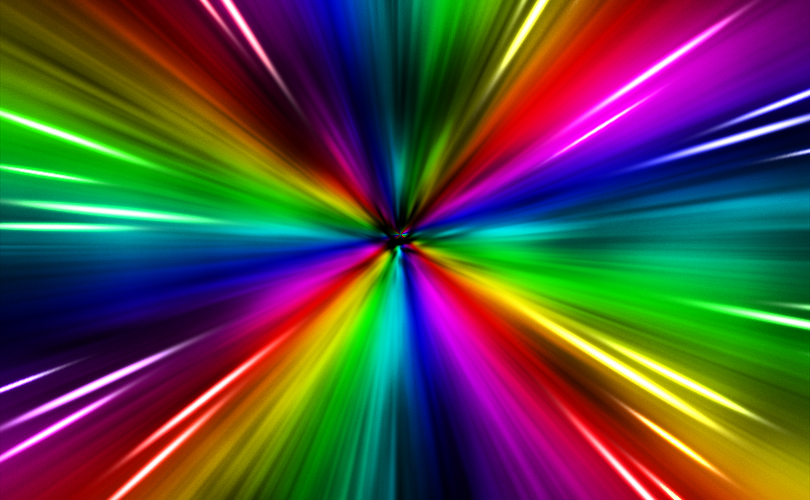
How to Create a Rainbow Gradient Starburst
2020年8月12日
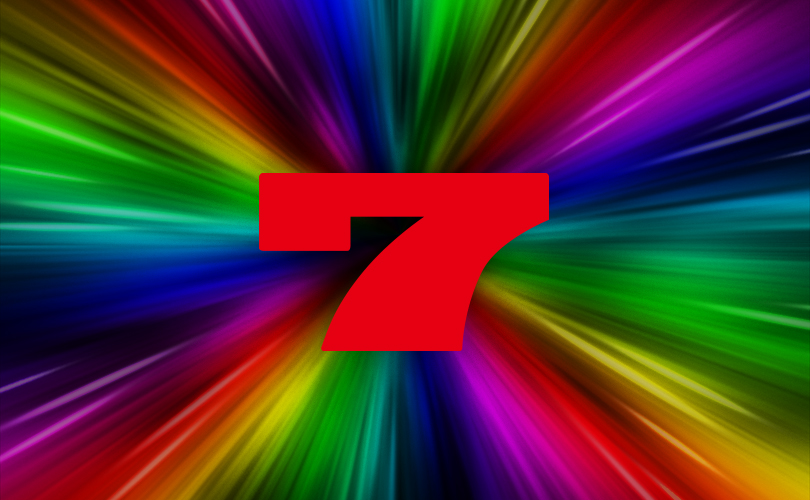
In this article, I’ll show you how to make a rainbow gradient starburst in 3 steps.
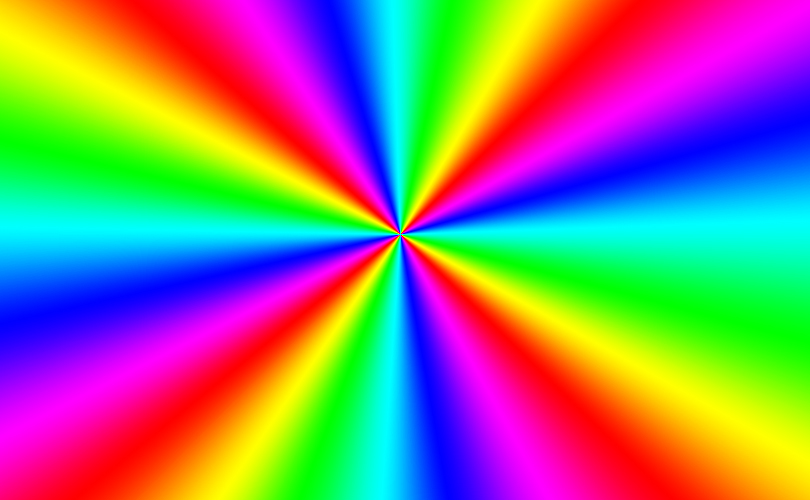
STEP1 Create a gradient
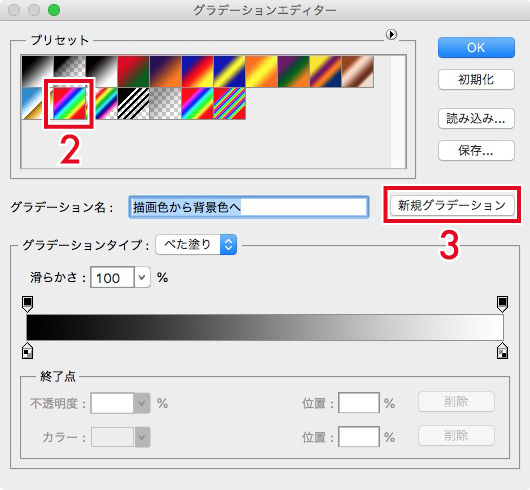
1. After creating a new layer, open the Gradient Editor from the Gradient Tool, select “Spectrum” and click “New”.

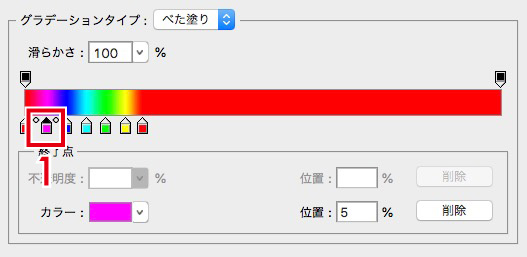
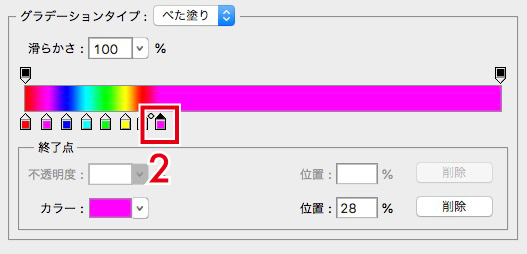
2. Move the color stop to the left and repeat in the same way. To duplicate the same color stop, select the one you want to add, and then click the point to add.
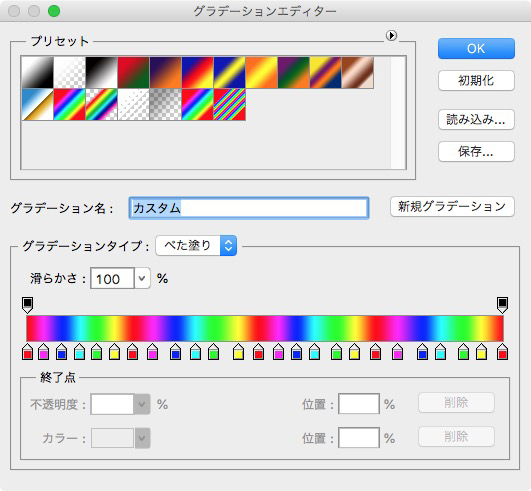
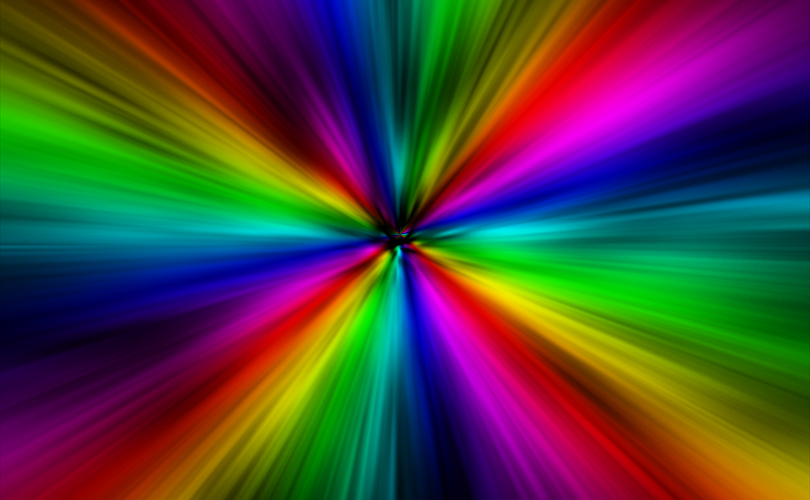
3. Apply the Angle gradient. This is the end of this step.

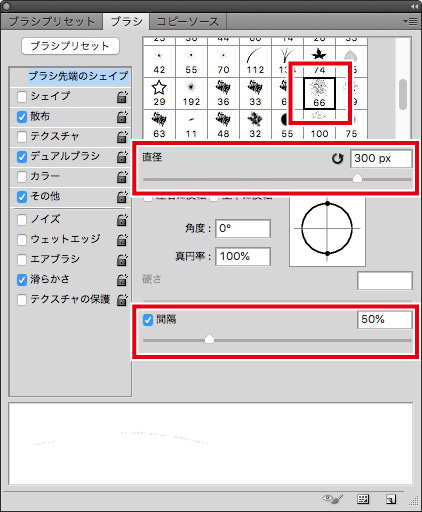
STEP2 Add a radial blur
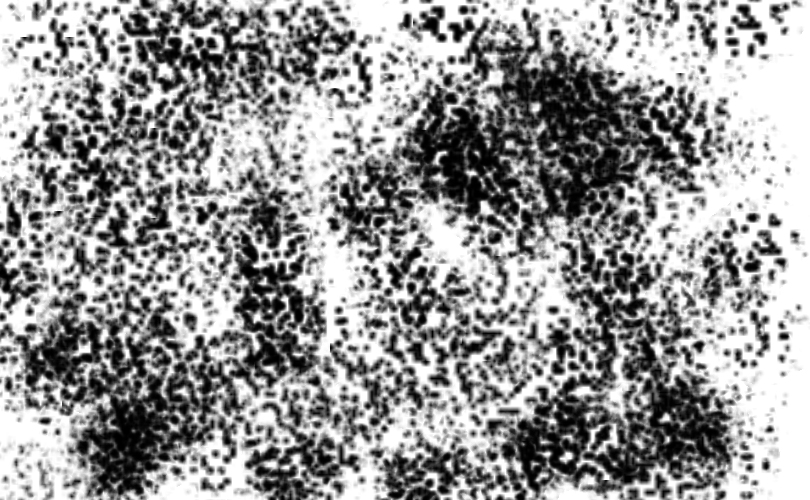
1. After creating a new layer, go to [Window] > [Brushes] and select “Dry Brush”. Draw randomly as shown in the image while adjusting the diameter and spacing to match the canvas size.
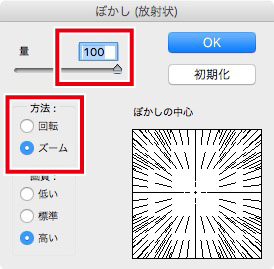
2. Duplicate and merge the layers created in 1 to make them darker. Go to [Filter] > [Blur] > [Radial Blur] and select the Blur Method “Zoom” and apply it twice.
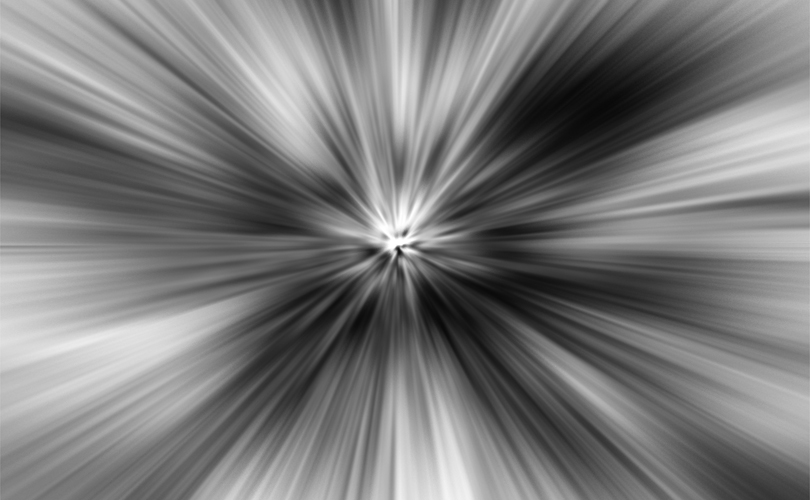
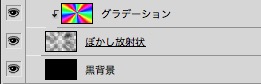
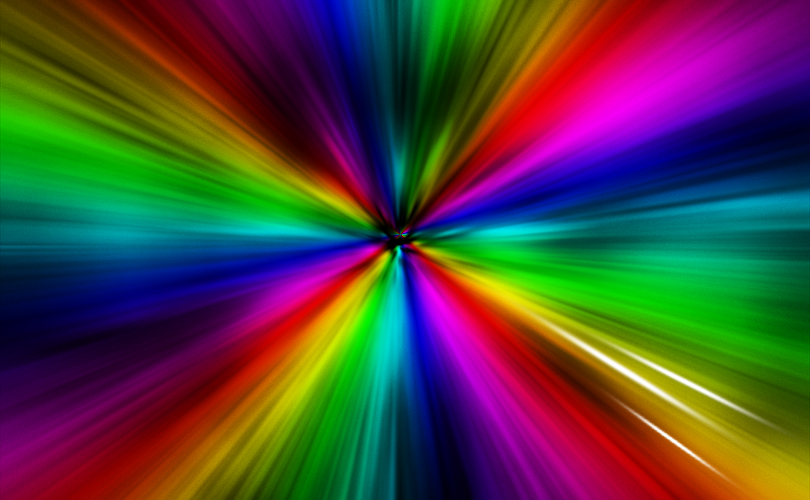
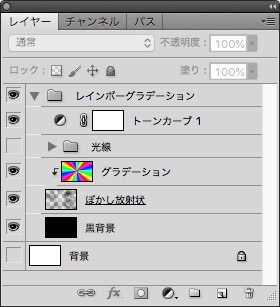
3. Place the layer you made in 2 below the gradient and apply a clipping mask to the gradient. I placed a black background underneath. Now we have a base.
STEP3 Add ray effects
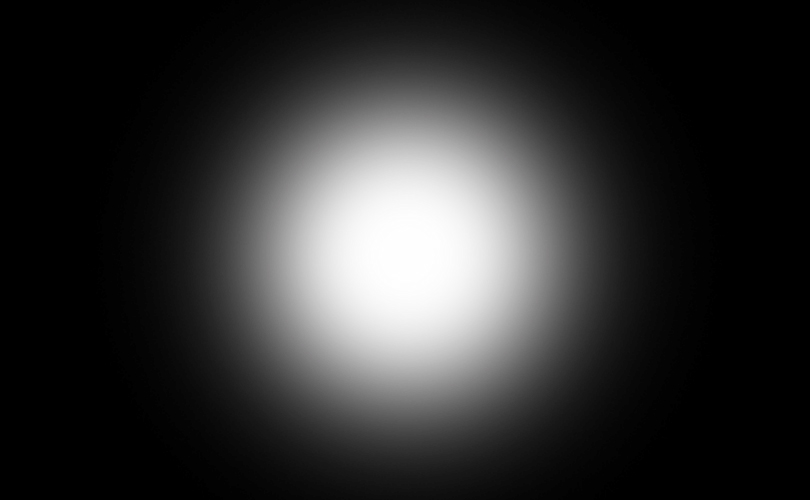
1. Create a new layer group and create a new layer in it. Then, use the Soft Round Brush to draw as shown in the image and deform it flat.
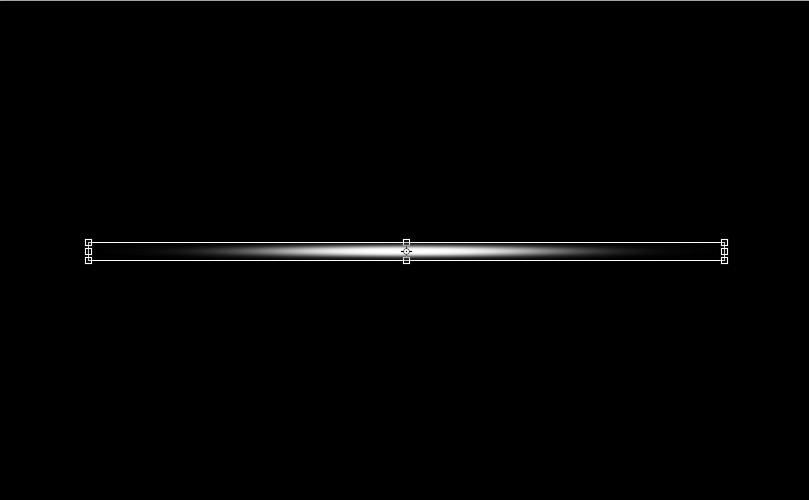
2. Create several lines by rotating, scaling, or duplicating them, and combine the layers into one.
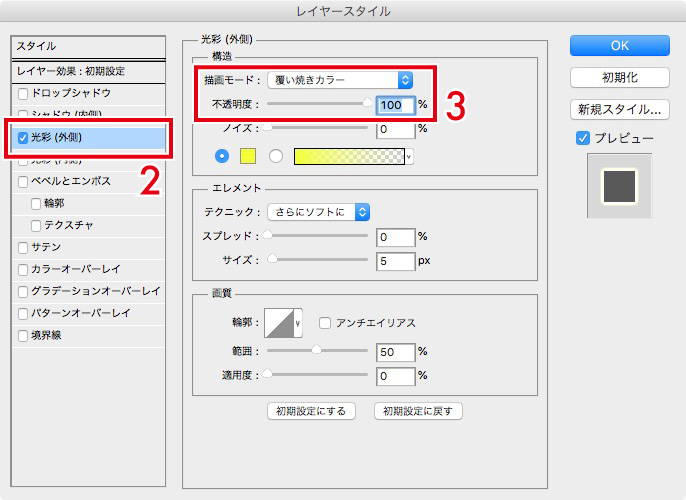
3. Apply the layer style “Outer Glow” with the Blending mode “Color Dodge”.

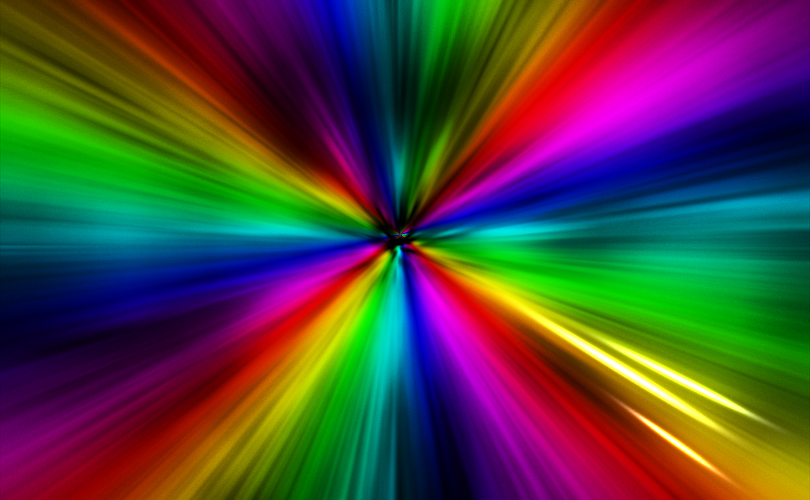
4. Duplicate the layer created in 3 and place it changing the color of the Blending Options to match the back color.
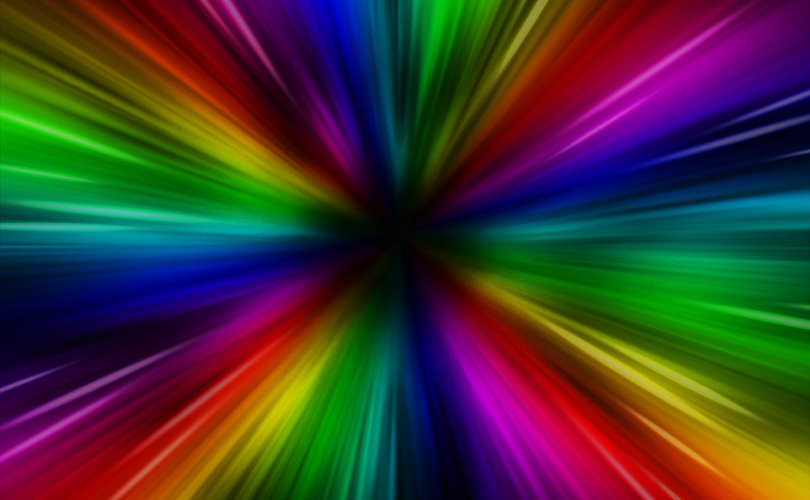
5. Adjust the opacity to your liking and finish.
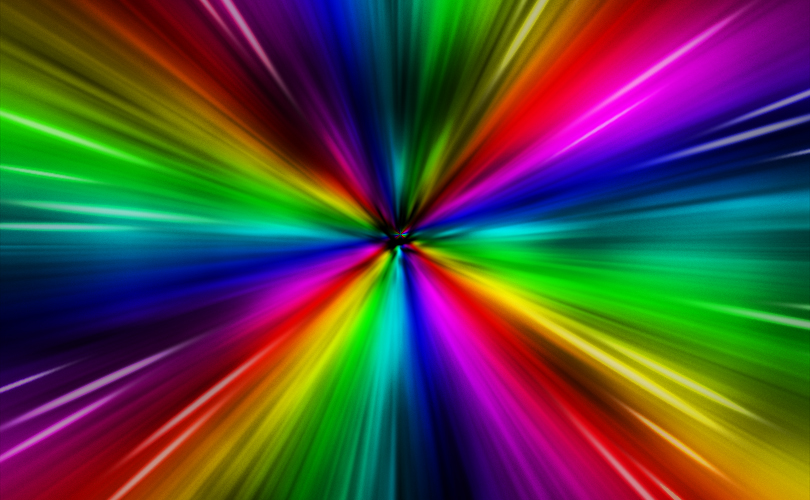
Finally, adjust the Curves and it’s done!
Combine with a photo
As a preparation, lighten the center color with an Erase tool.
Replace the black background layer with a photo.
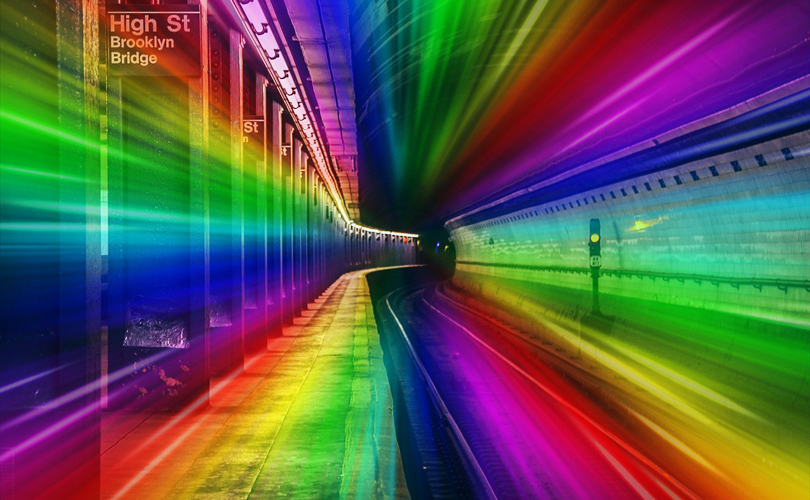
We were able to create a rainbow colored photo.
These are the instructions for making a rainbow gradient.
関連記事
-
 Creating Vintage Photo Effects in Photoshop
 -
How to add shine to hair in Photoshop
-
How to Use Photoshop Render Filters
-
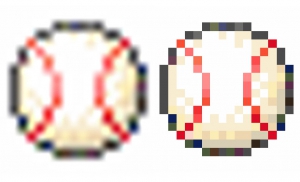
How to Enlarge Pixel Art Without Blurring
-
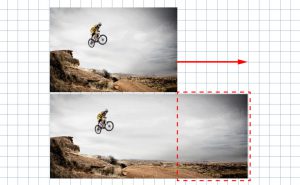
How to stretch images naturally by “Content-Aware Scale”
-
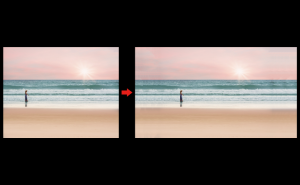
How to Edit Photos with Vanishing Point
-
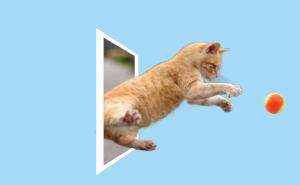
Making a Pop-up Photo
-
How to Extend Background with Content-Aware Crop