Making a Pop-up Photo
2020年7月14日
I’d like to show you how to make a pop up photo in this article.
First, create a new layer (Layer 1) and a duplicate layer of the background layer.
Create a frame in Layer 1.
Use the [Rectangular Marquee Tool] to set the approximate size and position of the frame (you can change it later).
![Set the approximate size and position of the frame with [Rectangular Marquee Tool].](https://soft-no-sosa.com/wp/wp-content/uploads/2019/03/d866c672ec865667374f16b7bf8975fa.png)
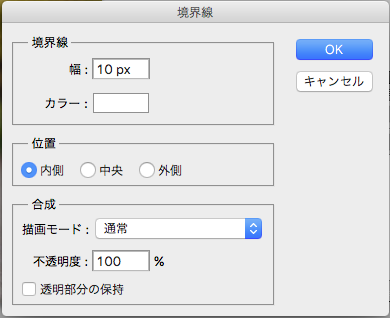
Then, choose [Edit] > [Stroke] to create a frame.
![Create a frame by [Edit] → [Stroke].](https://soft-no-sosa.com/wp/wp-content/uploads/2019/03/78ca001bef213fd4cff7a6713675409f.png)
Choose inside for Position. You can adjust the size as you like.
After that, go to [Edit] > [Transform] > [Perspective] to adjust the shape and position of the border.
![Go to [Edit] → [Transform] → [Perspective] to adjust the shape and position of the border.](https://soft-no-sosa.com/wp/wp-content/uploads/2019/03/50e034d0162b35d8de1cffaf403019c0.png)

The frame is now complete.
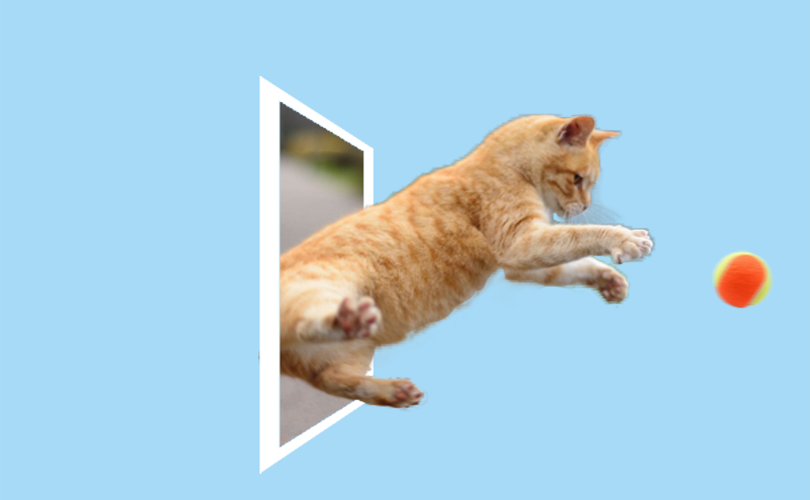
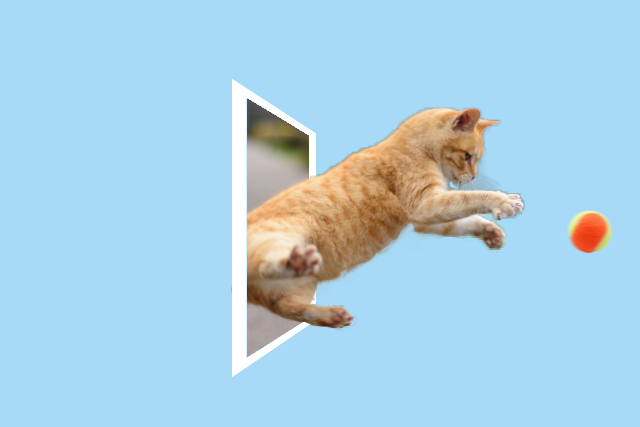
The next step is to edit the jumping cat.
Change the layer to [Duplicate Layer] and use the [Quick Selection Tool] to enclose the area you want to pop out and the frame.
![Change the layer to [Duplicate Layer] and use the [Quick Selection Tool] to enclose the area you want to pop out and the frame.](https://soft-no-sosa.com/wp/wp-content/uploads/2019/03/4914628495b45edd32b4b85b225f8335.png)
After that, right-click and select [Layer via Copy].
![Right-click and select [Layer via Copy].](https://soft-no-sosa.com/wp/wp-content/uploads/2019/03/f18e0ecba2b45689b092a3c69a5ef9be.png)
Select it, and you’ll have a cropped layer of the area you just selected.
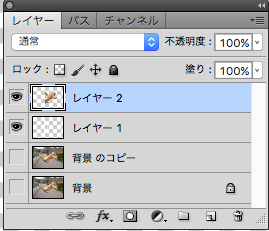
Set the layer order to cropped layer on top and border layer on the bottom.
Also, change the background color, the pop up photo is complete.
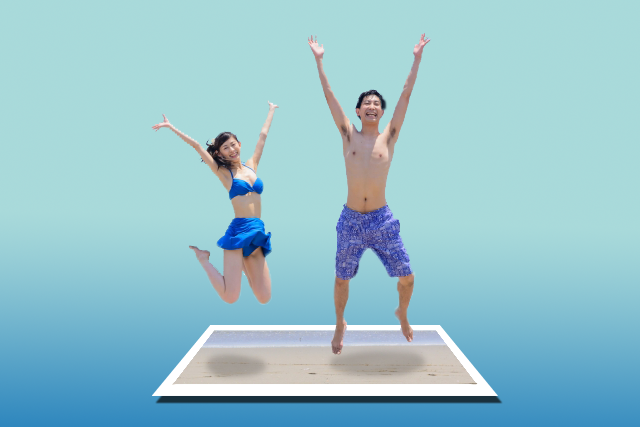
It’s very easy, so try using it to your favorite photos!
関連記事
-
 Gold Text Effect With Just 2 Layers in Photoshop!
 -
Photoshop Lighting Effects
-
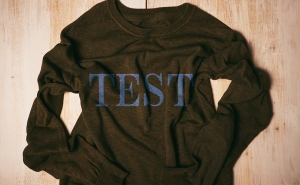
How to Write on Clothes Folds
-
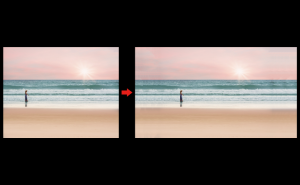
How to Extend Background with Content-Aware Crop
-
How to place an image in text with Masks in Photoshop
-
Creating duotone effect with Gradient Maps
-
How to Fix Distortion of Image
-
How to Create a Rainbow Gradient Starburst