How to Edit Photos with Vanishing Point
2020年7月14日

It is possible to paste a perspective image by using “Vanishing Point”, one of the functions of Photoshop.
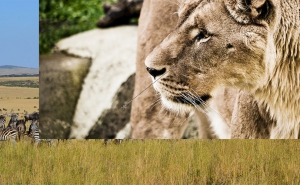
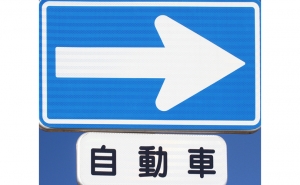
“Vanishing Point” is useful when you want to paste an image or text with a natural perspective on a photo wall or signboard.
Pasting an image onto a computer display
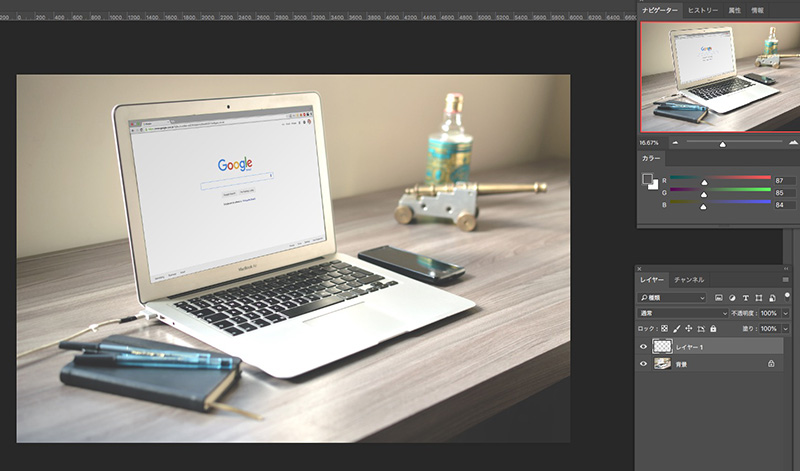
Today, I’d like to compose a landscape photo on a computer display like this.

Before you begin, it’s better to create a new layer for your composite image.
Next, open the photo you want to edit, select a required part and copy it (MAC:command+C WIN) (Ctrl+C).

On the computer image, select [Filter] > [Vanishing Point] .
The Vanishing Point window will open, use the [Create Plane tool] (It’s the second from the top of the left icon. It’s selected from the beginning.) and click on the four corners of the area you want to edit.
In this case, we want to combine the photo with the computer display, so we select the display.
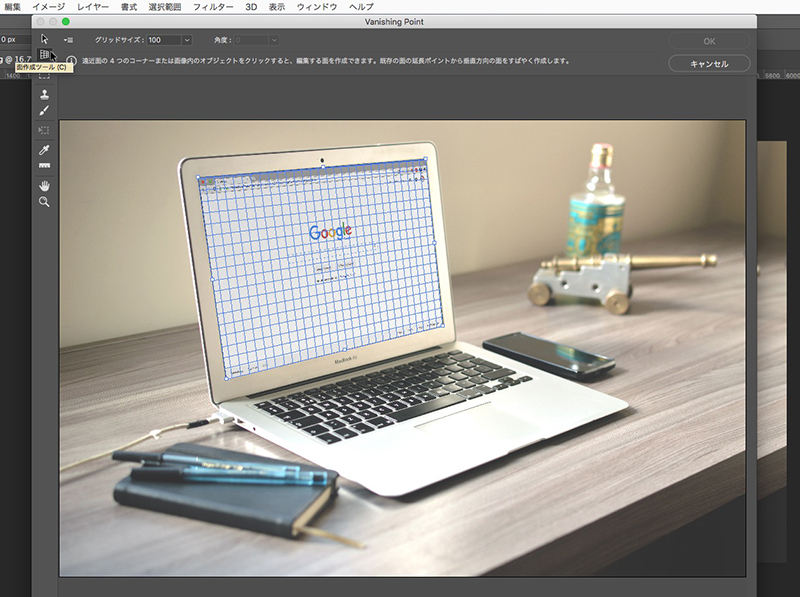
When you adjust the selection, use the [Edit Plane tool] (arrow icon at the top) to fix it.
Paste the image you just copied (MAC:Command+V WIN: Ctrl+V).
Drag it to the plane you just created.
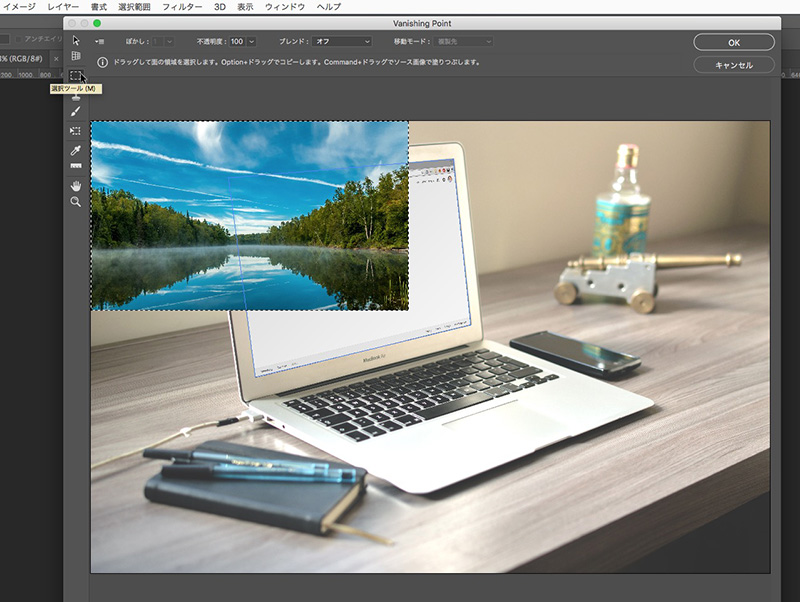
Then the image is pasted along the created plane.
You can use the Transform tool to move and scale the surface you’ve pasted. Adjust the position of the image to make it look more natural.
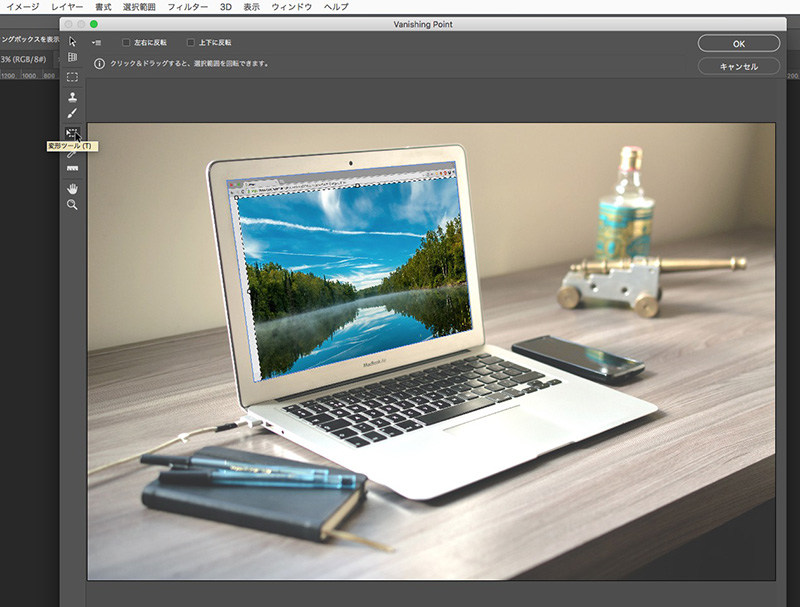
The image was pasted naturally on the PC display.Now it’s done.
関連記事
-
 How to Create Lighting Effects in Photoshop
 -
How to Combine Two Images Naturally
-
How To Create Realistic Shadows in Photoshop
-
How to Fix Distortion of Image
-
Creating Vintage Photo Effects in Photoshop
-
Easy Photo Retouching: Natural Removal of Objects
-
Making Someone Younger in Photoshop
-
How to Write on Clothes Folds