How to Combine Two Images Naturally
2020年6月17日
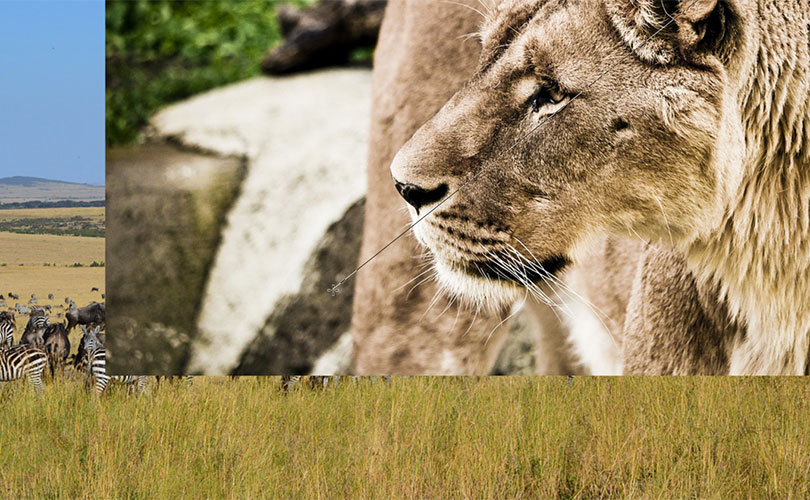
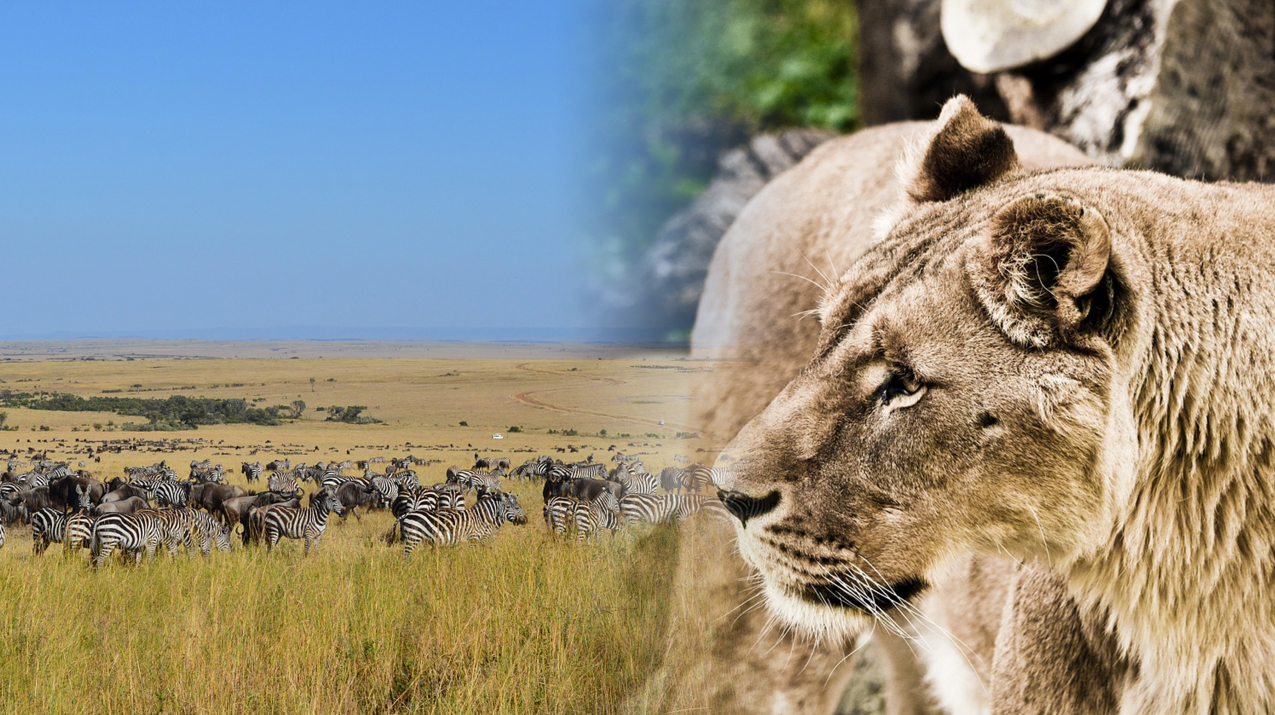
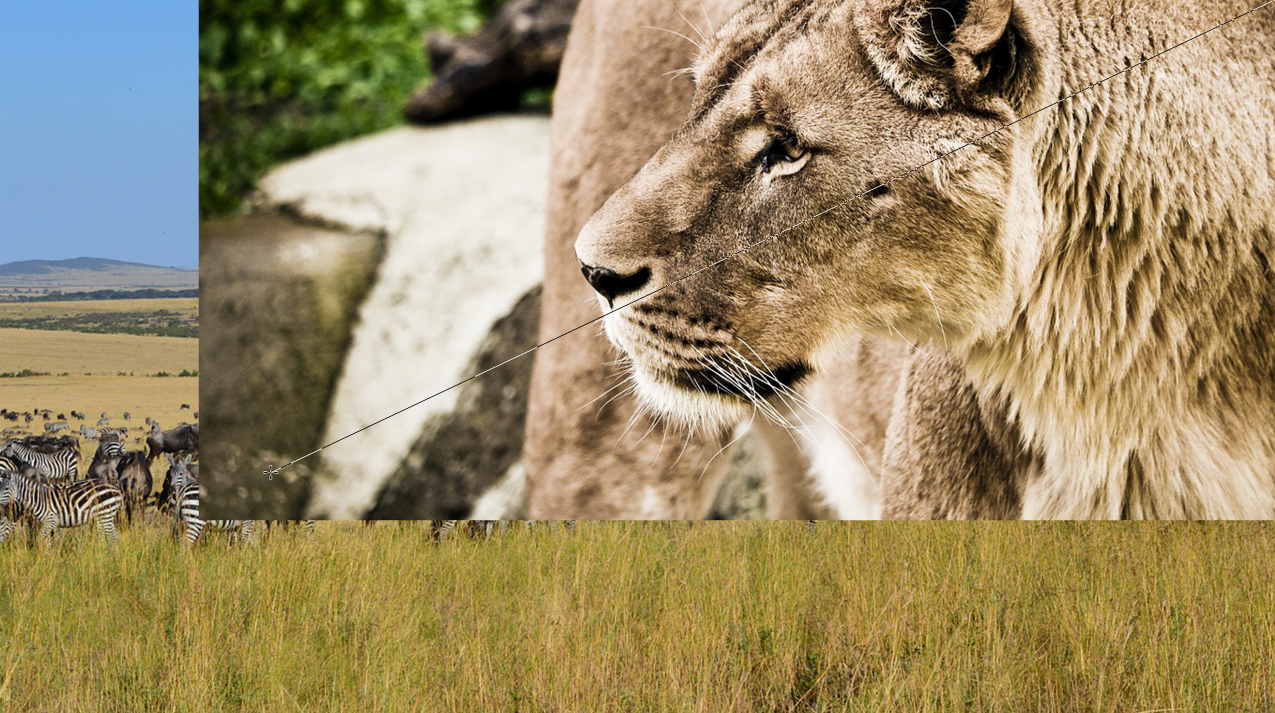
These are images of a lion and zebras.
Combine the two photos naturally into a single image using a Layer Mask.
Let’s make two images: the one is lined up horizontally, another one is vertically.
Let’s start with the former.
Prevent image degradation with Smart Object
If you keep zooming in and out while worrying about how to place the image, the image quality will get worse and worse.
First of all, let’s convert the image into a Smart Object that can be transformed while preserving the original image quality.
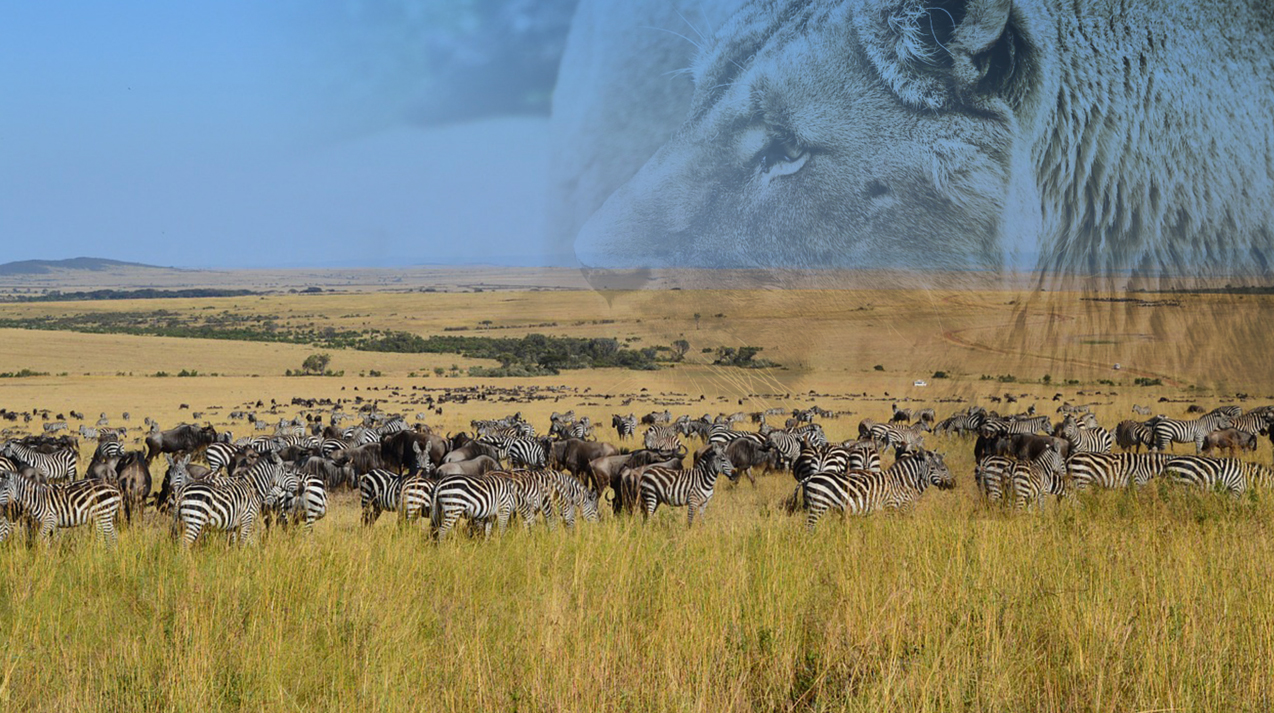
Natural combination of two images placing on the left and right
1. Place images
Create a canvas and place the lion image on the right and the zebras image on the left.
There is a overlap between both images that is about a third of the canvas.
Without this overlap, it’s hard to blend in naturally.
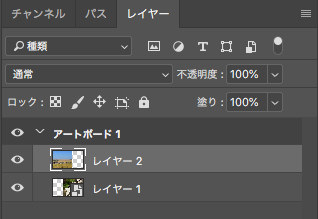
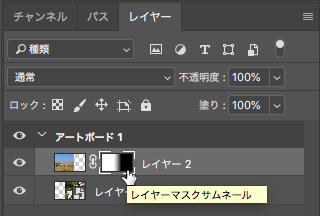
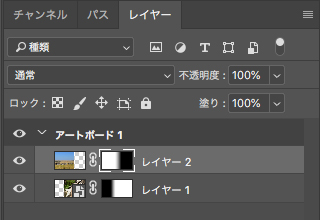
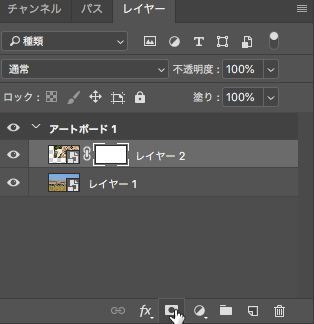
It looks like this in the Layers Panel.
2. Add a Layer Mask
There is an “Add Layer Mask” button at the bottom of the Layers Panel.
![The button of [Add Layer Mask]](https://soft-no-sosa.com/wp/wp-content/uploads/2018/07/pho_15.jpg)
3. Paint a Layer Mask with a gradient
Point
A black mask hides the image and a white mask shows the image.
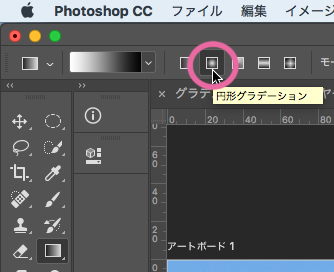
Select a Gradient Tool.
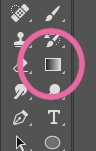
Choose a black and white solid gradient
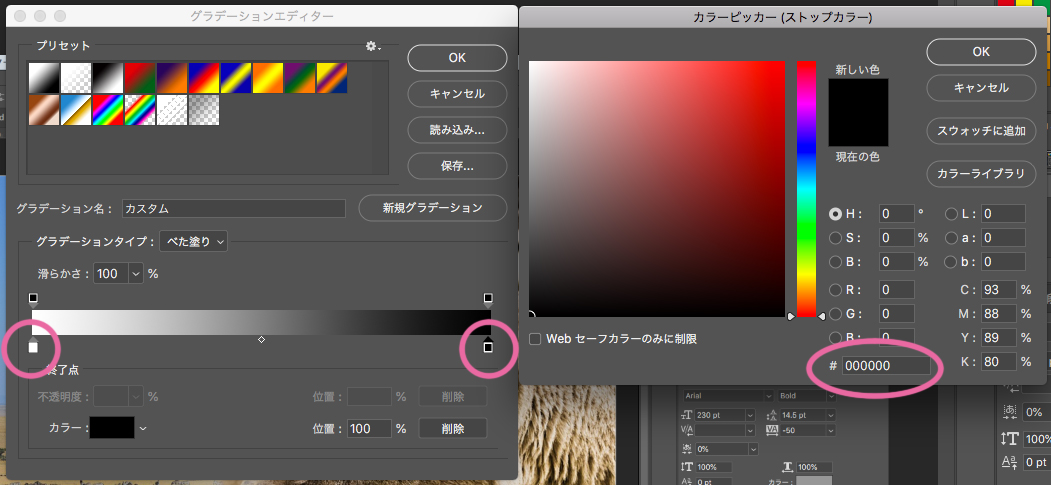
Click the Layer Mask thumbnail in the Layers Panel and fill the Layer Mask with a gradient.
Fill in both images so that they are gradually hidden towards the center.
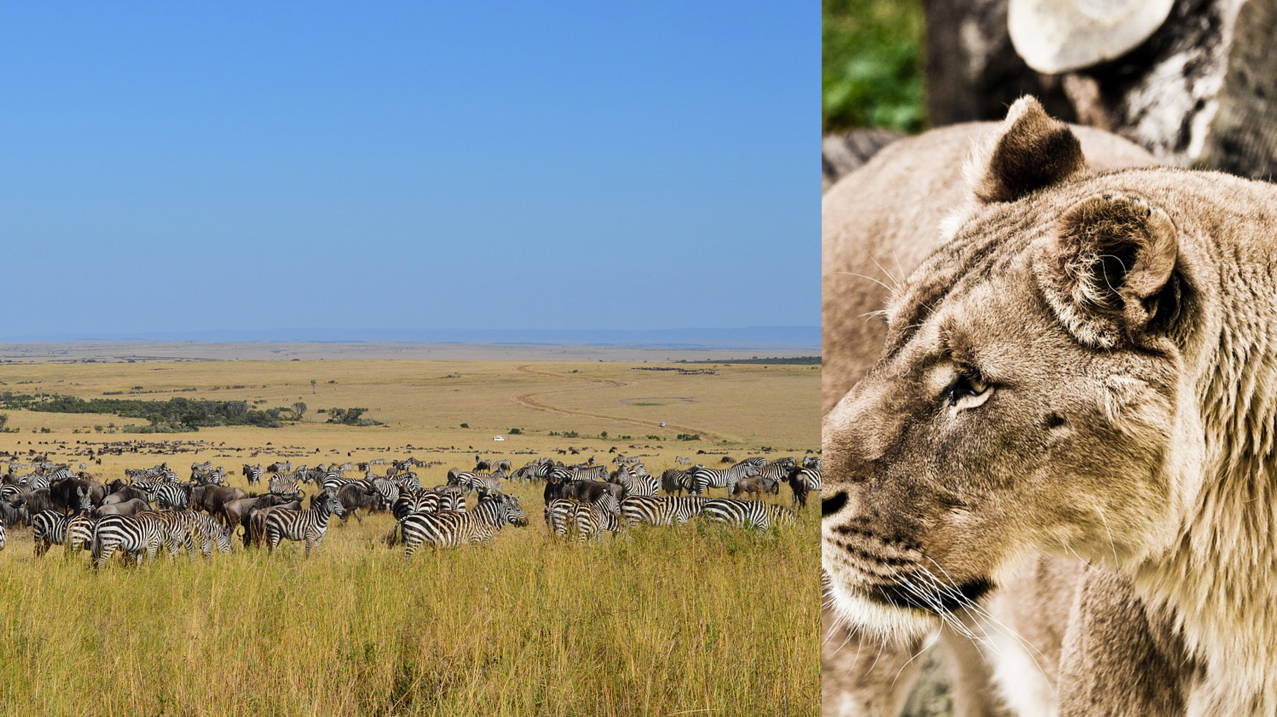
Finished!
Adjust the gradient of the Layer Mask so that you don’t see any breaks in the image.
Don’t forget to select the layer Mask thumbnail.
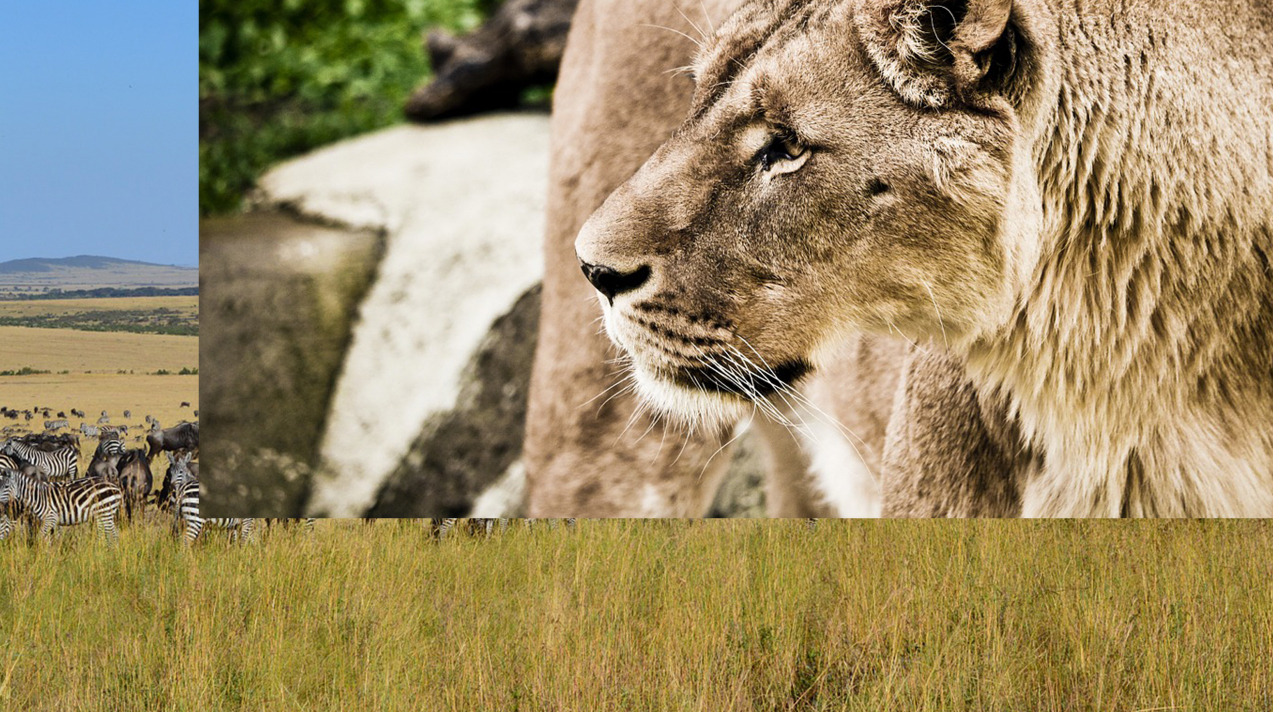
Using the drawing mode to create an atmosphere
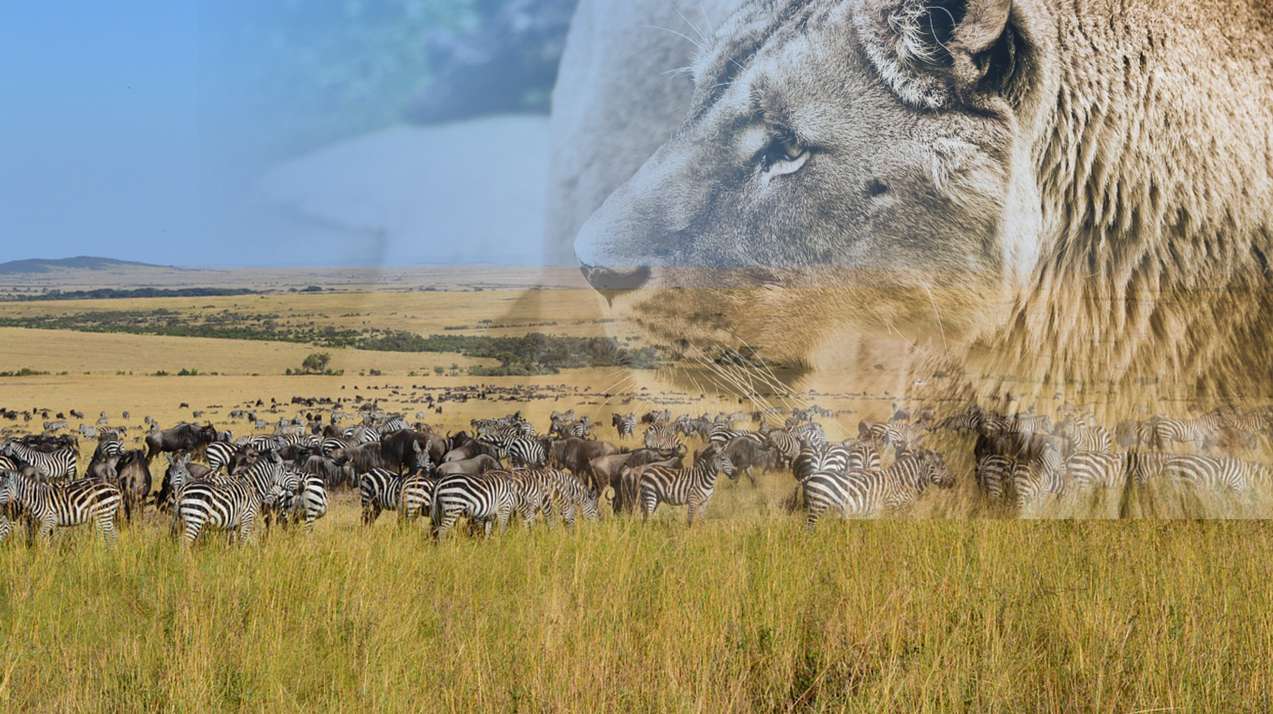
Let’s create a little more atmosphere with same images.
Looks like this.
1. Place images
This time, place a image of lion on the zebras one.
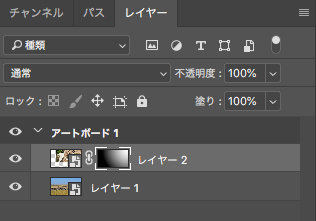
Add a layer Mask
Add a Layer Mask to the lion’s image.
Paint a Layer Mask with a gradient
It’s the same gradient, but this time, choose the Radial Gradient.
Click on the Layer Mask thumbnail.
The center of the circle is white (as shown), so paint in a Radial Gradient toward the zebra from the top right corner.
The Layers Panel looks like this.
You can still see a little bit of a break underneath the lion’s image.
So, adjust the gradient several times.
Change the Blending Mode
Select the lion’s layer and set the Blending Mode in the Layers Panel to “Multiply”.
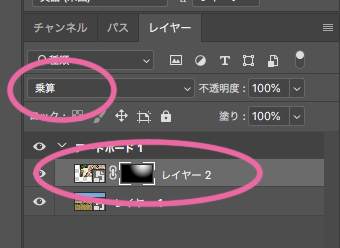
Multiply
Looks at the color information in each channel and multiplies the base color by the blend color. The result color is always a darker color. Multiplying any color with black produces black. Multiplying any color with white leaves the color unchanged. When you’re painting with a color other than black or white, successive strokes with a painting tool produce progressively darker colors. The effect is similar to drawing on the image with multiple marking pens.(Taken from the Adobe Photoshop Manual)
Darken the color of the image above with the color of the image below.
The darker the color in the image above, the darker the resulting color is.White is unchanged.
There are various drawing modes other than multiplication, so let’s try them out.
Finished!
It was a little difficult for me to hide unwanted areas with a Radial Gradient.
Summary
You can combine sevral Iiages naturally with Layer Mask and gradients in Photoshop.
[Blending Mode] adds to the atomosphere.
It makes you to create fantastic images.
Don’t forget that “A black mask hides the image and a white mask shows the image”.
関連記事
-
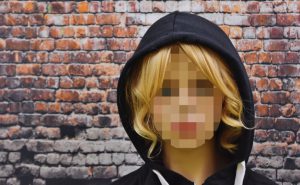
 How to Pixelate Faces in Photoshop
 -
How to Fix Distortion of Image
-
Make It Snow With Photoshop Brushes
-
Correct an Image Distortion with the Adaptive Wide Angle Filter
-
Photoshop Blending Modes Descriptions -Part1-
-
How to Write on Clothes Folds
-
How to create an animated GIF in Photoshop
-
Creating duotone effect with Gradient Maps