Correct an Image Distortion with the Adaptive Wide Angle Filter
2020年7月9日

You can use Lens Correction to correct distortions in Photoshop, but you can also use Adaptive Wide Angle Filter.
Simply put, the lens correction corrects the entire image, while the wide-angle correction is a convenient function that allows you to specify and adjust the area you want to correct.
Make the horizon distortions straight
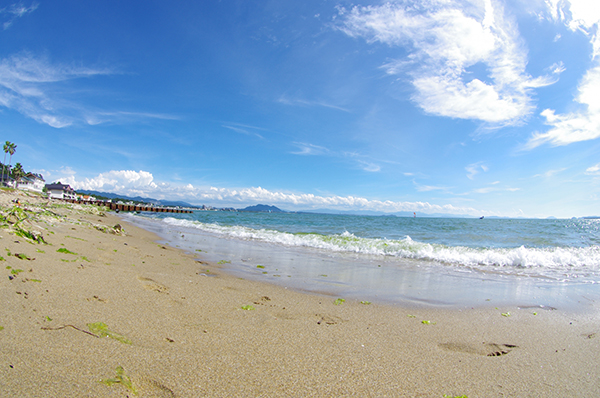
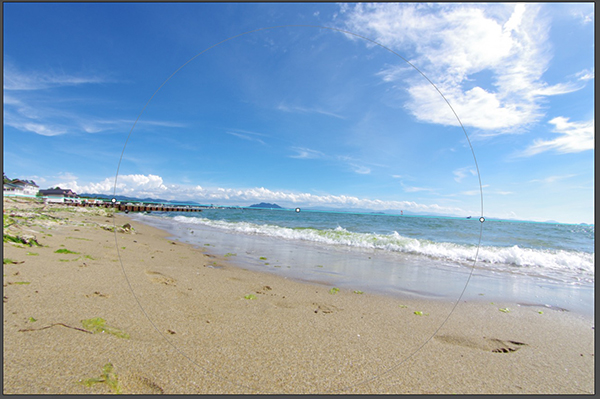
This time, I’m going to try to straighten out the distorted horizon.
First, choose [Filter] > [Adaptive Wide Angle].
The window appears.
To straighten the horizon, use the Constraint tool.
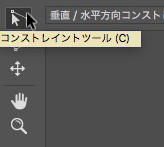
Choose it, drag a line along the horizon.
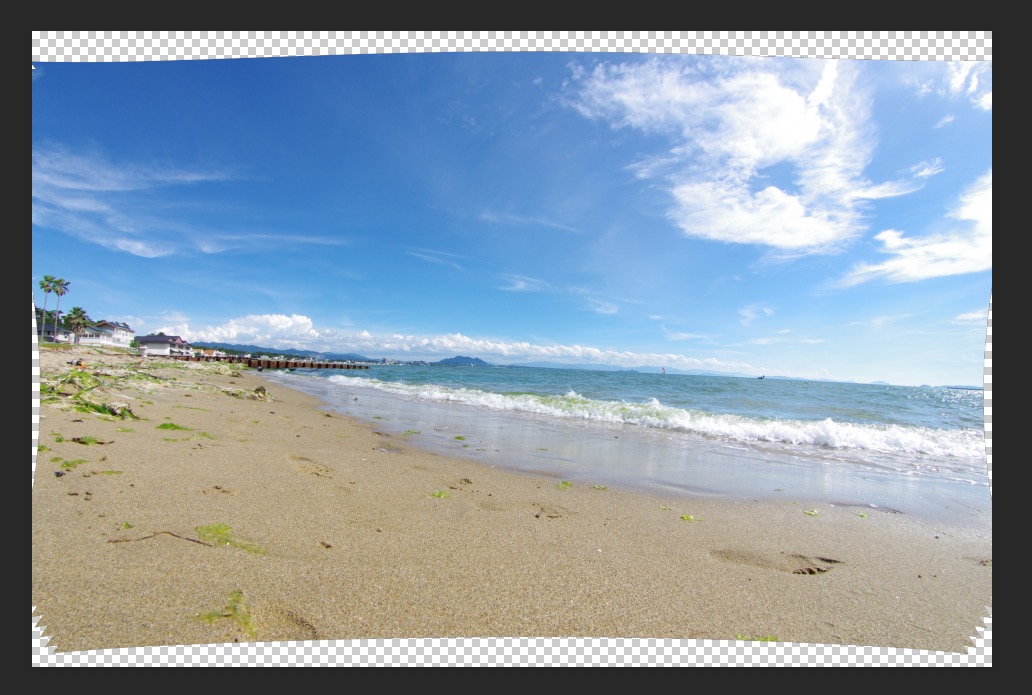
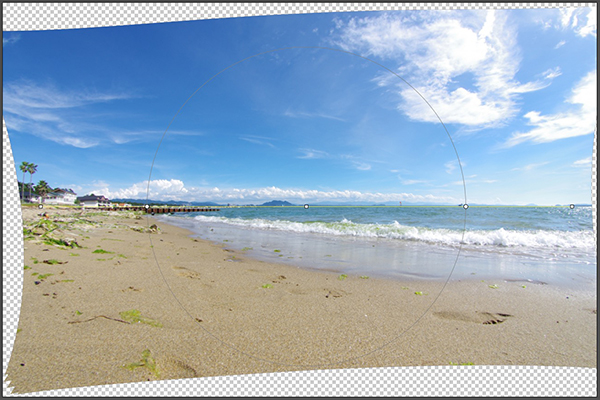
The line will bend along the horizon.
As you draw the line, the distorted horizon line is automatically corrected to a straight line.
If it isn’t corrected well, adjust the line position using the anchor points at the ends or center, or adjust the line angle using the center circle.
I think most of the distortion of the horizon has been corrected.
Draw a line while holding down shift key, the image angle will be corrected as well as the distortion.
Draw a line vertically, it becomes a red line and the image is corrected vertically; draw a line horizontally, it becomes a yellow line and the image is corrected horizontally.
Correct the door distortion
For polygons such as buildings, use the “Polygon Constraint tool” to correct the distortion.
It’s the second tool from the top of the tool icon in the upper left corner.
Enclose the area you want to fix with the “Polygon Constraint tool”, the distortion in that area will be corrected.
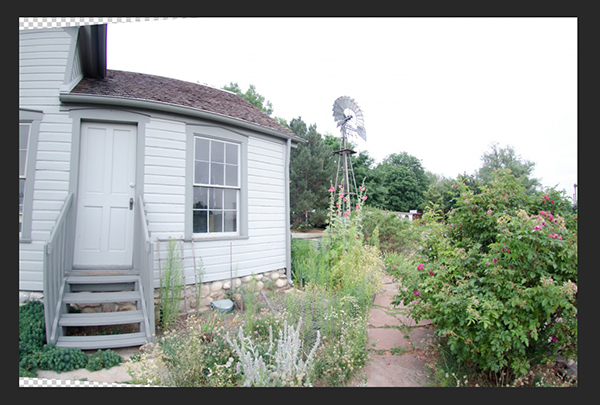
Next, let’s correct the door of this house. It’s quite distorted.

Surround the door with Polygon Constraint tool.
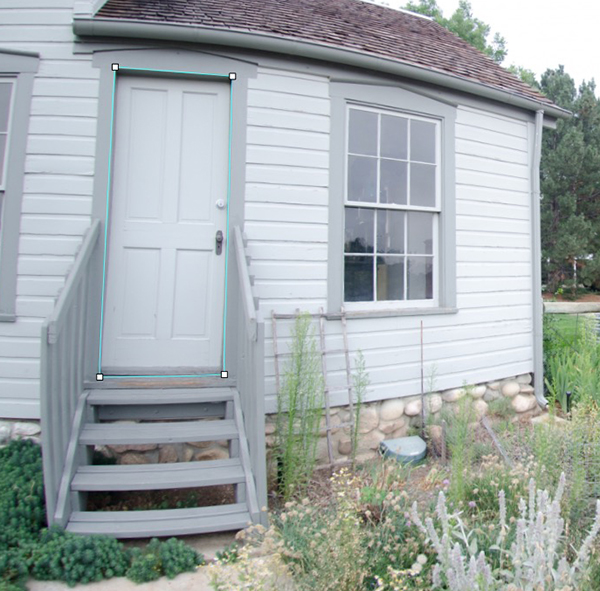
The quite distorted door has been corrected to straighten.
The Adaptive Wide Angle can correct multiple areas, so it’s probably more efficient to use it for complex distortions.
This is the basic usage of the Adaptive Wide Angle.