
How to Map Symbols to 3D Objects
2020年7月7日
In this article, I will introduce you how to map symbols to 3D objects.
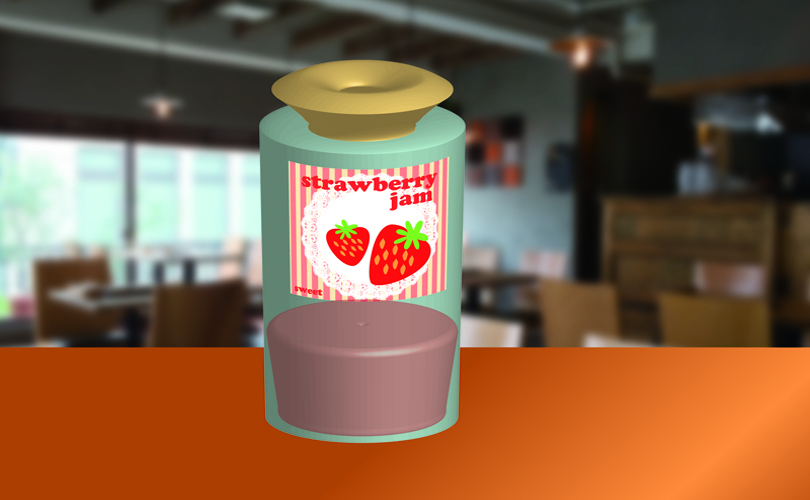
First, create a 3D object and select [Map Art] from the 3D options.
![Prepare the 3D object and select [Map Art] in the 3D Extrude & Bevel Options dialog.](https://soft-no-sosa.com/wp/wp-content/uploads/2019/04/5d2d1197e72a5e6c41e120c38358c4f0.png)
The [Map Art] window that shows a rectangular diagram of the object’s surface will appear.
Dark gray is the area that does not appear when a symbol is placed, while light gray is the area that appears when a symbol is placed.
![The [Map Art] window will appear. Light gray appears but dark gray doesn't.](https://soft-no-sosa.com/wp/wp-content/uploads/2019/04/fea49780542f5d5e43e38328a9a3739e.png)
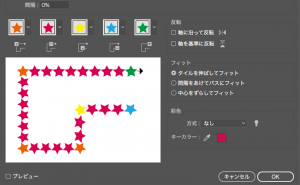
You can switch the surfaces you can map by clicking [Surface] in the dialog. (The number of switches depends on the object.)
![You can switch the surfaces you can map by clicking [Surface] in the dialog. (The number of switches depends on the object.)](https://soft-no-sosa.com/wp/wp-content/uploads/2019/04/aad949e41e1ee4f8c0a36a1501a8c019.png)
Checking the preview makes it easier to see which surface is selected.
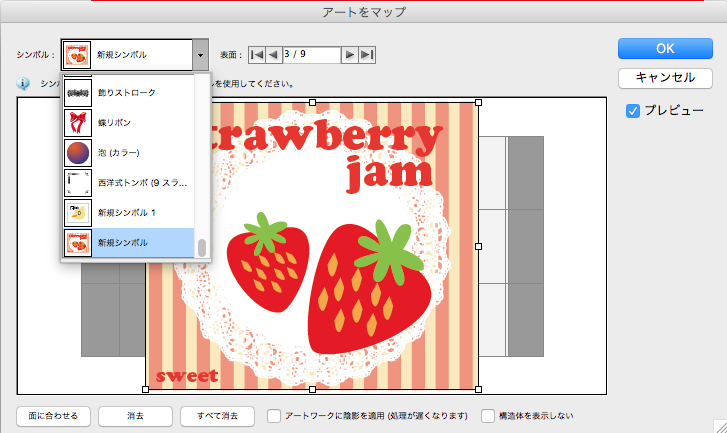
Select the [Surface] you want to map and select the symbol you want to map from the symbols.
Moreover, adjust the size and location of the symbol.
![Select the [Surface] you want to map and choose the symbol you want to map from the symbols. Moreover, adjust the size and location of the symbol.](https://soft-no-sosa.com/wp/wp-content/uploads/2019/04/10c463c6c63d3a7cd844cfed65c88441.png)
Then map it out as you like and you’re done.
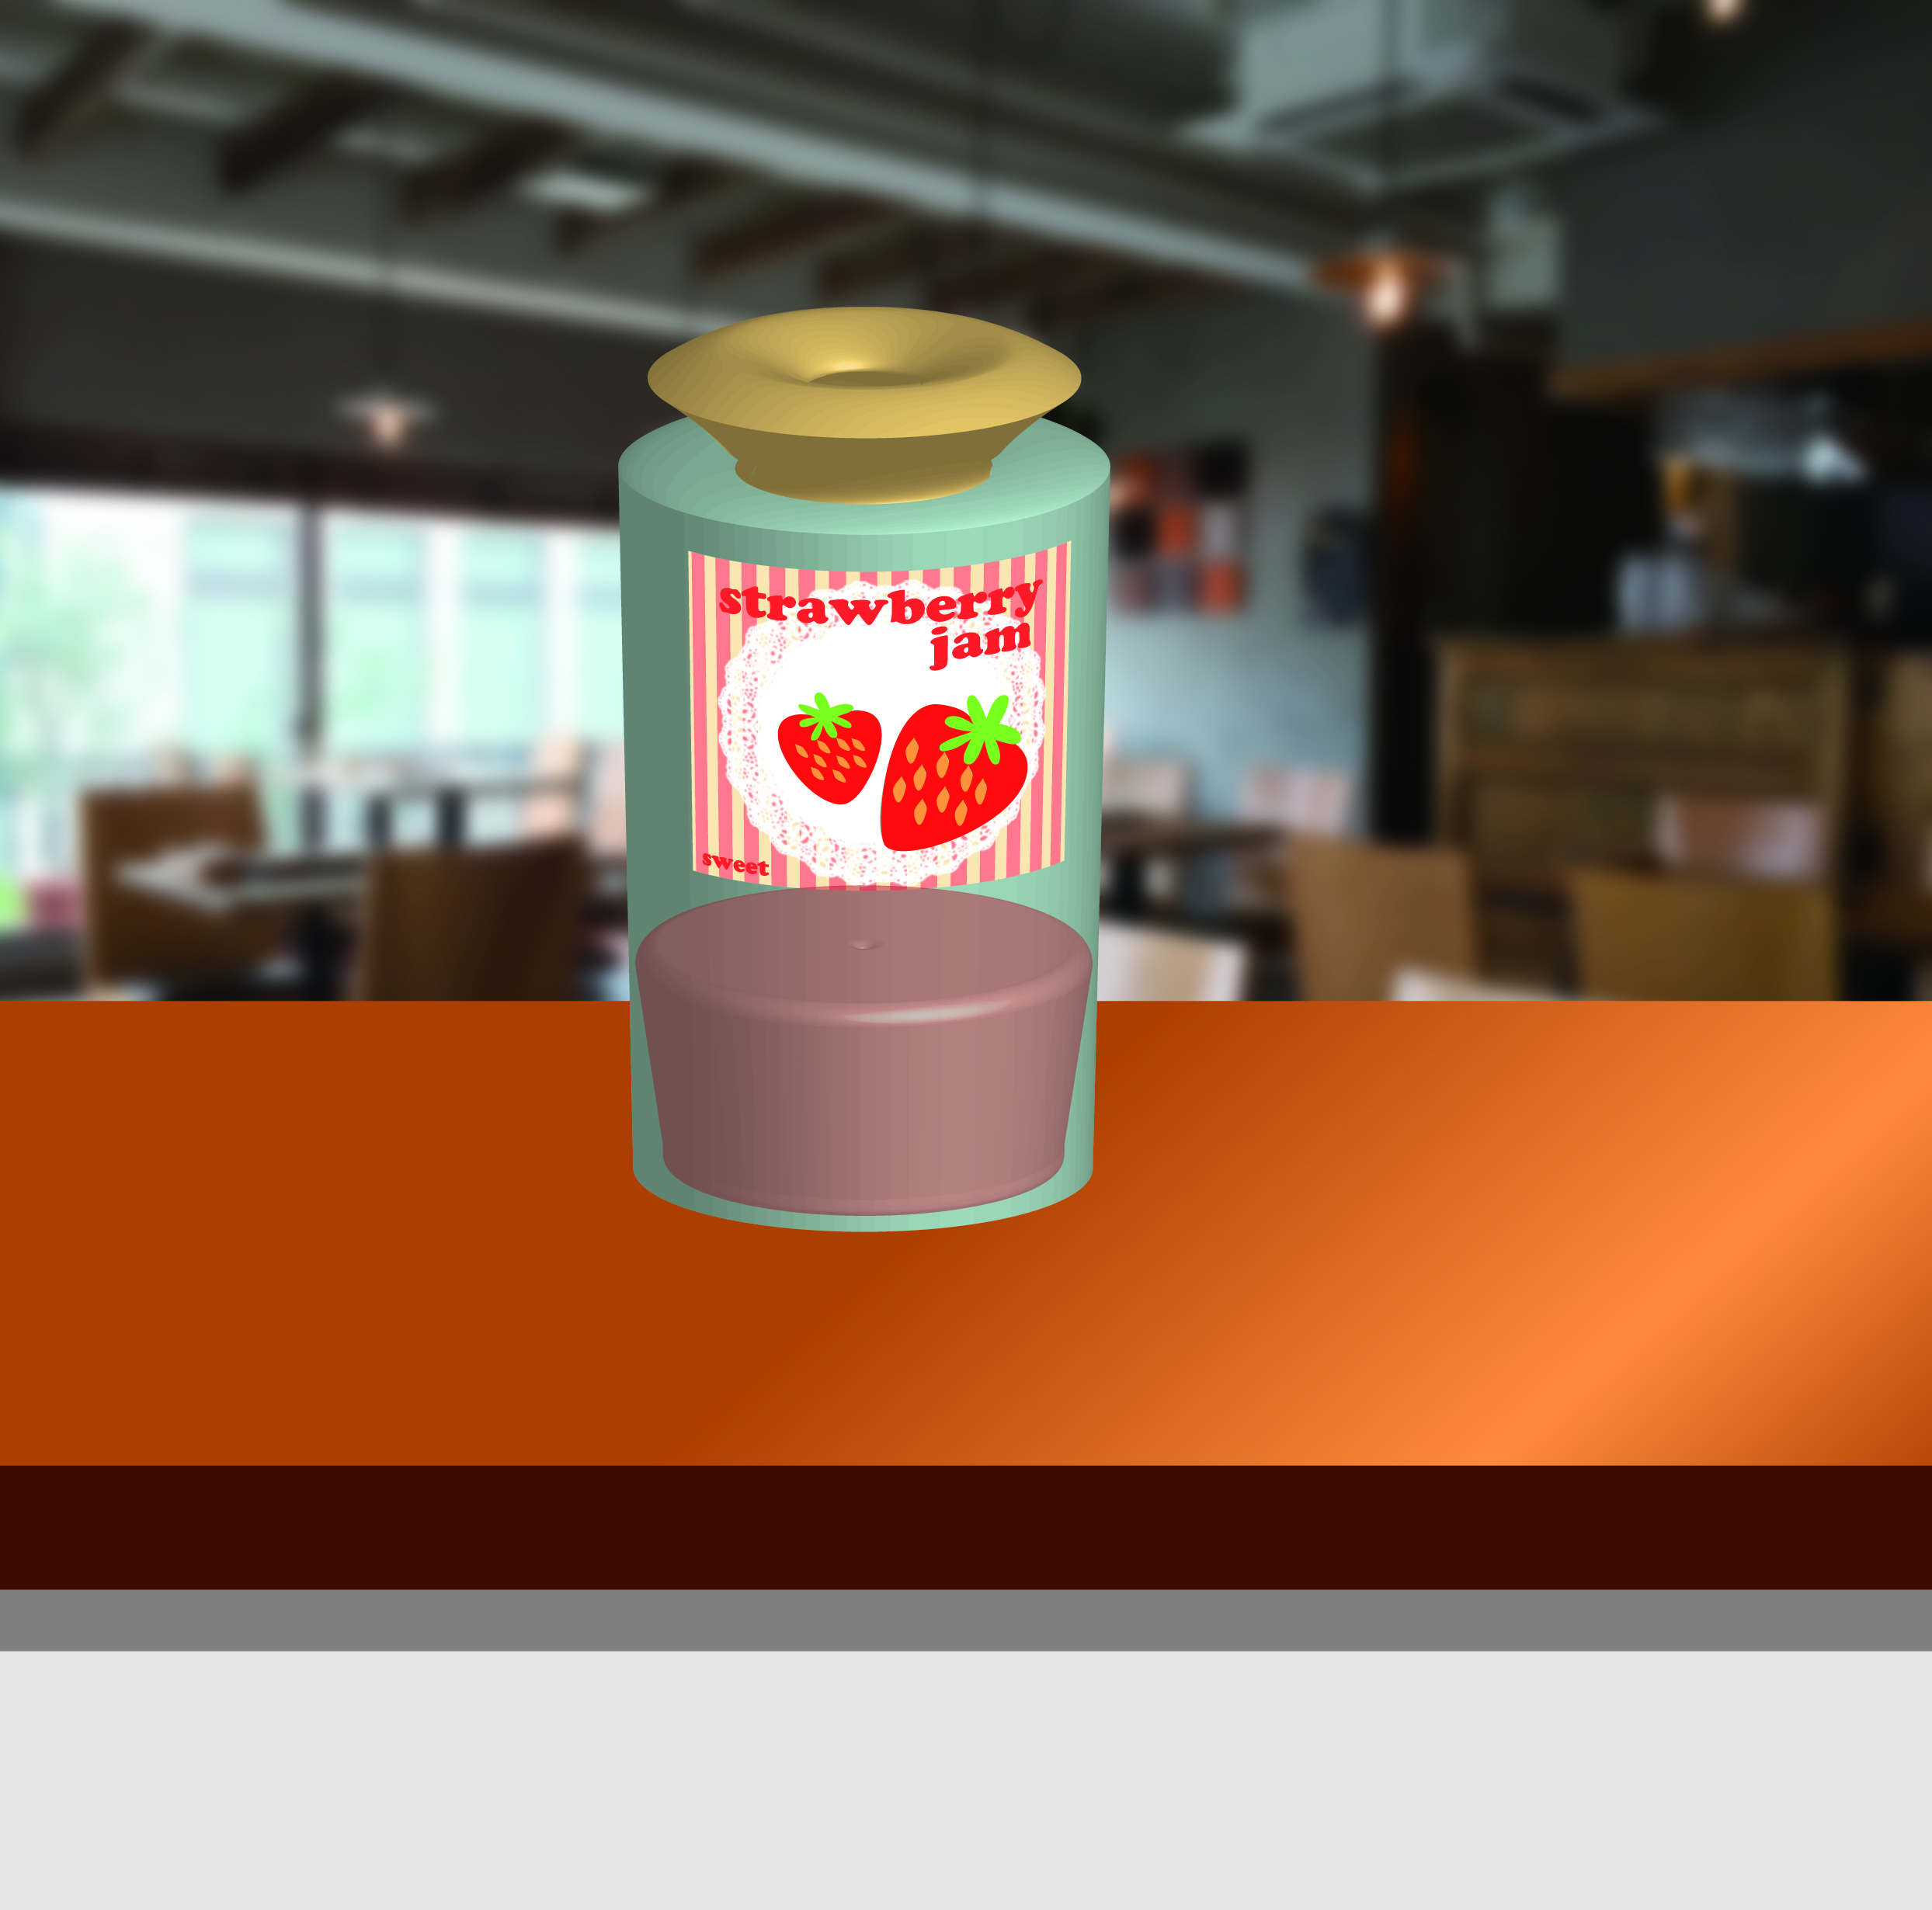
You can use symbols in many ways when creating 3D objects, so give it a try!
[clink url=”https://soft-no-sosa.com/en/2020/07/07/symbol/”]
関連記事
-
 How to Disable Lorem Ipsum Text
 -
How to Create 3D Designs
-
Mastering the Compound Path – Part1 (Basics)
-
Mastering the Align Panel in Illustrator
-
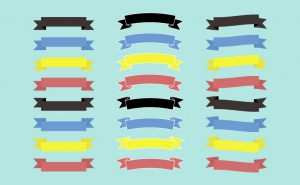
The Easy and Convenient Way to Make Ribbons in Illustrator
-
Hand Drawn Effect in Illustrator
-
How to make your own pattern brushes
-
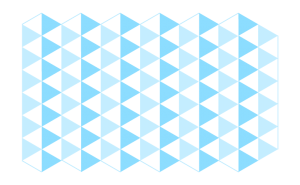
How to Make the Japanese Pattern