The Easy and Convenient Way to Make Ribbons in Illustrator
2020年6月11日
Let me introduce an easy way to make a ribbon illustration that will be a small decoration.
Start Illustrator and prepare a new horizontal Artboard.
You can fill it with any color you want. No Stroke is OK. You can change them later as you want.
Start with a hexagon.
1. Press and hold the Rectangle Tool in the Tools panel, then make a hexagon from the Polygon Tool horizontally.

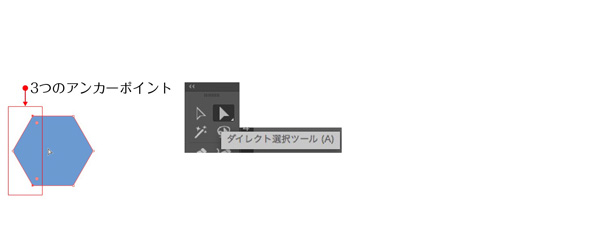
2.Select the three Anchor Points in  in the figure (to the left of the hexagon).
You can use the “Direct Selection Tool” to select each anchor point, but it’s easier to drag there.
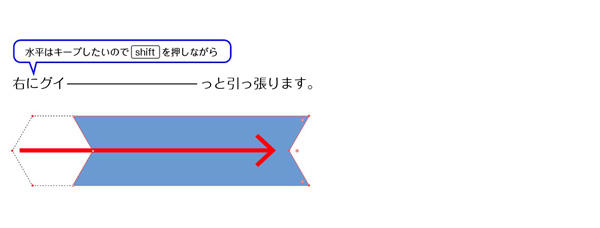
3. Move the selected area horizontally to the right.
You now have the two ends of the ribbon.
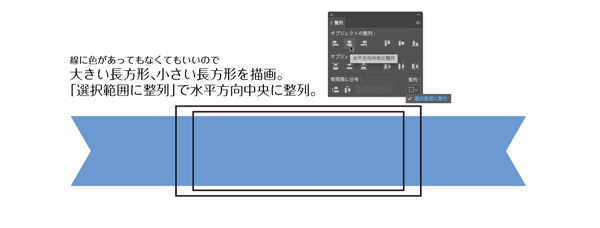
4.Create two rectangles (large one and small one) on the ribbon Using the Rectangle Tool.
The larger rectangle will be the fold and the smaller will be the front part of the rectangle.
With the ribbon and the two rectangles selected, center them horizontally.
5. Next, select [Effect] in the Pathfinder Panel or on the Menu Commands.> [Pathfinder] > [Divide]
![Apply [Divide] from Pathfinder.](https://soft-no-sosa.com/wp/wp-content/uploads/2018/10/ribon5.jpg)
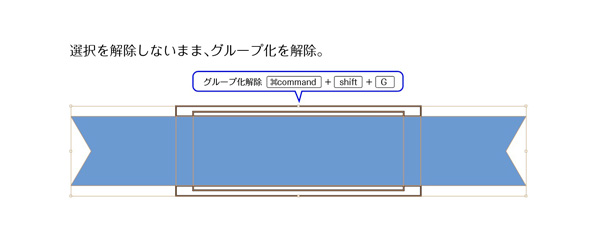
6. Ungroup without stopping Global Edit. Now it is ungrouped.
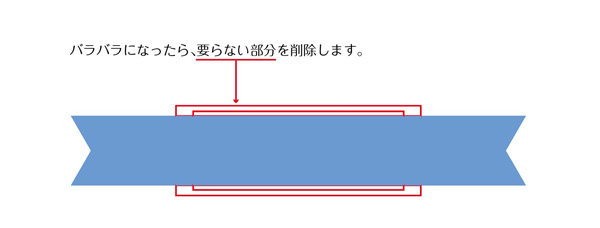
7. Remove the unnecessary part of the top and bottom of ribbon.
Note
Here’s what it looks like if you take each part apart.
I’ve tried to color-code for each part.

I’ve tried to color-code for each part.

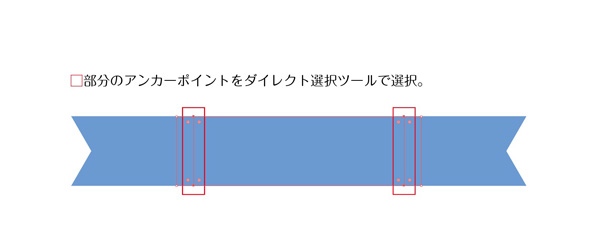
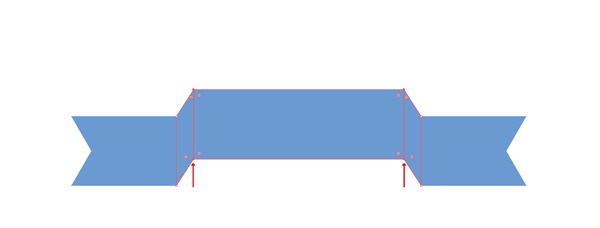
8. Select the Anchor Points in the of the figure.
It looks like there are two Anchor Points because they are overlapped, but in fact there are four Anchor Points each.
Drag the range of with the Direct Selection tool to include the anchor point.
9. Move the selected Anchor Points up. Three parts(the center part and the adjacent parts) are transformed if you selected four Anchor Points.
10. Select the Anchor Point in .
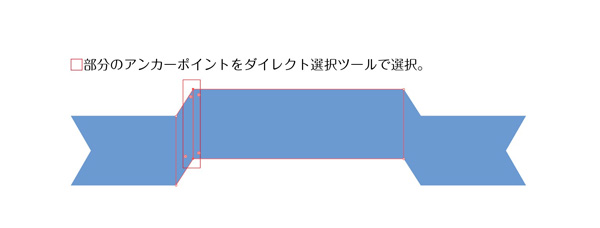
11. Move the selected Anchor Point to the left. It will be the folded part of the ribbon.
To move the right side just like before, Menu Commands > [Object] > [Transform] > [Move] and enter a numerical value.
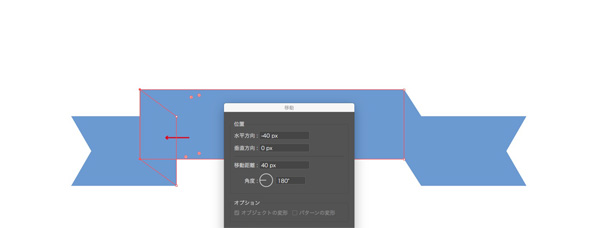
Enter a value in the “Horizontal” column to move it horizontally.
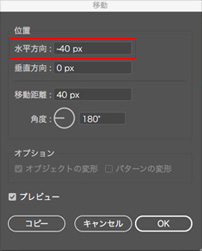
The current position will be 0, so if you move to the left, you should put “- (minus)” before value.
12.Run 10 and 11 on the right side as well.
(It moves to the right, so if the left side moves -40px, then the right side should move 40px.)
13. Now that the shape is done, you can add your favorite colors (or Stroke) and it’s done!
In the figure, the colors are darkened in the center, then both ends, then the fold, in that order.

You can arrange it any way you want.
For example, make the paint a gradient.

Add strokes.

Transform it by [Object] > [Envelopes]
![Transformed ribbon by [Envelope].](https://soft-no-sosa.com/wp/wp-content/uploads/2018/10/ribon16.jpg)
It’s good for practice, so try it out and see how it works.
For your information
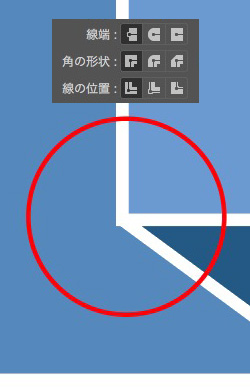
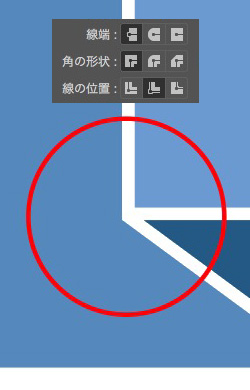
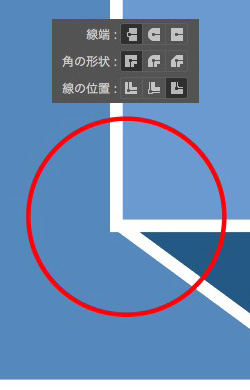
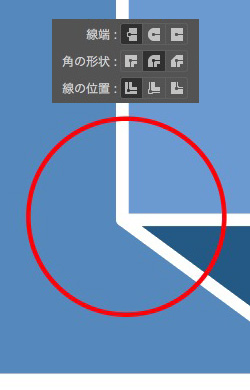
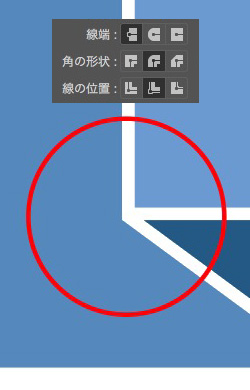
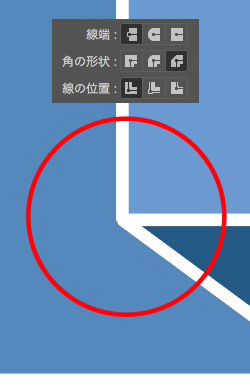
In the Stroke panel, you can specify not only the width of the Stroke, but also “Cap”, “Join”, “Align Stroke”, etc.
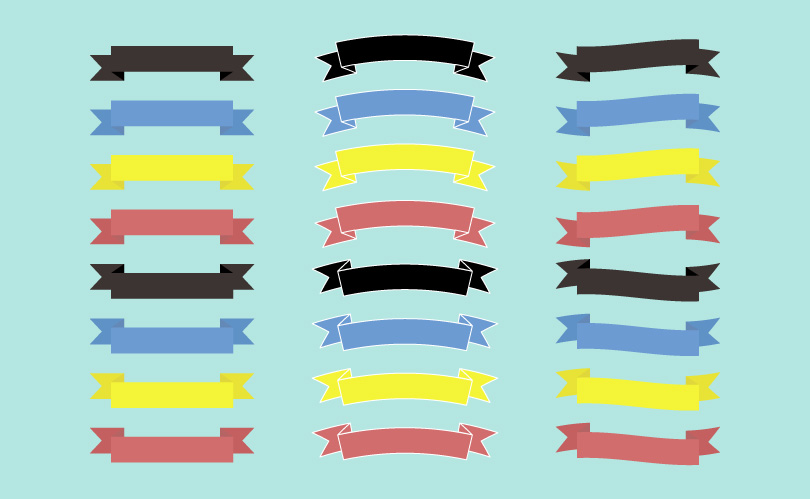
If you change the [Join] and [Align Stroke] of the stroke of ribbon, what will it look like?
Please take a look at the image below to see results.
*Join: Miter Join/Align Stroke: Align Stroke to Center
*Join: Miter Join / Align Stroke: Align Stroke to Inside
*Join: Miter Join/Align Stroke: Align Stroke to Outside
*Join: Round Join/Align Stroke: Align Stroke to Center
*Join: Round Join/Align Stroke: Align Stroke to Inside
*Join: Round Join/Align Stroke: Align Stroke to Outside

*Join: Bevel Join/Align Stroke: Align Stroke to Center
*Join: Bevel Join/Align Stroke: Align Stroke to Inside

*Join: Bevel Join / Align Stroke: Align Stroke to Outside

関連記事
-
How to Easily Recolor in Illustrator
-
“Image Trace” : For those who can’t get enough of Photoshop’s Cutout
-
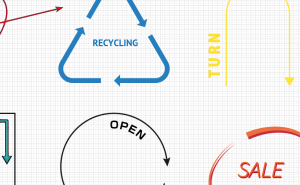
How to Make a Recycle Symbol
-
How to Make a Spirograph in Illustrator
-
Use the Star Tool!
-
How to Use the Pathfinder in Illustrator
-
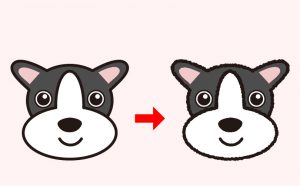
Hand Drawn Effect in Illustrator
-
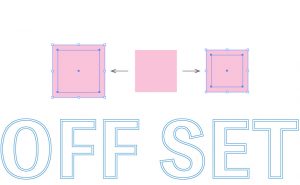
What is the “Offset Path” in Illustrator?