“Image Trace” : For those who can’t get enough of Photoshop’s Cutout
2020年6月17日
The first time I tried Photoshop’s cut-out feature I was impressed, but as I got used to it, I started to think it was kind of rough…
So, I was looking for a function that would allow me to create a more detailed illustration of a photo, I found Illustrator’s image tracing function and I tried it out right away.
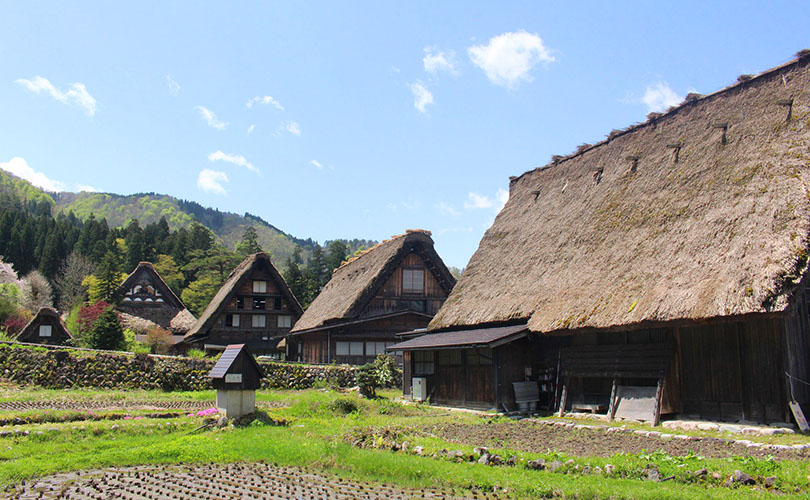
This is probably a picture of the Shirakawa-go that are Japanese traditional houses in Gifu prefecture. I’ve never visited it, but it’s so beautifull place. If you want to illustrate this photo, you can increase the saturation to make it look better.
This is the result of the “Filter > Filter Gallery > Cutout” in Photoshop. I’ve set “Number of Levels” to 8 and “Edge Simplicity” to 0.
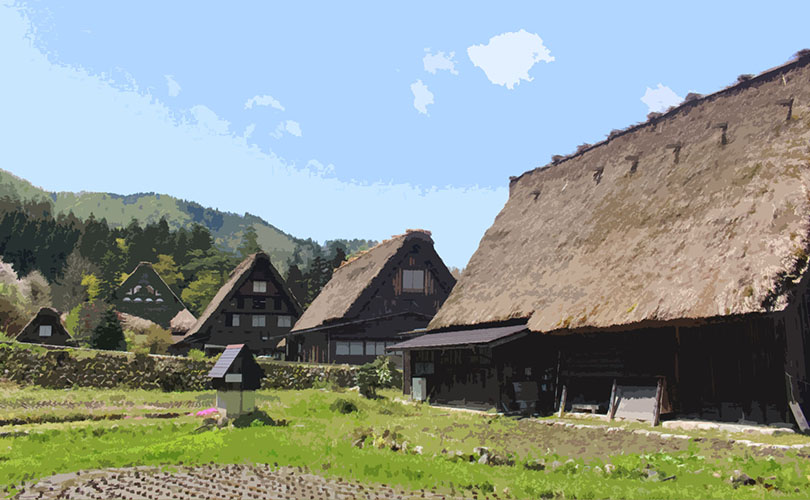
The sky looks unnatural because the number of colors is not enough. This is rough and fails to convey the idyllic atmosphere of Shirakawa-go. So I immediately used Illustrator’s Image Trace.
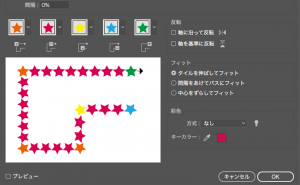
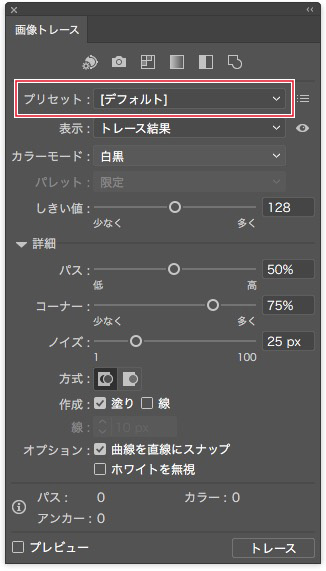
In Illustrator, place the image in a new file and select “Window > Image Trace”. When you select it, the Image Trace panel will appear as shown below, and you should change the preset from the default to “High Fidelity Photo”. (Please note that the image must be selected to be active.
Then the photo will look like an illustration and you can adjust the color value. The higher it is, the more delicate the photo’s touch is, and the lower it is, the rougher it is.
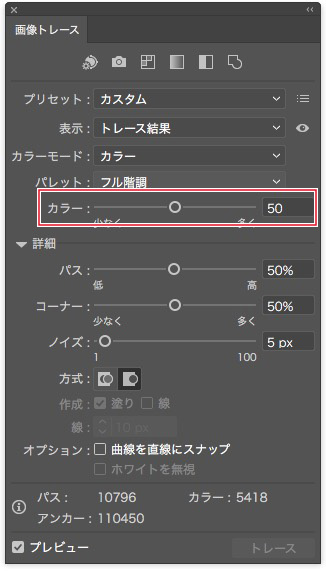
When you have decided on a color value, click on “Expand” to confirm it. That’s it!


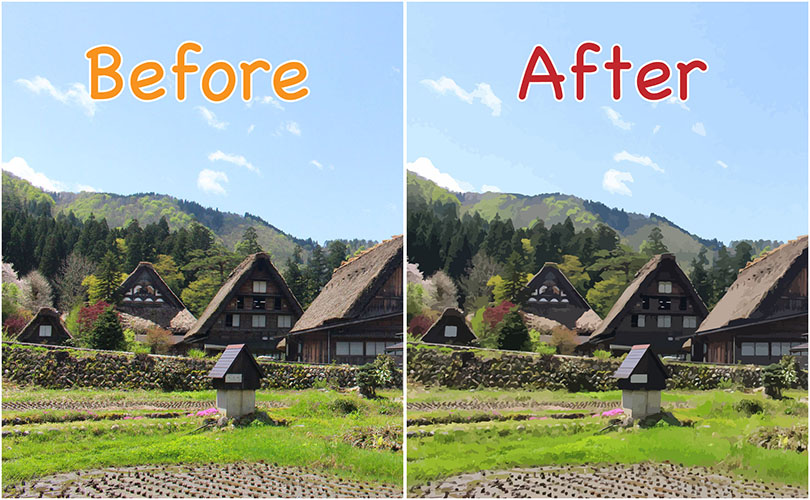
Here’s a comparison with the original photo. It became to be like an illustration.
An additional information
I’ve tried others, so you can compare them.
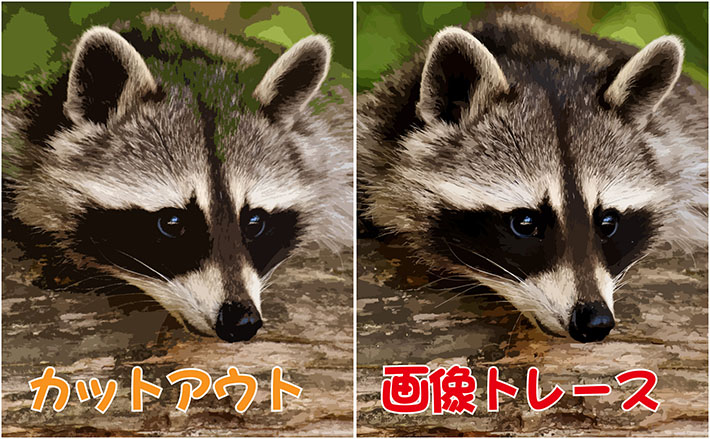

The advantage of Photoshop’s cutouts is that they are easy to make images look like illustrations, on the other hand, Image Trace in Illustrator allows for more detailed settings. Try using it for different purposes!
関連記事
-
 How to Wrap Text Around Object
 -
How to Create Shadows with the Free Transform Tool
-
Using the Touch Type Tool for Typography
-
What’s the difference between the Black and White Arrow?
-
Drawing Straight Lines with the Pencil Tool
-
How to make your own pattern brushes
-
How to Use the Blend Tool
-
How to Use the Pathfinder in Illustrator