How to make your own pattern brushes
2020年6月15日
There is a “Brushes” that decorate the lines you draw in Illustrator.
For example, if you draw a path like the one below,
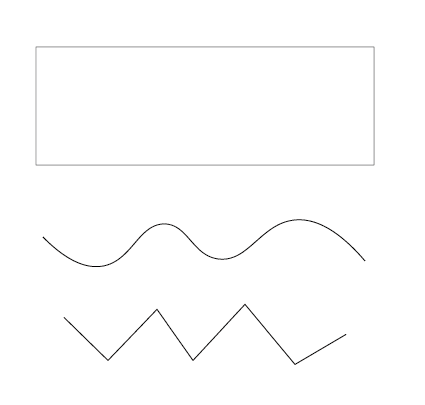
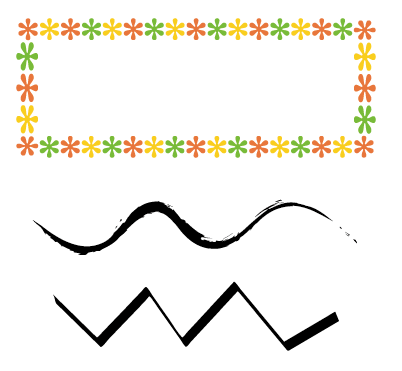
Brushes make it decorated in various ways.
Select a path, choose the one you want from the Brushes Panel and click on it.

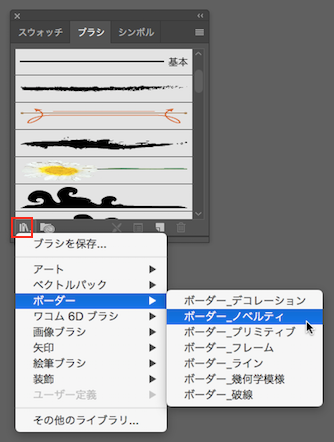
You’ll find various brushes in Brush Library.
Of course, you can also create your own.
So, I’d like to introduce how to make a pattern brush.
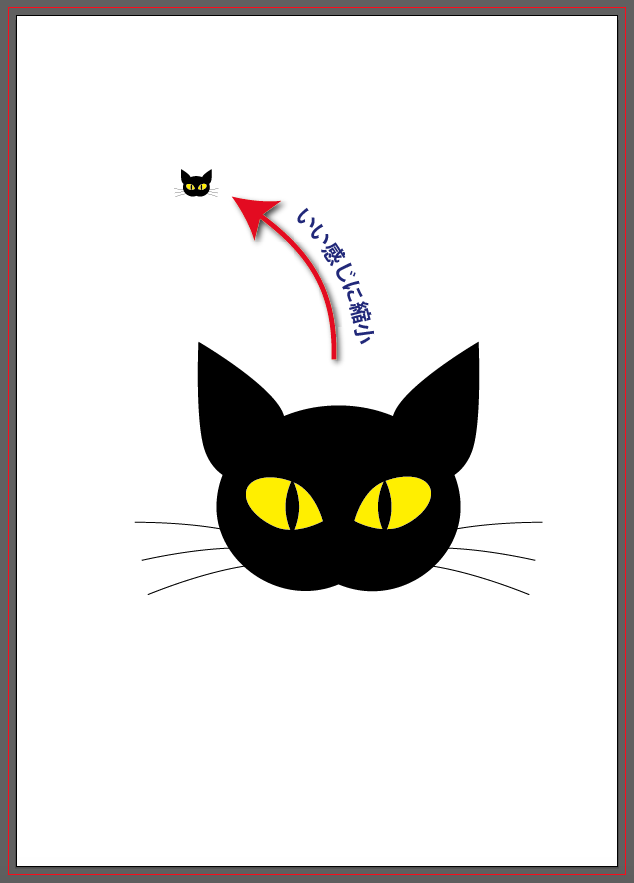
First, make some patterns for your new brush.

Shrink it down.
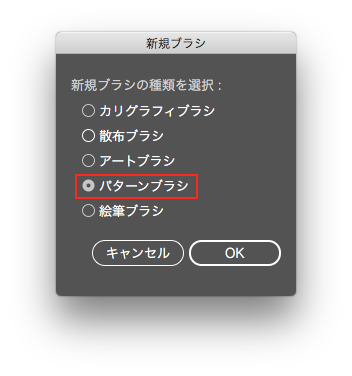
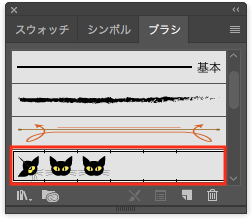
Select the object and add it to a New Brush. Or you can drag & drop the object onto a thumbnail.

Check the pattern brush and select OK.
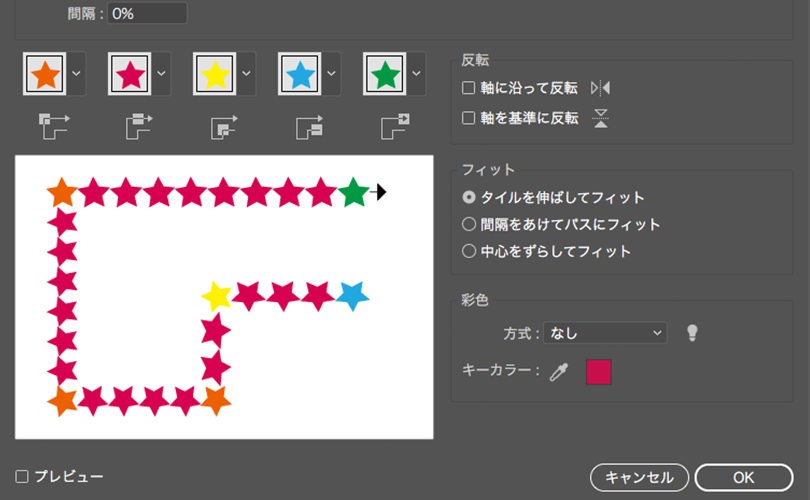
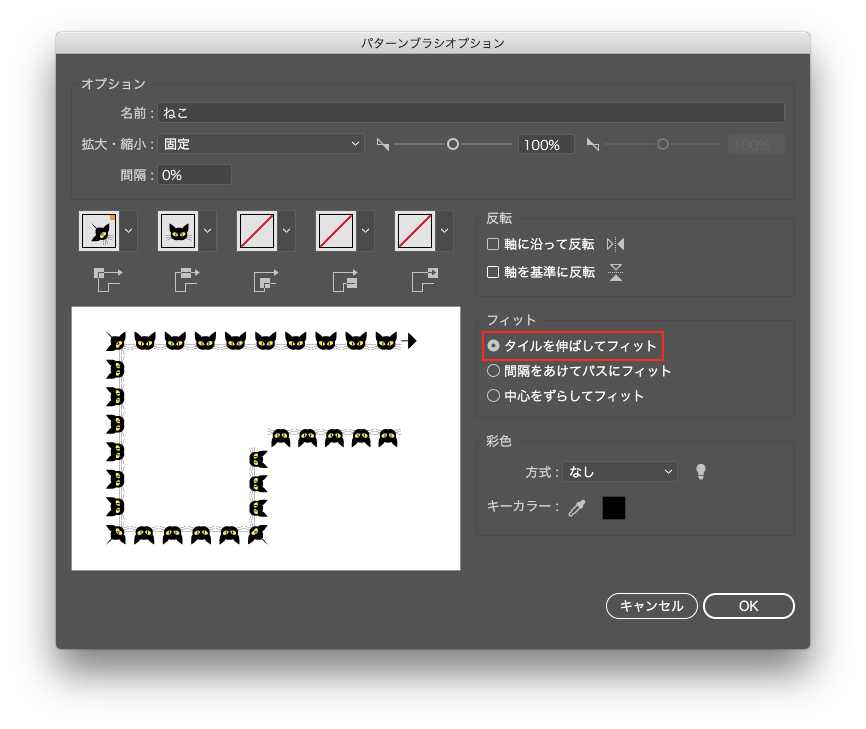
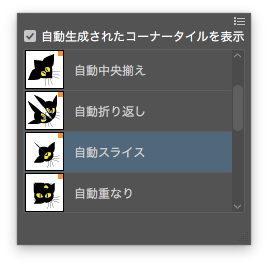
When the Pattern Brush Options panel appears, select “Stretch to fit” and select OK.
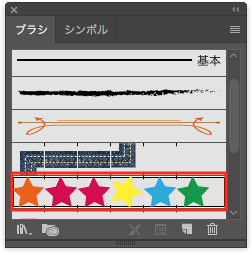
A new brush appears on the thumbnail.
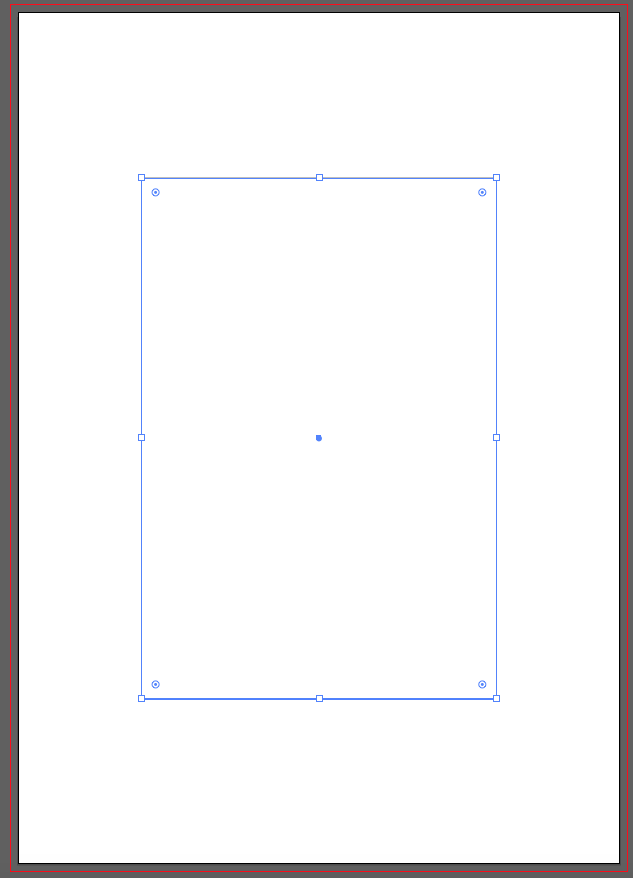
Let’s create a rectangle frame and apply the brush.
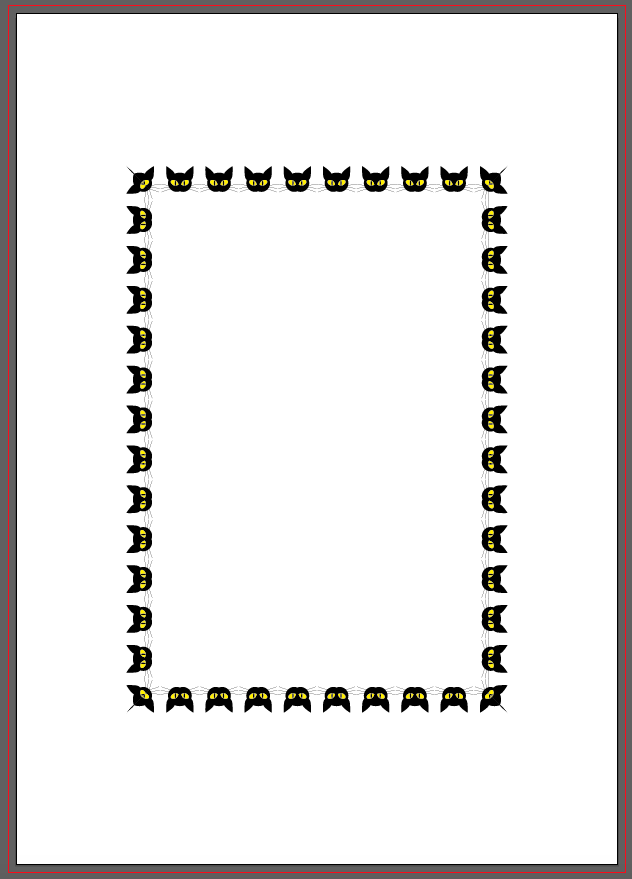
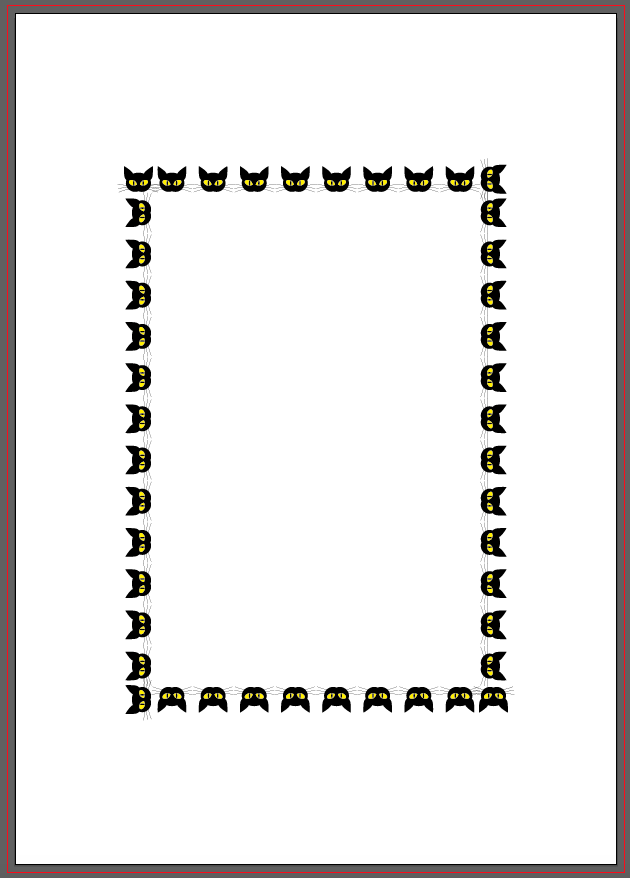
I don’t like the corners.
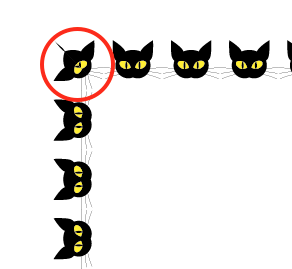
The corners are generated automatically in illustratorCC, but,in this case, it doesn’t fit perfectly because the pattern is a little complicated.
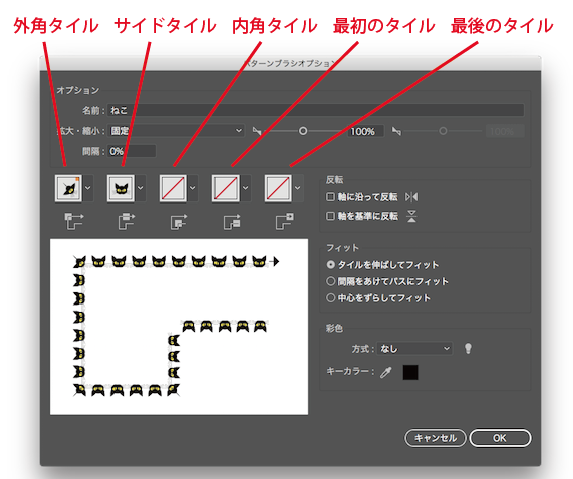
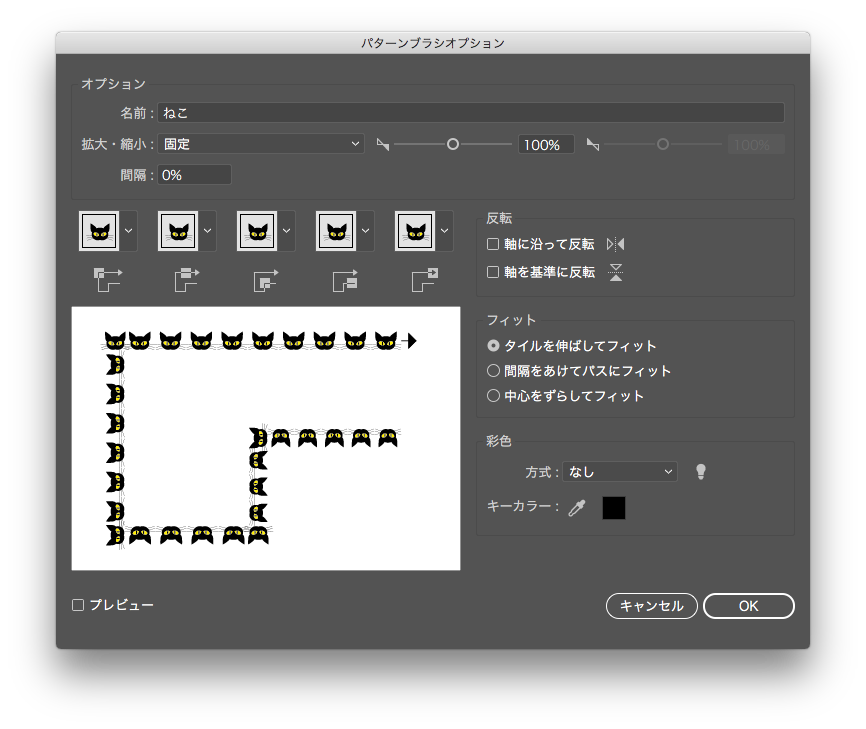
Double click the thumbnail to display the Pattern Brush Options panel.
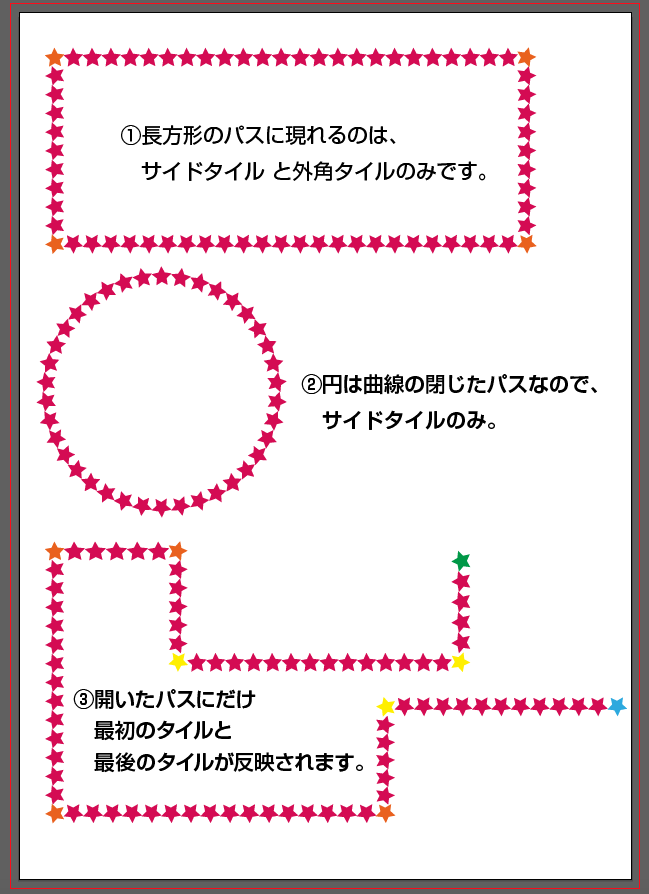
The pattern brush contains an Outer Corner Tile, Side Tile, Corner Tile, Start Tile and End Tile.
I’ll show you some example, create a pattern brush with the stars created by the Star Tool.

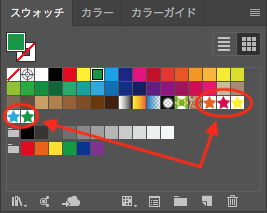
The Pattern brush tiles link to the pattern in the Swatches panel, so first of all, drag five different colored stars into the Swatches Panel to create a new pattern.
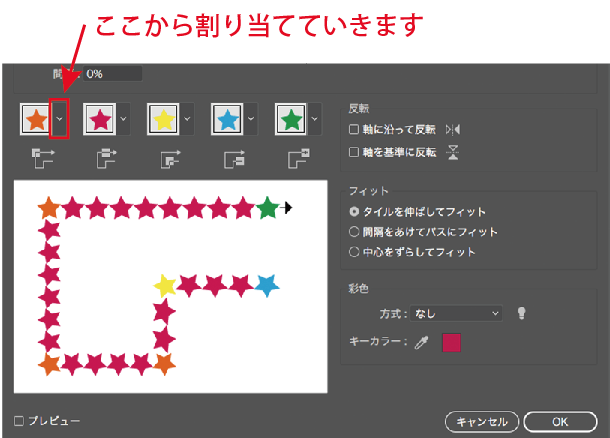
Start a new brush and assign a different star to each tile.
Create a path like the one shown below.
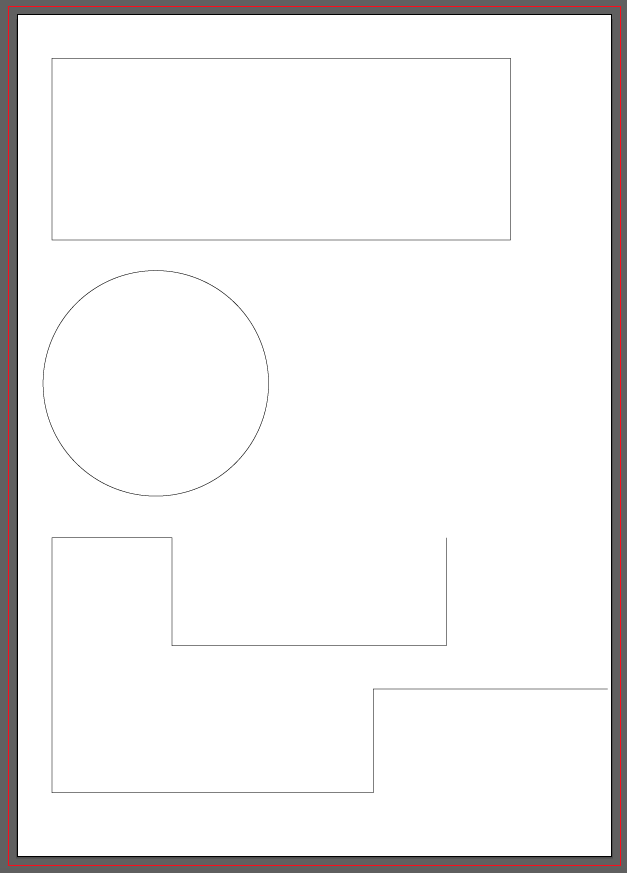
And then, apply a pattern brush.
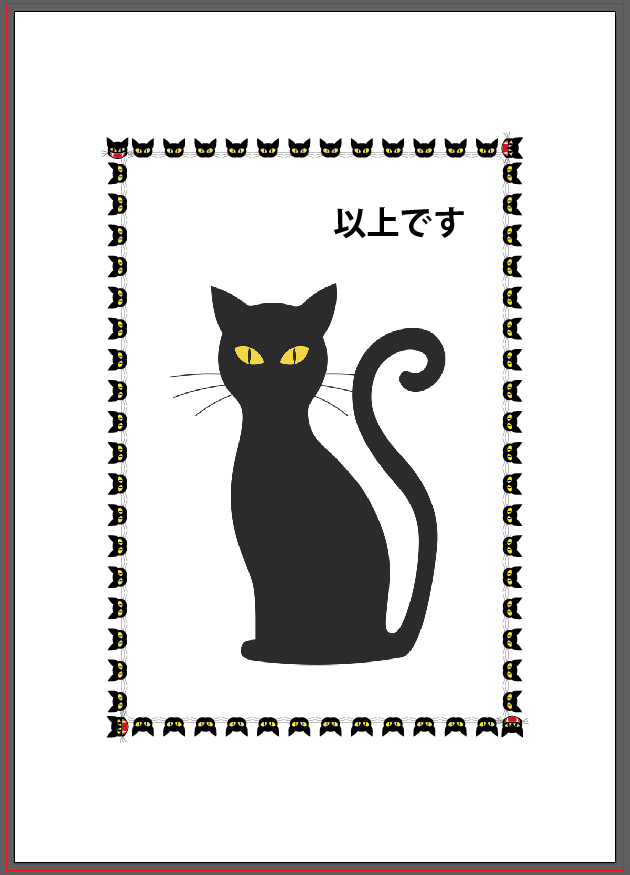
By the way, a new cat illustration registered as a new brush is a side tile, which can be used in the corners or at the beginning or end of the brush by registering it in the Swatch panel.
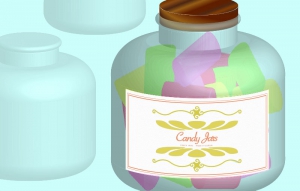
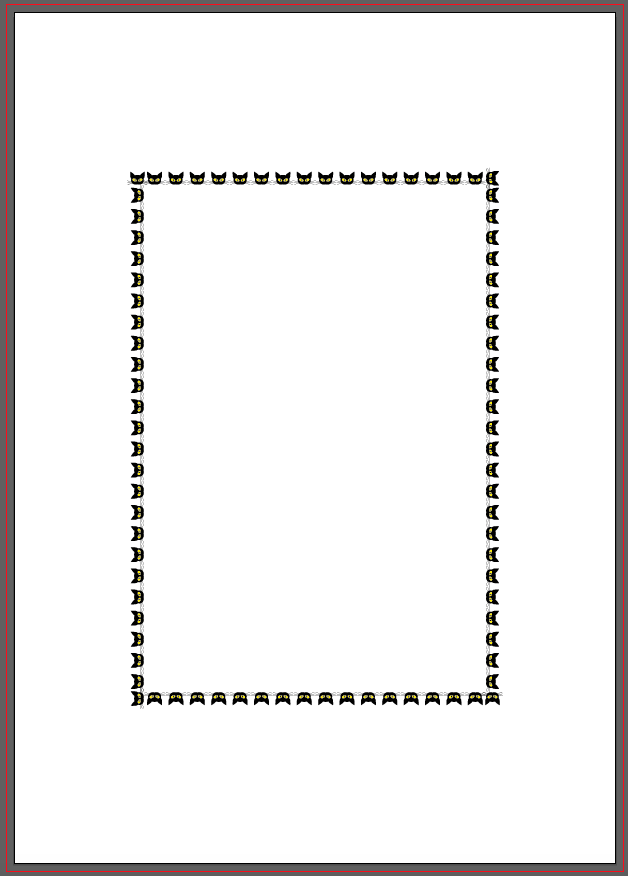
This is what happens when you create a frame and apply it.
If you change the Stroke Weight from the Line panel, the brushes width will also change.
関連記事
-
 How to Create 3D Designs
 -
Mastering the Compound Path – Part2 (Practices)
-
How to Make a Sunburst Vector Easily
-
How to Make the Japanese Pattern
-
How to Disable Lorem Ipsum Text
-
Design a 3D object in Illustrator!
-
Create Speech Bubbles in Illustrator
-
The Easy and Convenient Way to Make Ribbons in Illustrator