Design a 3D object in Illustrator!
2020年6月10日
I’d like to introduce you to useful tips for making 3D illustrations in Illustrator.
This feature allows you to create three-dimensional characters and objects quickly and beautifully.
Let’s start with the basics of how to make them!
The basics of how to make a 3D object
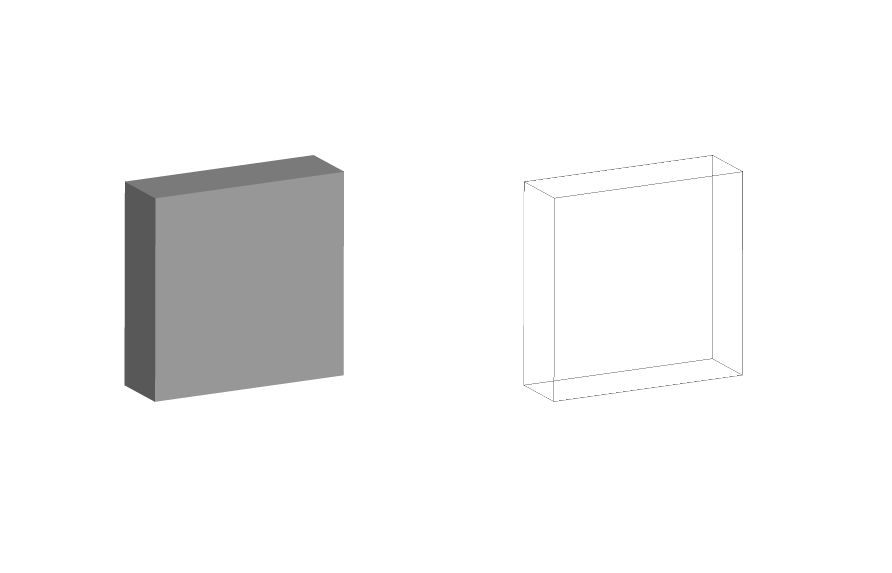
Let’s create a square using the [Rectangle Tool] in the Tools panel.
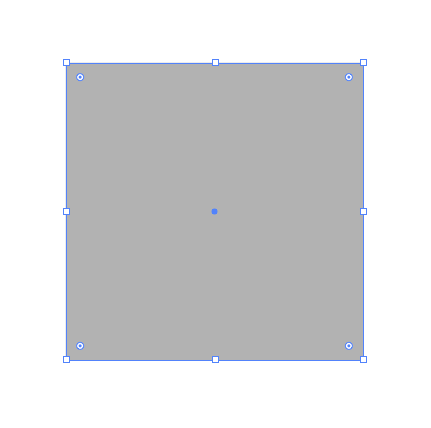
Select [Effects] in the [Menu Commands] with the square selected> [3D] > [Extrude Bevel]
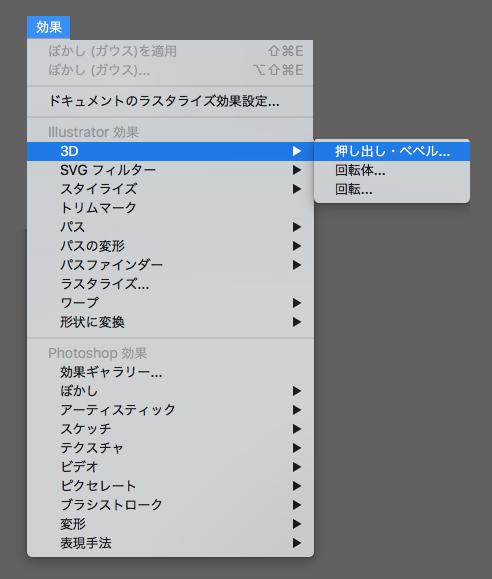
There’s the 3D Extrusion and Bevel Options panel.
Select [OK] as the default setting with the panel is opened.
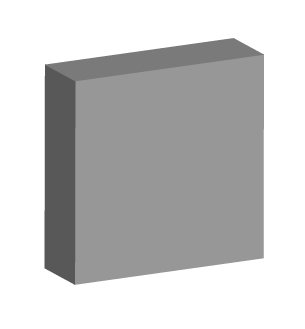
And now, you can see a three-dimensional object that used to be a square flat object.
Let’s create a 3D object as you want
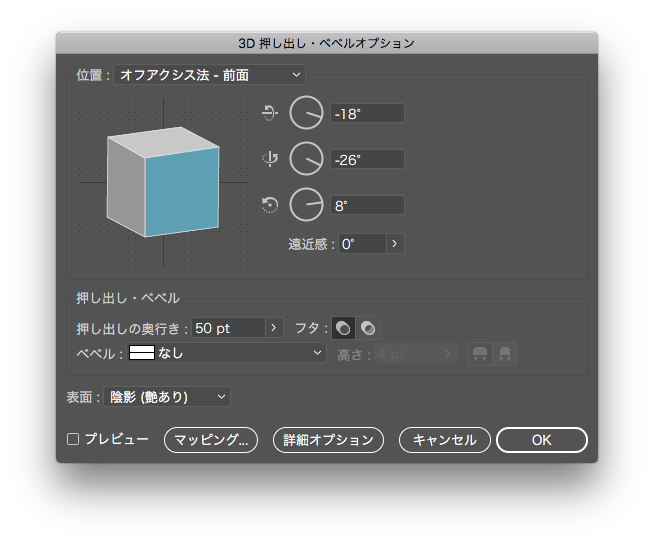
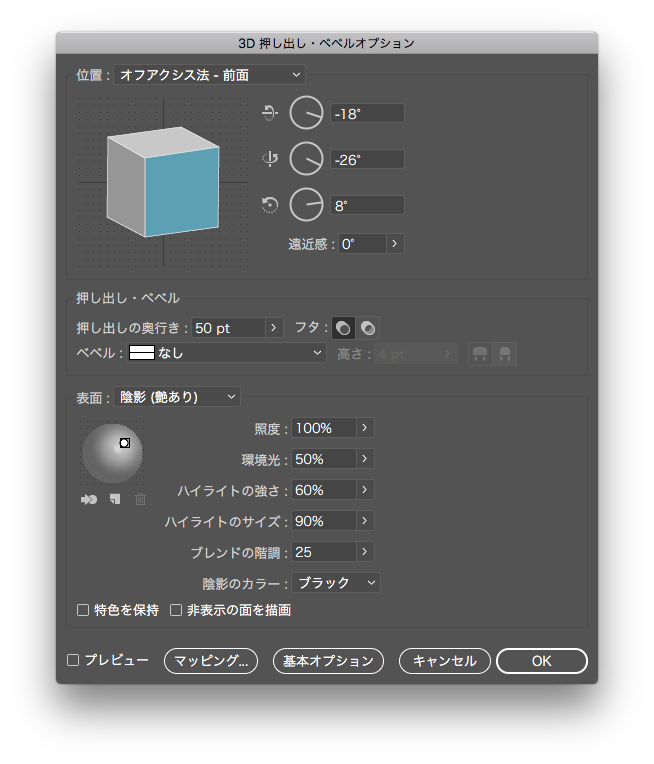
3D Extrude & Bevel Options
You can create the object as you want by adjusting the position, angle, perspective, depth, lid, bevel and surface values in the panel.
Click the button at the bottom left in panel and check the preview while working.
You can also determine the angle by dragging an object directly in the panel from [Position] > [Free Rotation].
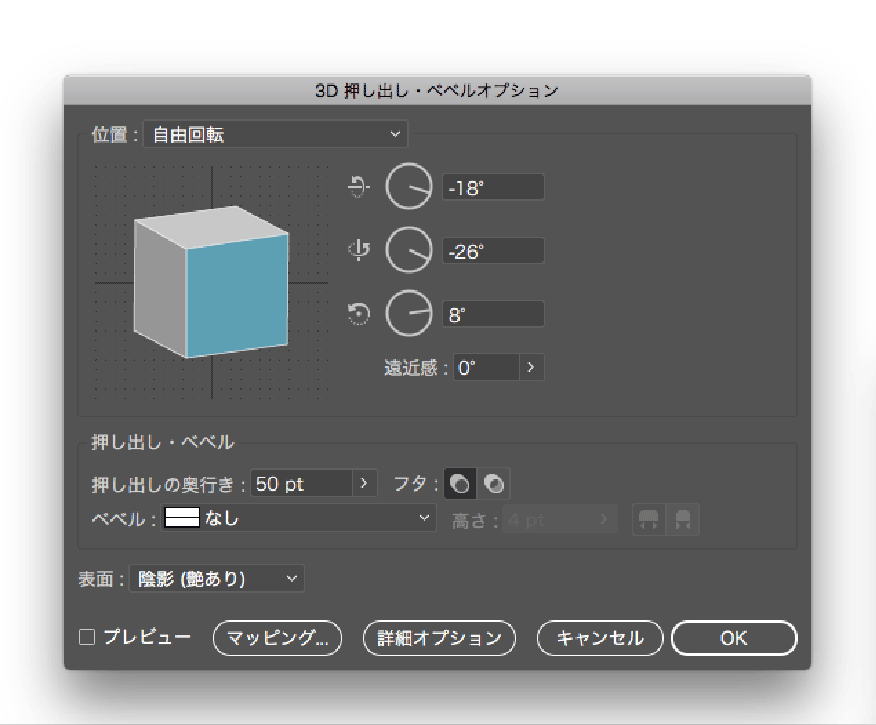
Let me show you some of the features in the panel.
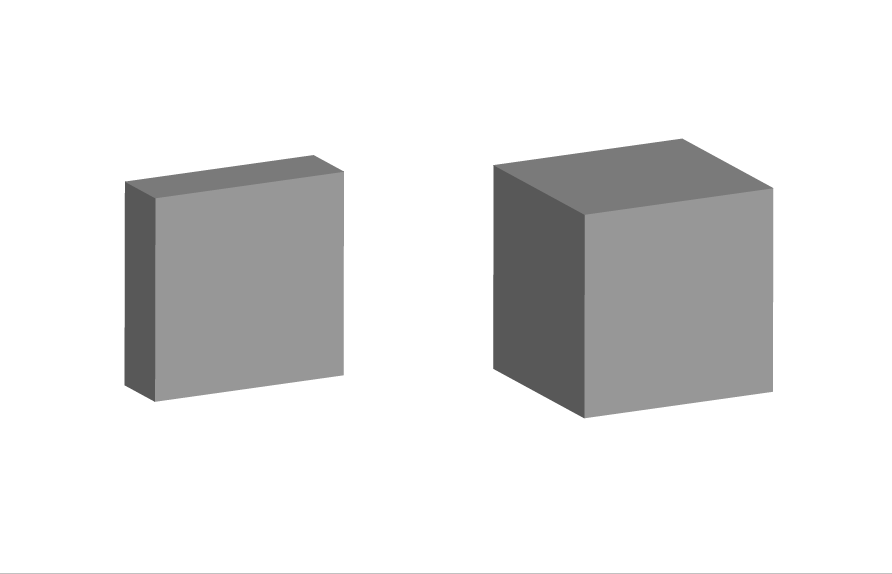
50pt / 150pt
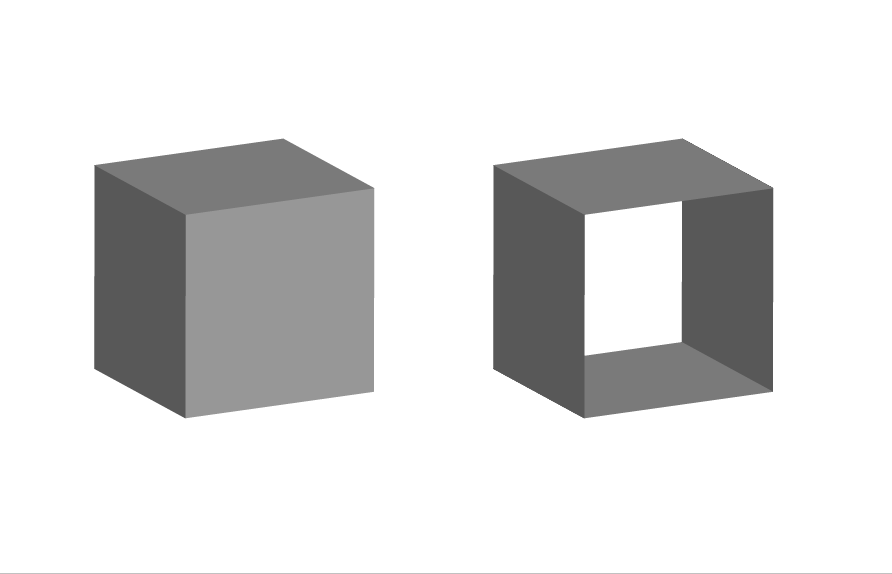
on / off
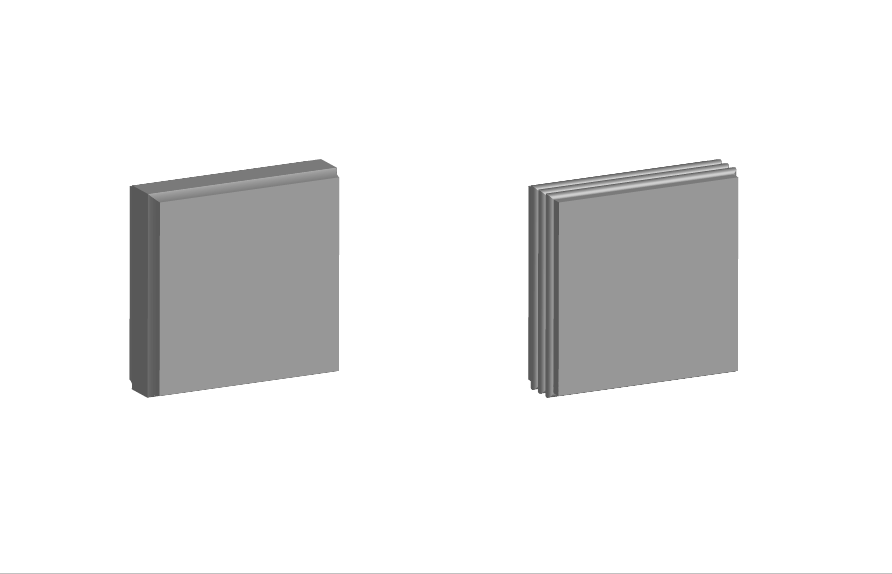
Cove / Complex 3
Plastic Shading / Wireframe
In addition, you can set it to [Diffuse Shading] and [Plastic Shading] by clicking [More Options] on the bottom menu.
You can also apply effects other than graphics.
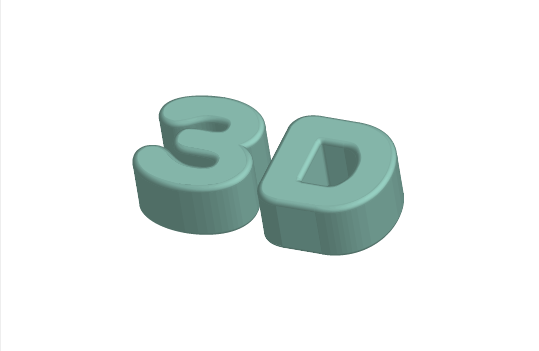
Let’s apply a three-dimensional effect on the letters.
Enter characters by using the Text tool in the Tools panel.
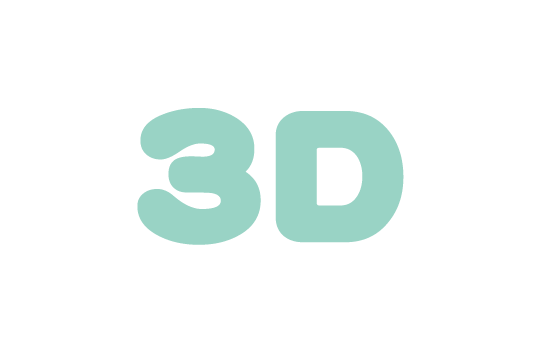
Adjust the angle by [Custom Rotation] > Depth: 50pt > Cap: on > bevel: Tall-Round > surface: Diffuse Shading
The “3D” letters appear in three dimensions.
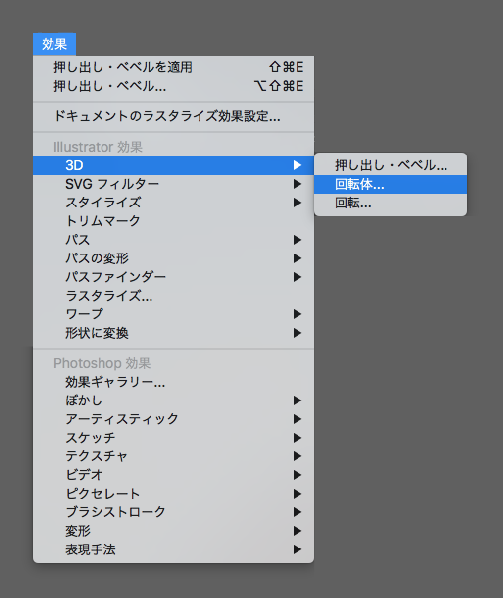
3D Revolve Options
Select [Effects] in Menu Commands > [3D] > [Revolve] and display the 3D Revolve Options panel.
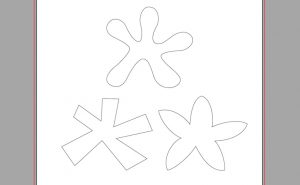
Create an object like the one below using the graphics tools, pathfinder, etc.
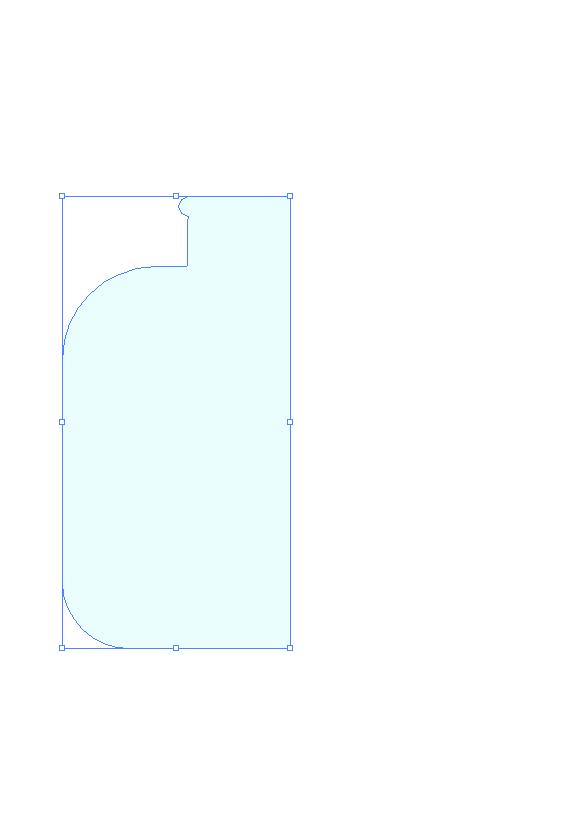
Enter the the following values in the dialog box and then select [OK]:
-Position: Custom Rotation
-Specify rotation around the X axis: -14°
-Revolve Angle: 360°
-from: Right Edge
-Surface: Plastic Shading

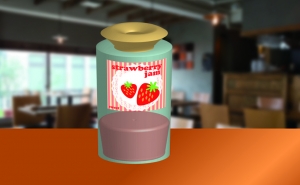
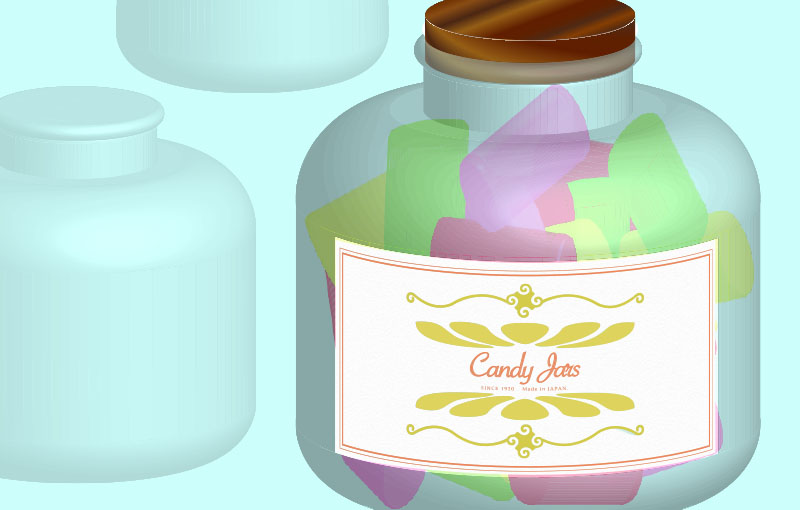
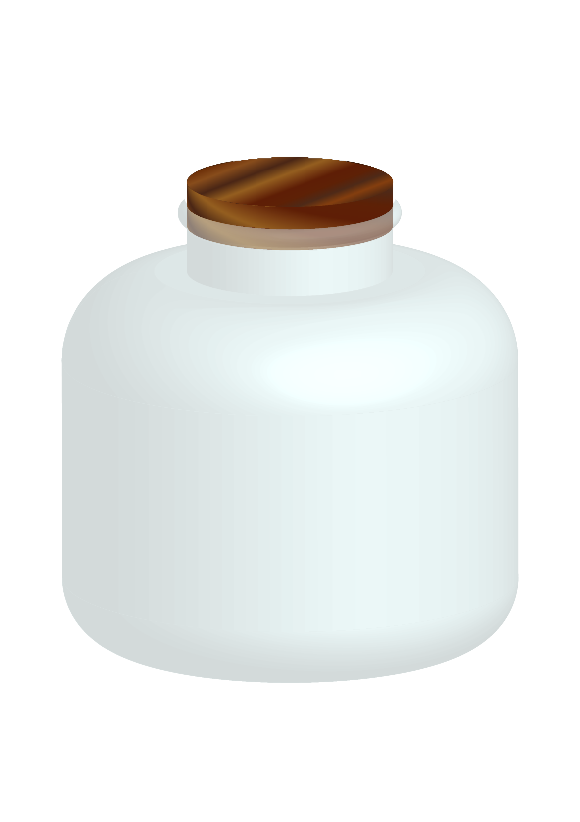
You can see a 3D object that looks like a glass bottle.
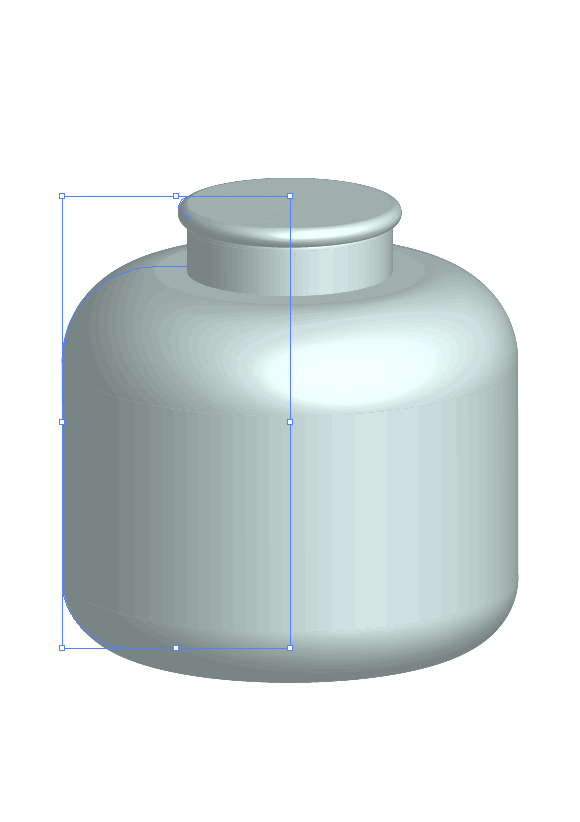
In addition, add wood grain to the bottle caps using the 3D panel’s mapping capabilities, and adjust for opacity and so on…
A glass jar with a wooden cap is now complete.
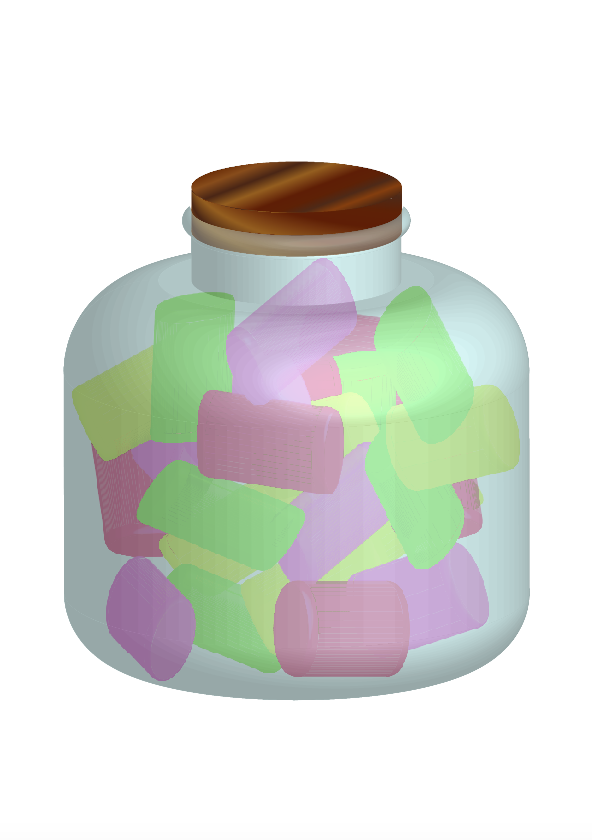
Put the candy in.
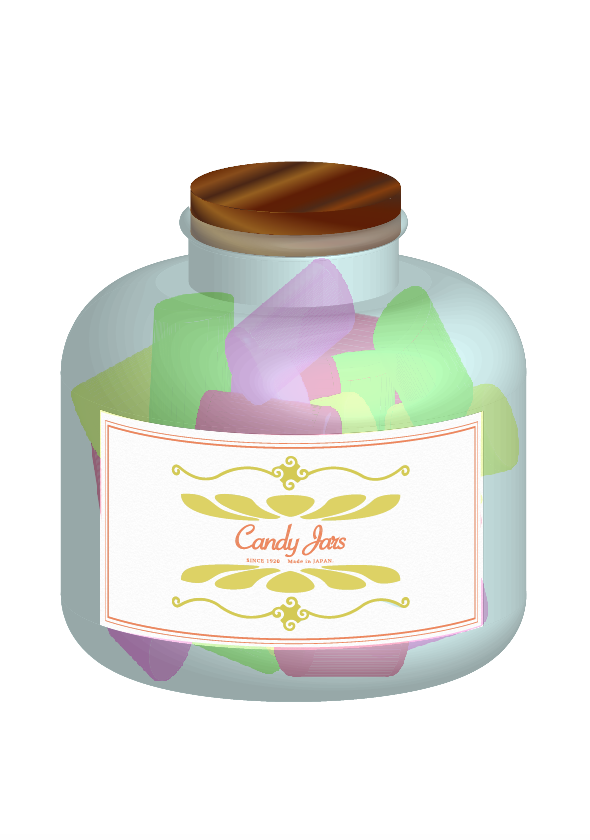
Label it with the mapping…
The candy jar is complete!
This is the end of the explanation of how to make 3D illustrations using Illustrator.
Did you like it? If you can get the hang of it, you can draw a variety of illustrations.
関連記事
-
 How to Map Symbols to 3D Objects
 -
[Challenge] Pen Tool Practice: Can you do it in one minute?
-
Mastering the Compound Path – Part1 (Basics)
-
Easy drawing with Shape tools in Illustrator
-
How to Create Superscript or Subscript in Illustrator
-
Tracing Hand Lettering in Illustrator
-
Symmetry and vertical symmetry: Mirror drawing is useful
-
How to Use the Blend Tool