Create Speech Bubbles in Illustrator
2020年7月17日

Speech bubbles
We see speech bubbles everywhere, such as comics and advertising design.
You can easily create them with Illustrator.
First, I’ll show you how to create them with the Distort Transform tool.
So let’s do it!
How to make speech bubbles using the Distort Transform
Let’s create different types of speech bubbles using the Distort Transform Tool.
Zig zag
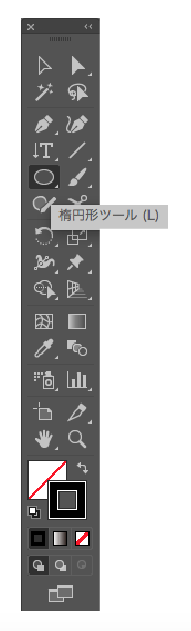
1. Go to [Tools Panel] > [Ellipse Tool] to create a circle on the artboard.
2. Go to [Menu Bar] > [Effect] > [Distort Transform] > [Zig Zag] to display the Zig Zag panel.
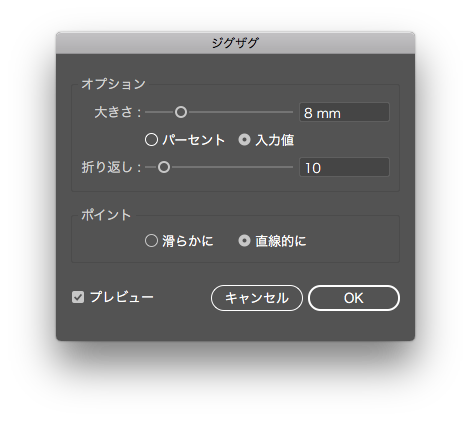
Enter each of the required numbers and click OK.
Size : 8mm
Ridges per segment : 10
Points : corner
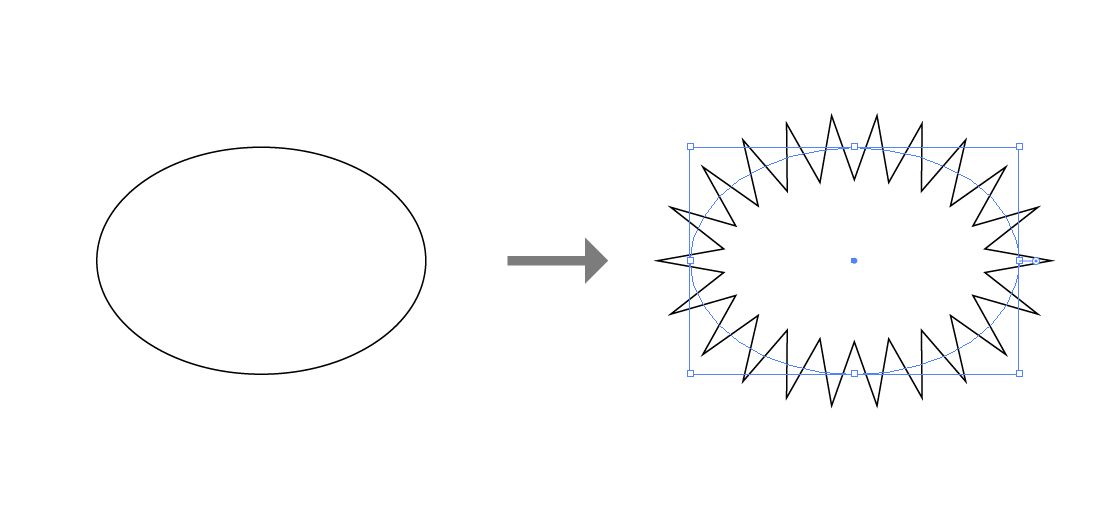
The path has been transformed and the speech bubble is now complete.
You can create various bubbles by changing the values and using other effects.
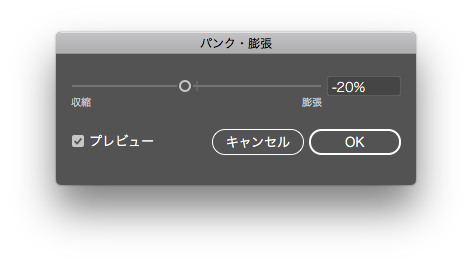
Pucker
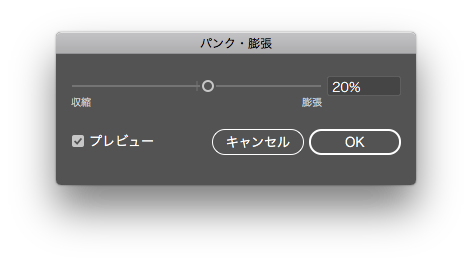
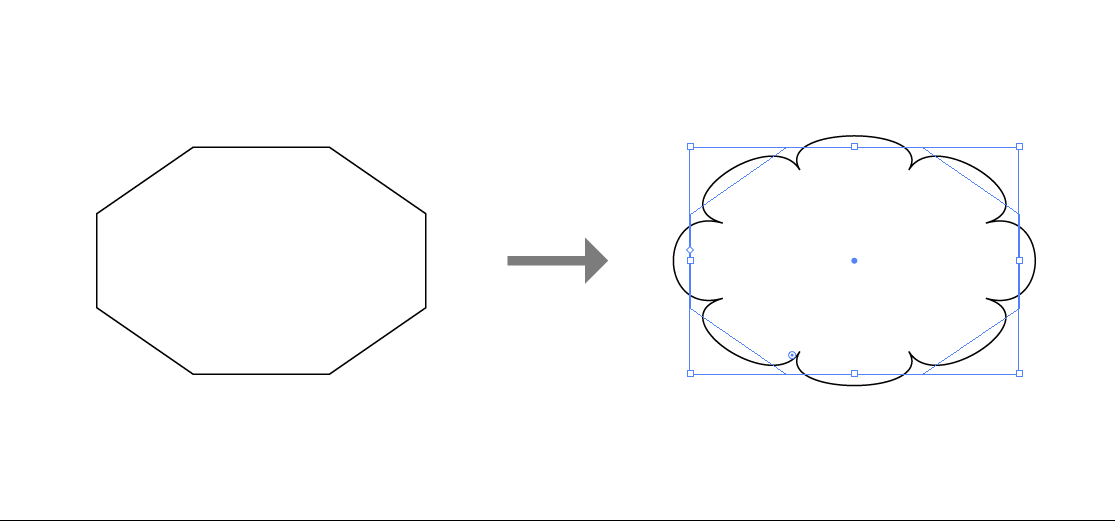
[Menu Bar] > [Effect] > [Distort Transform] > [Pucker & Bloat]
When you create a speech bubbles using [Pucker & Bloat], use polygons.
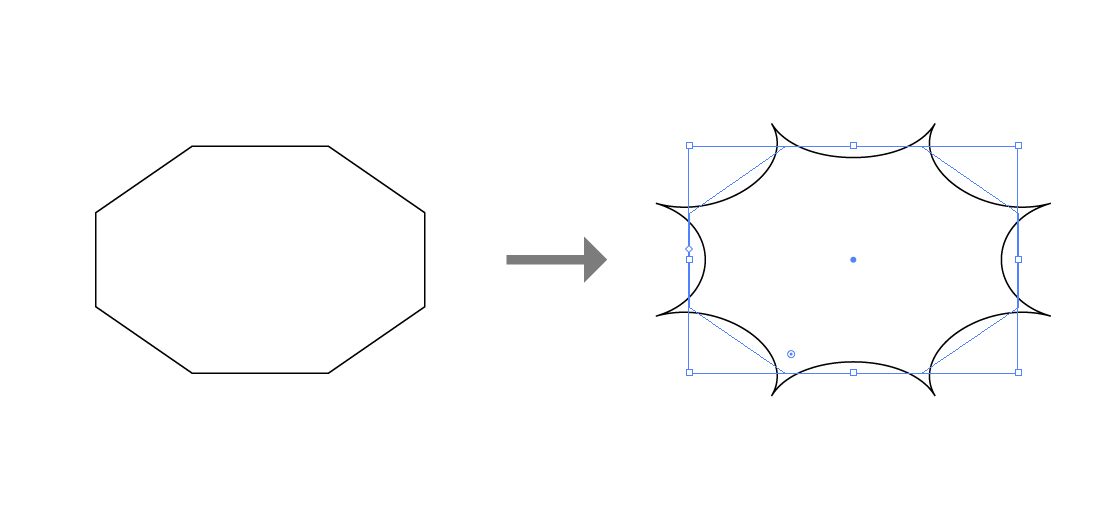
Bloat
[Menu Bar] > [Effect] > [Distort Transform] > [Pucker & Bloat]
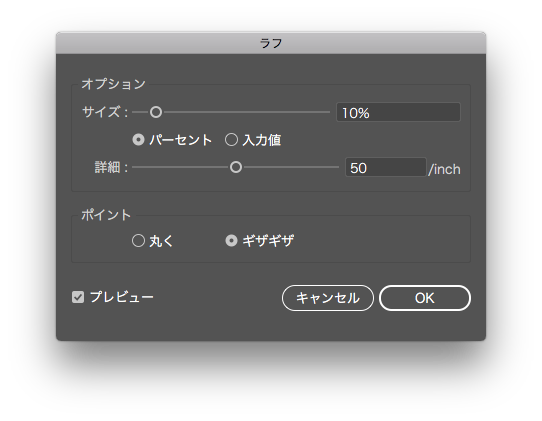
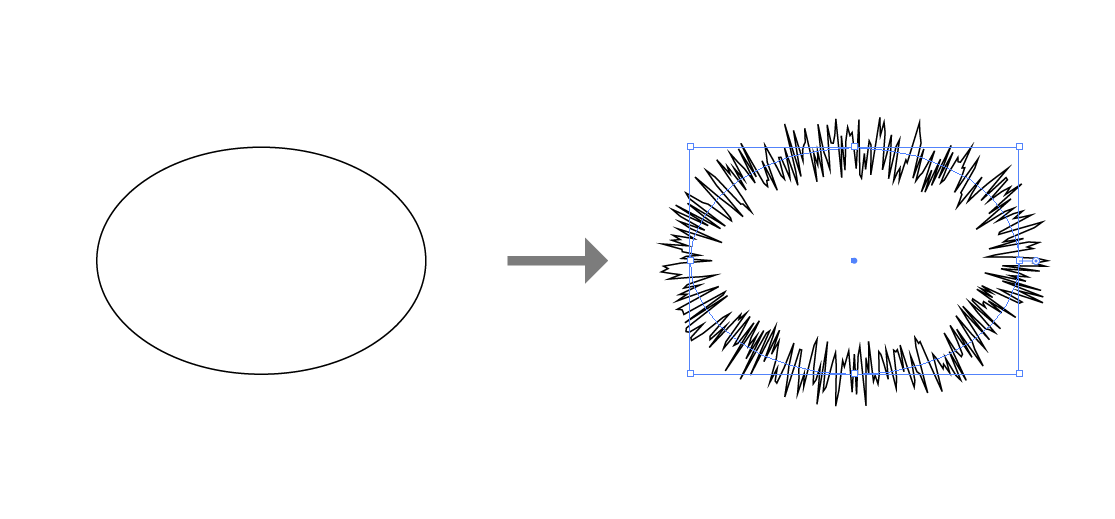
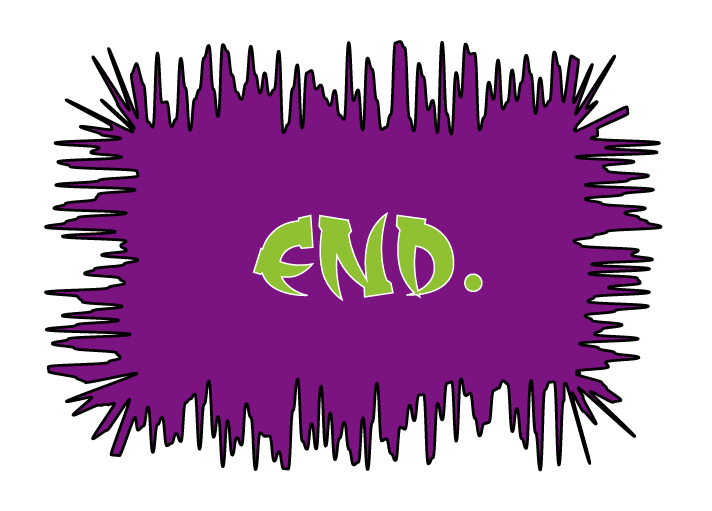
Roughen
[Menu Bar] > [Effect] > [Distort Transform] > [Roughen]
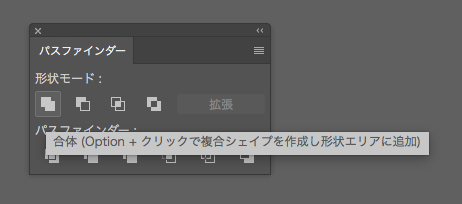
How to make speech bubbles using the Pathfinder
Combining Objects with Pathfinder
Create two objects for the speech balloon and combine them by choosing [Pathfinder] > [Unite].

You can easily change the size and angle of the tail by selecting it with the Direct Selection tool and moving it around.
That’s the end of my explanation on how to create speech bubbles using Illustrator.
関連記事
-
 How to Give a Hand Drawn Look to Your Vectors
 -
Place text on a path in Illustrator
-
How to Stroke Around Text
-
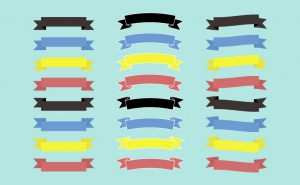
The Easy and Convenient Way to Make Ribbons in Illustrator
-
Easy drawing with Shape tools in Illustrator
-
How to Make Trim Marks (Crop Marks)
-
Design a 3D object in Illustrator!
-
How To Create Grunge Texture