Mastering the Compound Path – Part2 (Practices)
2020年8月24日

Following the previous article “Mastering the Compound Path – Part1 (Basics)”, this time we’ll look at the “Part2 (Practices)”.
[clink url=”https://soft-no-sosa.com/en/2020/08/24/composite_path/”]
Creating complex shaped objects
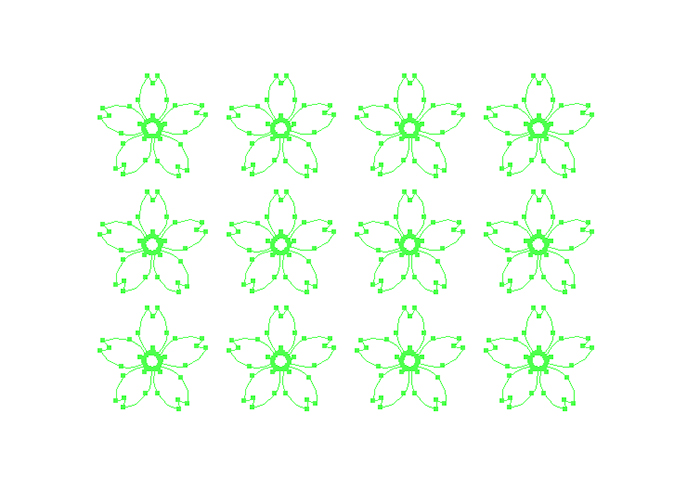
1. Prepare any object and create a compound path.

2. Place the object to cut out the front of the flower.

3. With all the objects selected, choose “Subtract” from Pathfinder.
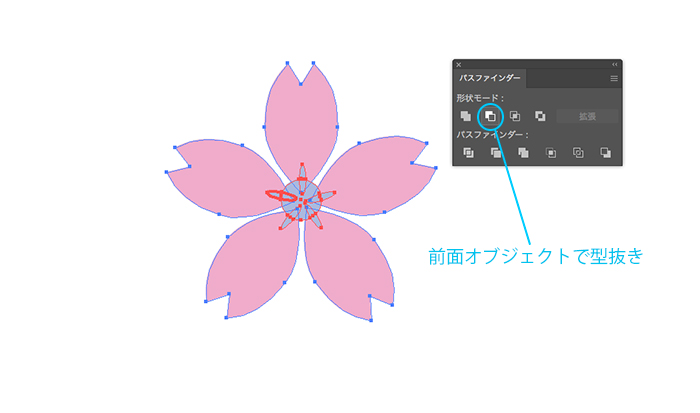
4. The front object has been cut out.

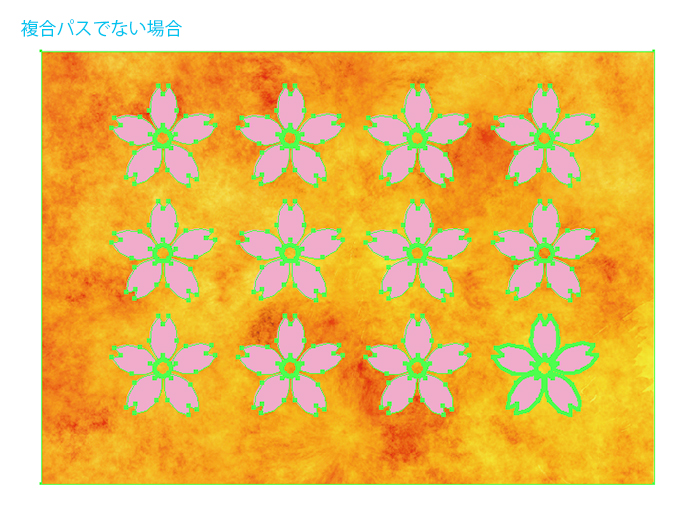
By the way, this is what happens when you don’t create a compound path and apply “Subtract”.
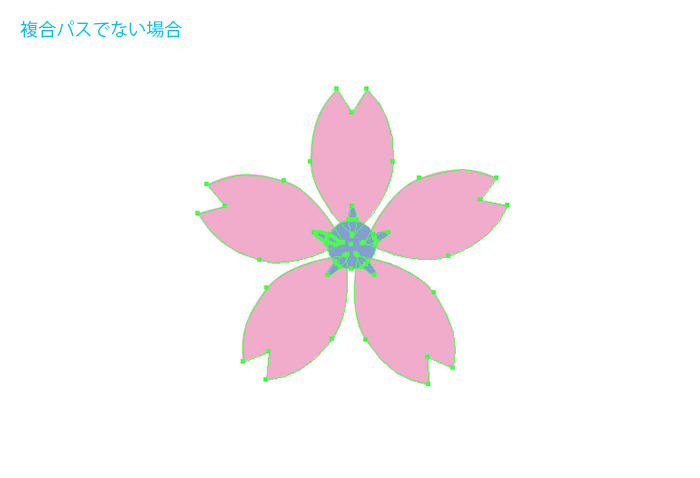
Only a single petal will be cut out.

This is caused by the petal’s stacking order.
If you don’t create a compound path, the part overlapping the object and the backmost petal will be cut out sinceEach petal is an individual object.
If you create a compound path, all petals will be a single object, so you can cut out the area that the front object overlaps on petals.
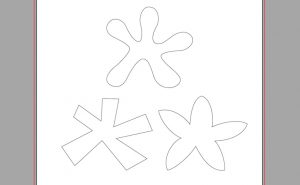
Cut out the pattern in the shape of objects
1. Prepare the objects, select all and create a compound path.
2. Prepare any image or texture.
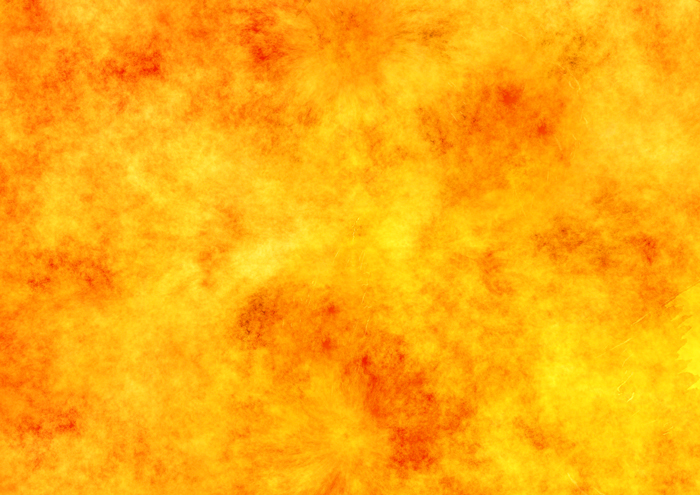
3. Place an image or texture on the back of the compound path.
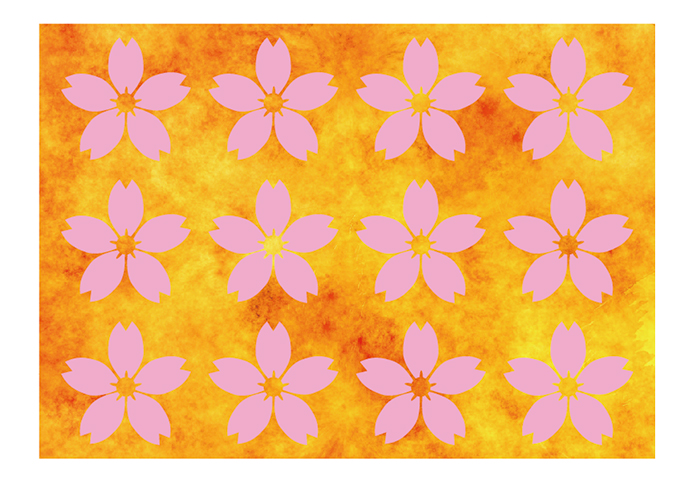
4. Select all and create a clipping mask.
Mac[⌘+7]Windows[Ctrl+7]
The image is cut out in the flower shape.
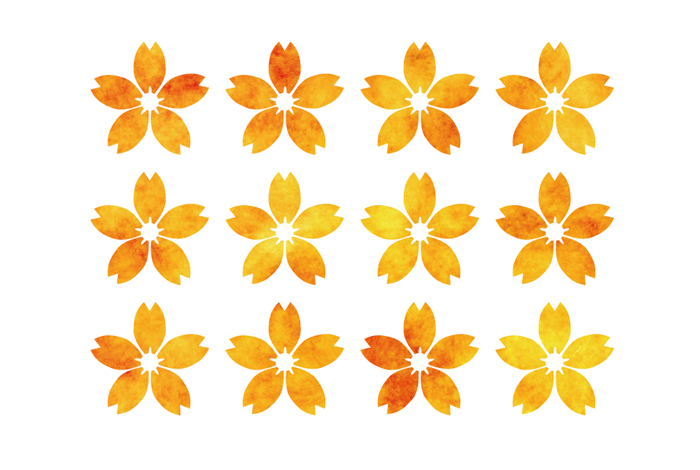
By the way, this is what happens when you create a clipping mask without creating a compound path.
All objects have disappeared.
This is caused by Illustrator’s clipping mask rules.
To create a clipping mask, only one object can be placed on top of the others.
So if you select all the flowers and create a compound path, they will be a single object and the clipping mask can be applied.
Cut out or flip objects
・Cut out objects
1. Place an object for cutting out in front.

2. Select both and create a compound path.

We were able to cut it out in a star shape.
・Flip objects
1. Place the object in front to flip.

2. Select both and create a compound path.

As I mentioned in my last post, both (1) and (2) have the following common things.
- Multiple objects share a single appearance.
- The overlapping paths are shown as transparent.
- The appearance of the backmost object is displayed.
- The paint and style attributes of the backmost object are applied to the others.
In the case of cutting out, the feature “The overlapping paths are shown as transparent” is used.
In the case of flipping, the features “The overlapping paths are shown as transparent” and “The paint and style attributes of the backmost object are applied to the others” are used.
Cutting out multiple overlapping objects
1. Stack multiple objects

2. Create a compound path
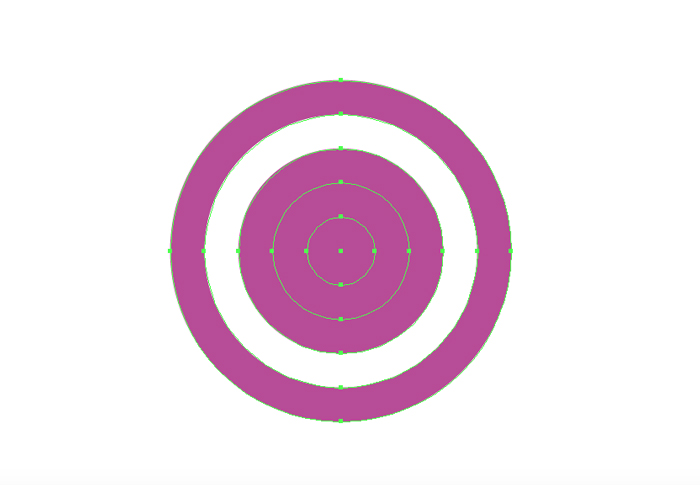
One part has been cut out, but the others have not.
3. With the compound path selected, go to [Window] > [Attributes] to display the Attributes panel.
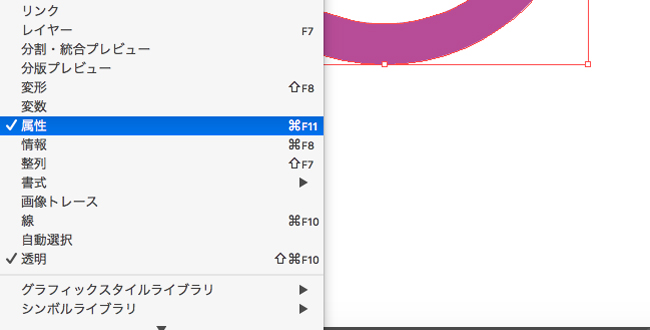
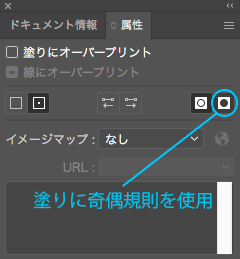
With the compound path selected, click the “Use Even-Odd Fill Rule” button in the Attributes panel.
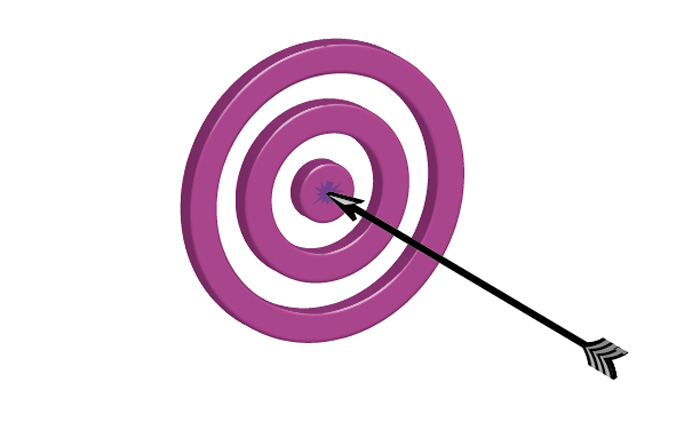
4. We were able to cut it out well.

The Attributes panel has two fill rules.
[Use Even-Odd Fill Rule]
The area where the objects overlap is cut out every other object.
[Use Non-Zero Winding Fill Rule] *Default setting
When three or more objects overlap, some parts are not cut out.
In this case, I created the compound path with the default settings first, so it didn’t get cut out well in step 2.
When you create an object with this kind of pattern, you should change the setting to [Use Even-Odd Fill Rule].
How was it?
We have explained the Compound path in 2 parts.
I hope it will help you!
関連記事
-
 Place text on a path in Illustrator
 -
How to Make a Recycle Symbol
-
How to Stroke Around Text
-
How to Give a Hand Drawn Look to Your Vectors
-
How to Make a Sunburst Vector Easily
-
How to Make Trim Marks (Crop Marks)
-
[Challenge] Pen Tool Practice: Can you do it in one minute?
-
Create Speech Bubbles in Illustrator