How to Wrap Text Around Object
2020年8月5日
When creating text in illustrator, sometimes it is hidden by the objects you place around it.

It’s bother to leave a space between characters or change their position with the Selection tool.
In this article, I’ll show you how to wrap text around an object easily.
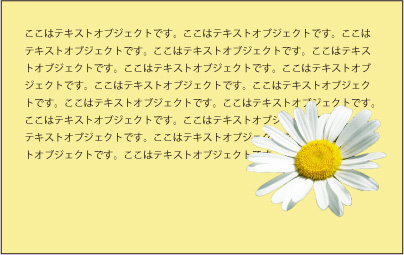
With this technique, you can wrap text around an object or image.
TOC
Procedure
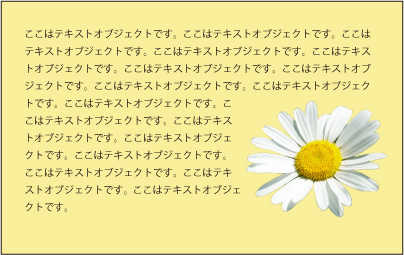
- Create an Area Type. Place the wrapping object on top of the text object.
*At this time, the point is to create the object on the same layer as the area type!
2. Select the object you placed in the foreground with the Selection tool and go to [Object] > [Text Wrap] > [Make] .
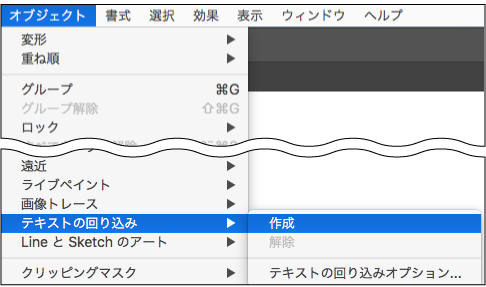
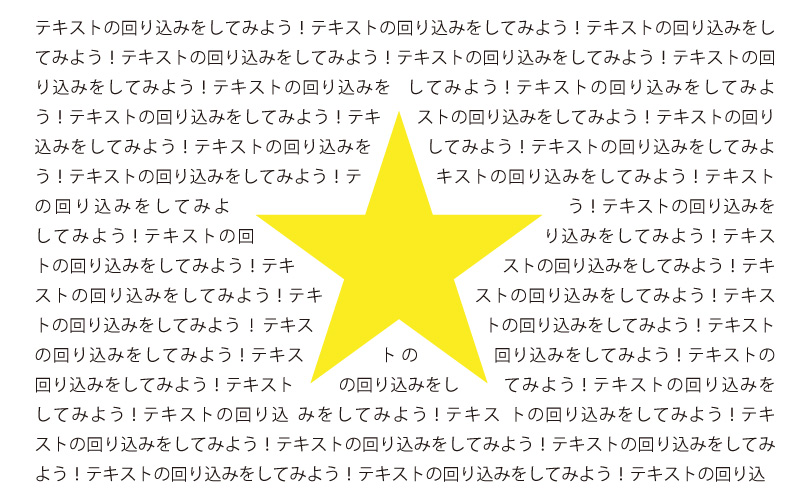
3. The text wraps around the placed objects.
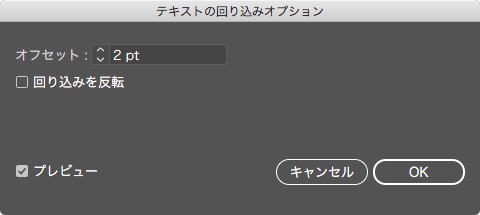
4. you can adjust the distance between the text and the object. Select the front object with the Selection tool and choose [Object] > [Text Wrap] > [Text Wrap Options] to display the dialog. Enter the spacing between the text and the object in [Offset] and click the OK button.
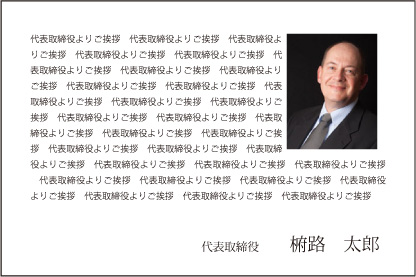
You can make something like this!
Text wrapping is a common technique found in corporate brochures and other publications. Try using it to your advantage.
関連記事
-
 How to Create Superscript or Subscript in Illustrator
 -
Mastering the Compound Path – Part2 (Practices)
-
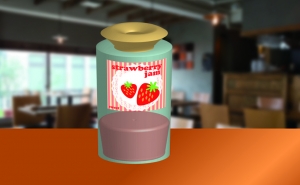
Design a 3D object in Illustrator!
-
The Easy and Convenient Way to Make Ribbons in Illustrator
-
How to Use the Blend Tool
-
How to Map Symbols to 3D Objects
-
How to Disable Lorem Ipsum Text
-
How to Hide Recently Used Fonts