How to Create VHS Glitch Effect in Photoshop
2020年8月26日
There are many ways to add vintage effects to your images in Photoshop. In this article, I’ll explain how to add a old VHS effect to your images!
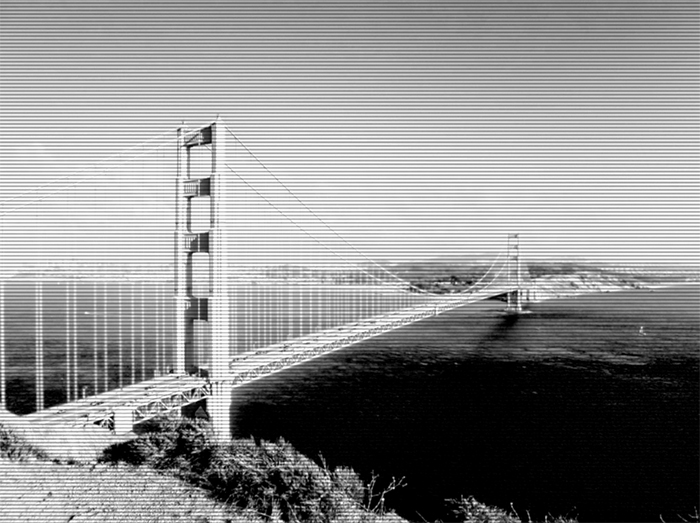
1. Open your image in Photoshop
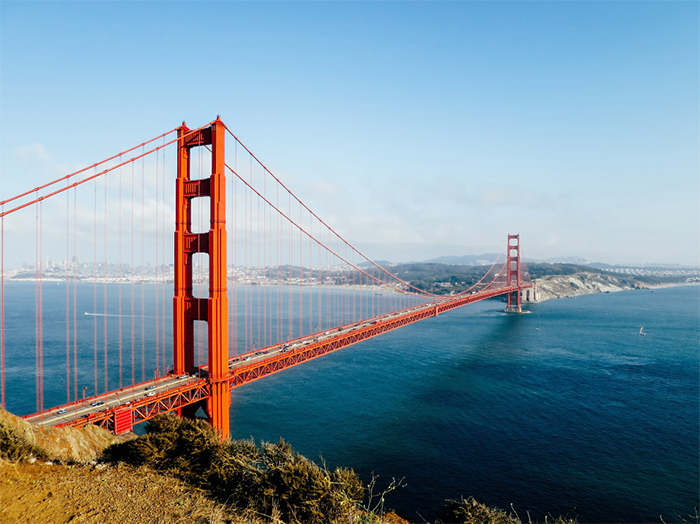
This time I chose the Golden Gate Bridge.
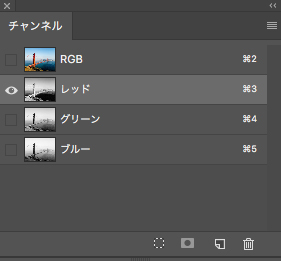
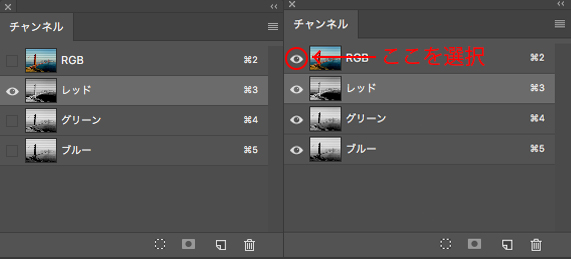
2. Open the Channels panel
Choose [Red] in the panel.
The image will change as shown below.
![Choose [Red]](https://soft-no-sosa.com/wp/wp-content/uploads/2020/06/bridge_04.jpg)
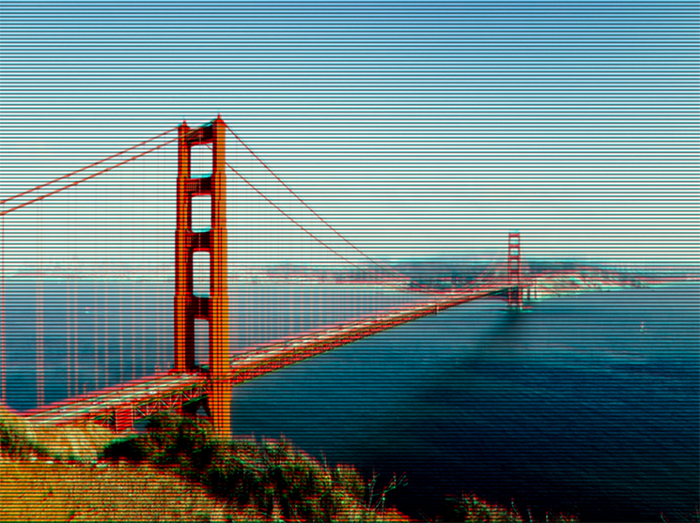
3. Apply [Halftone Pattern]
Choose [Filter] > [Filter Gallery].
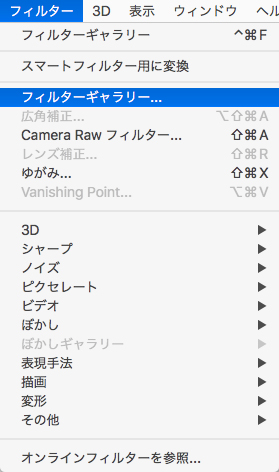
Then, choose [Sketch] > [Halftone Pattern].
![Choose [Halftone Pattern]](https://soft-no-sosa.com/wp/wp-content/uploads/2020/06/bridge_07.jpg)
Set [Size: 2][Contrast: 5][Pattern type: line].
The image will be as shown below.
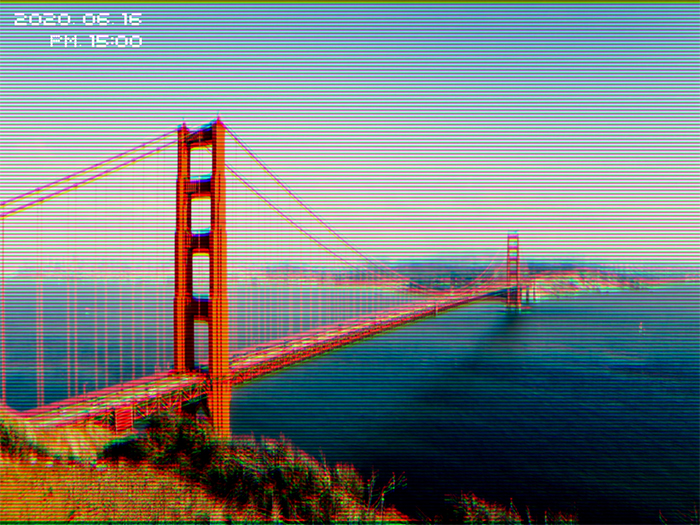
4. Apply Halftone Pattern to [Blue] and [Green] channels
After that, display [RGB] channel.
This is the image with everything applied.
![Apply [Halftone Pattern] to all channels](https://soft-no-sosa.com/wp/wp-content/uploads/2020/06/bridge_09.jpg)
5. Move the channel to create glitchy look
Choose [Red] from Channels panel.
At this time, follow the steps below.
(1) Select [Red]. Then the eye icon will disappear.
(2) Select the hiding eye icon in the [RGB] channel.
The Red channel is selected and you will see the color image.
Switch to the Move tool and drag it up a bit.
As a result, the image will be like this.
In the same way, drag the [Blue] channel down a little bit this time.
Then you will see the image like below.

You’re almost there.
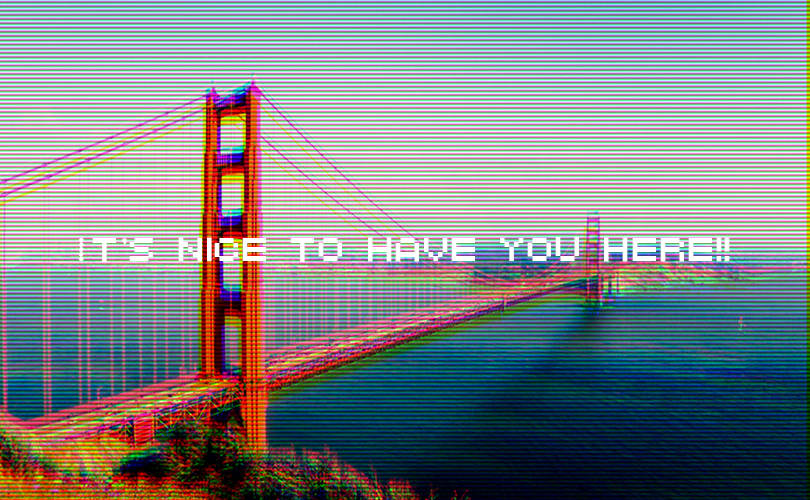
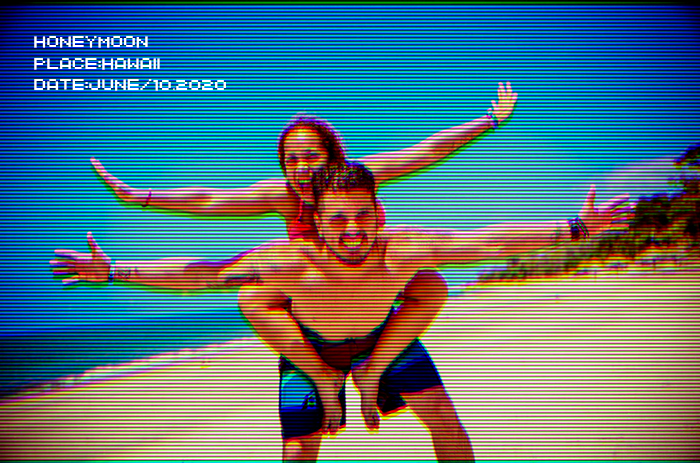
6. Add pixel font text if you like
How was it?
Today, we learned how to create a VHS glitch effect with simple steps.
You can easily change your ordinary photos to something special.
Please try it out!
関連記事
-
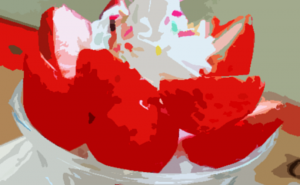
 Creating a Cartoon Effect with “Cutout” Filter
 -
How to Use Photoshop Render Filters
-
How to Create a Watercolor Painting Effect in Photoshop
-
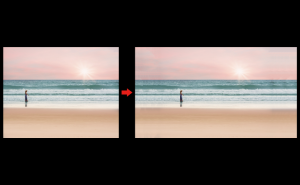
How to Extend Background with Content-Aware Crop
-
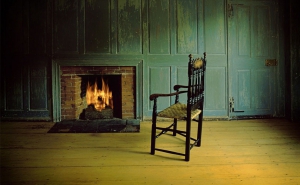
Photoshop Lighting Effects
-
How to Create a Water Reflection with Photoshop
-
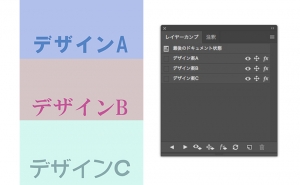
The Basics of Layer Comps
-
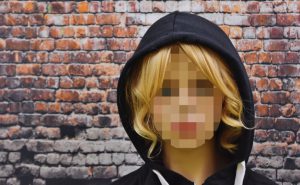
How to Pixelate Faces in Photoshop