Creating a Cartoon Effect with “Cutout” Filter
2020年8月17日
You can use many filters to edit images in Photoshop.
In this article, I will show you how to use one of them [Cutout] filter to make your photo look like a drawing.
First, prepare an image and select [Filter] on the menu bar.
![Select [Filter] on the menu bar.](https://soft-no-sosa.com/wp/wp-content/uploads/2019/03/1.png)
Next, select [Artistic] > [Cutout] and you will see the following screen.
![Select [Artistic] and then choose [Cutout].](https://soft-no-sosa.com/wp/wp-content/uploads/2019/03/3-1.png)
Now you’re ready.
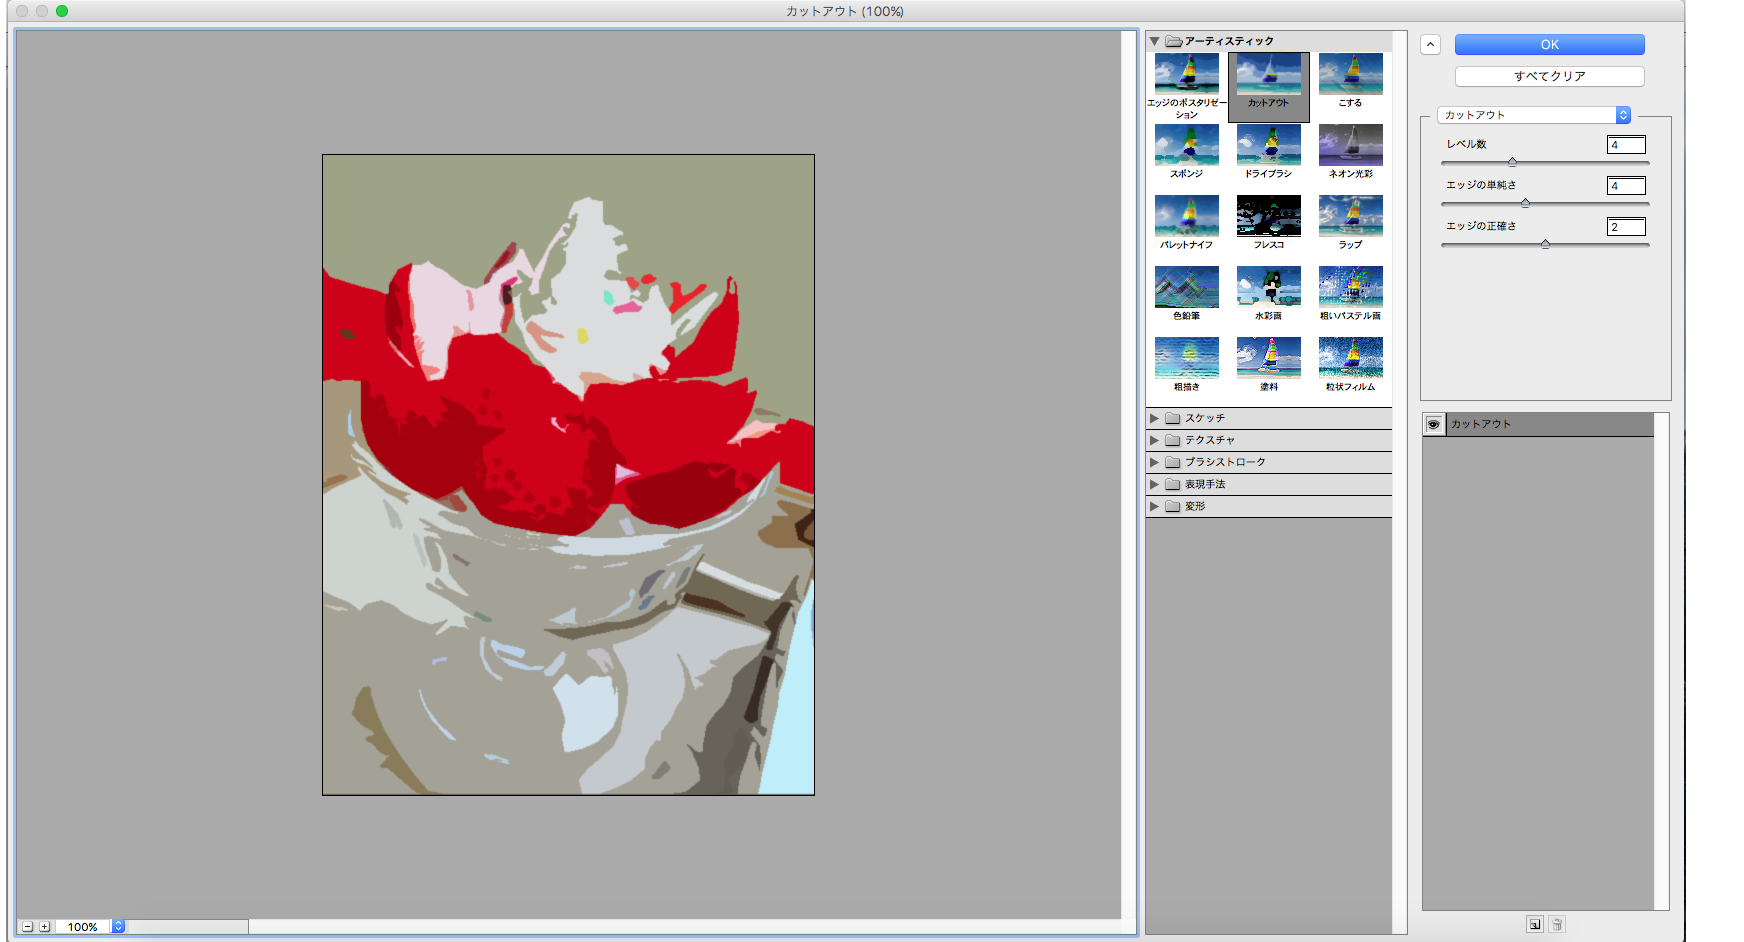
[Cutout] is processed with three settings: [Number of Levels], [Edge Simplicity], and [Edge Fidelity].
Here are two of the most commonly used functions.
[Number of Levels]: The lower the value, the less color is used, and the higher the value, the more color is used.
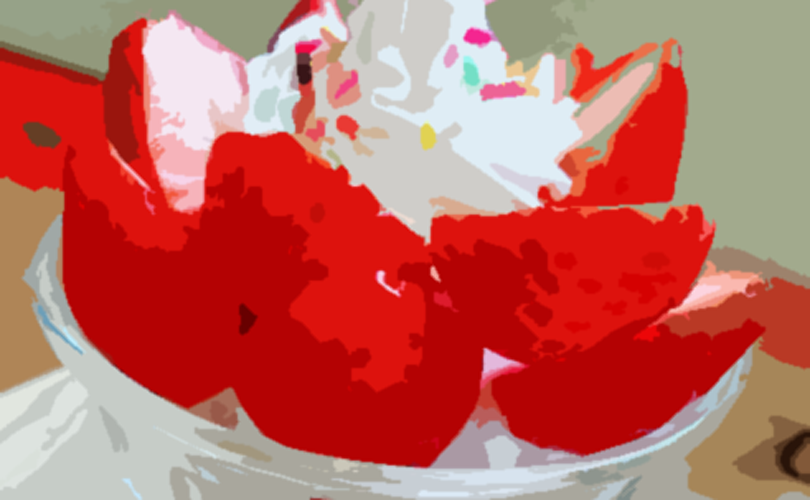
![Maximizing the [Number of Levels] maximizes the number of colors used.](https://soft-no-sosa.com/wp/wp-content/uploads/2019/03/91c684c70c9f8097fd271302937e013a.png)
![Minimizing the [Number of Levels] minimizes the number of colors used.](https://soft-no-sosa.com/wp/wp-content/uploads/2019/03/b700cbdf6d35bdcbd82d287b7de178aa-1.png)
[Edge Simplicity]: Increasing the value simplifies edges and color schemes, decreasing the value makes them both more accurate. (Be careful not to increase the value too much, as it will destroy the shape.)
![Maximizing [Edge Simplicity] value makes object's shape too simplistic and distorts.](https://soft-no-sosa.com/wp/wp-content/uploads/2019/03/5a9e84d7d3f0e33e3b8a4cc8465f2be1.png)
![Minimizing [Edge Simplicity] value simplifies the object's shape keeping original.](https://soft-no-sosa.com/wp/wp-content/uploads/2019/03/f084c5b4c8d4704fb35de3b5769857cc.png)
Now let’s use these features to convert a photo of the parfait into a drawing.
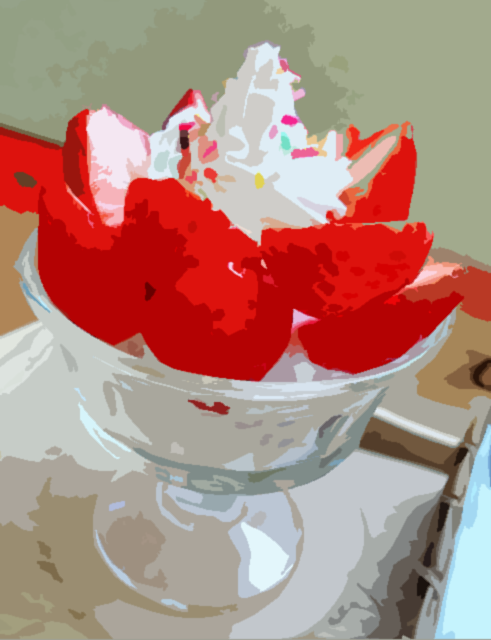
I set the values as follows. [Number of Levels]: 7, [Edge Simplicity]: 4, [Edge Fidelity]: 3.

If you change the values a bit, you’ll get a slightly different look.
Have a try this effect and make your photos cool and artistic.