Let’s Create Gold Gradient Text!

Don’t you use gold text often unexpectedly in Illustrator?
I’ll try making gold gradient text usually used for leaflets,signboard,title,or logo.
How to add gold gradient to text.
First, make a black background as you can see text well.
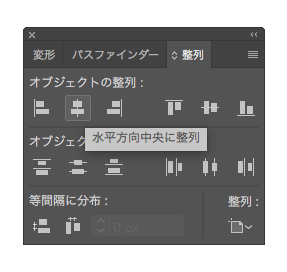
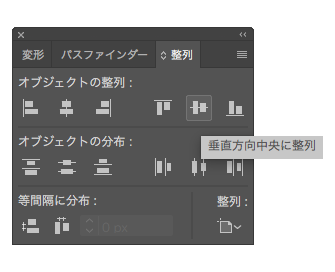
Make an artboard size square using[Rectangle Tool]and align with the horizontal and vertical center using the [Align Panel].

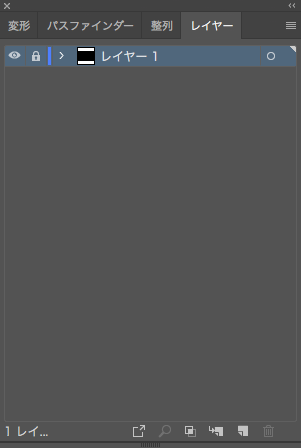
Lock the back layer and make a new layer.
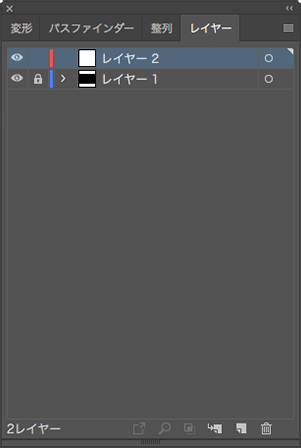
Use the [Type Tool] to type letters on the new layer.

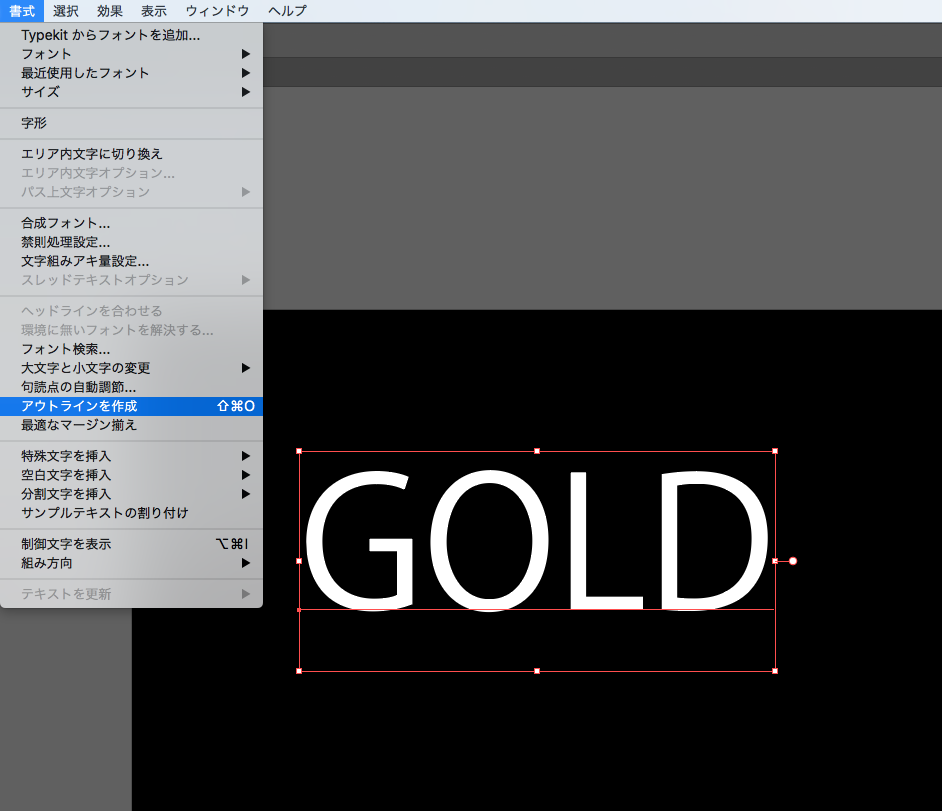
Without turning text into an outline, you can’t make a gradient.
So, use the [Type] dropdown menu, choose the [Create Outlines].
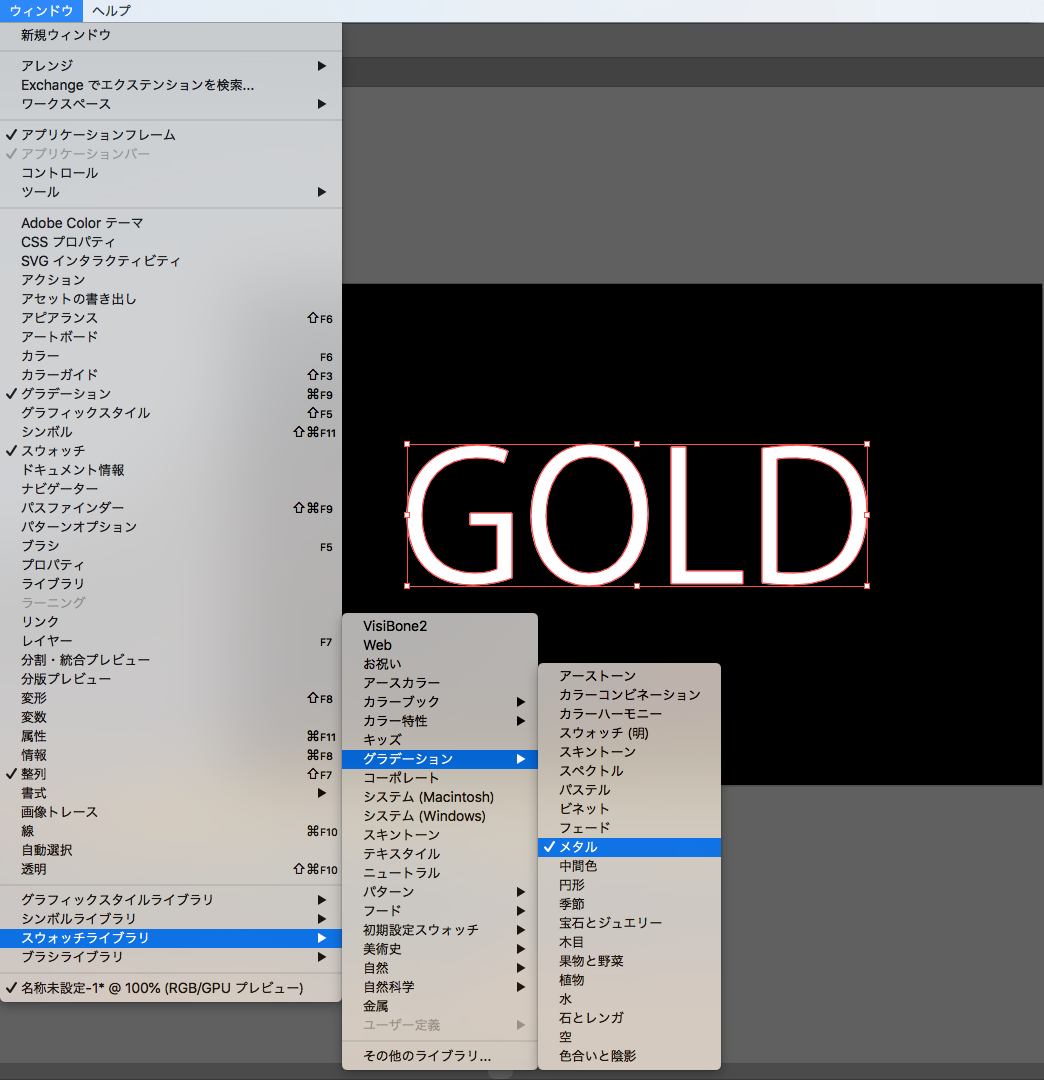
Choose the outline text, and choose [Window] in the dropdown menu→[Swatch Libraries]→[Gradients]→[Metals]
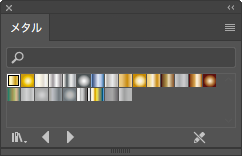
Choose the “gold” (Upper left.)
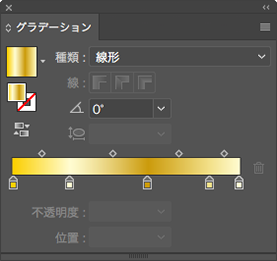
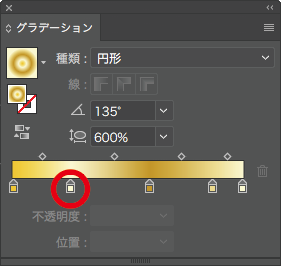
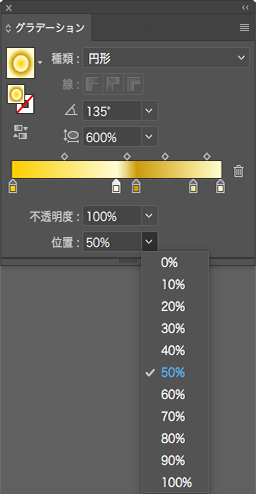
Use the [Gradient Panel] and choose the [Radial].
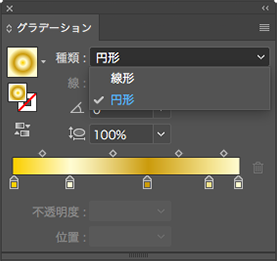
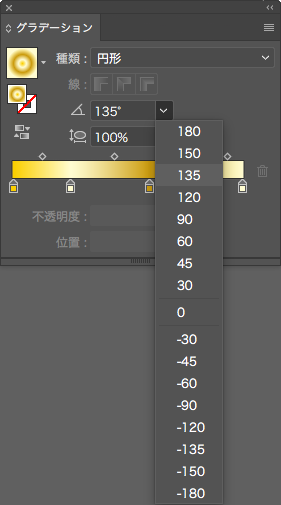
Angle:135°
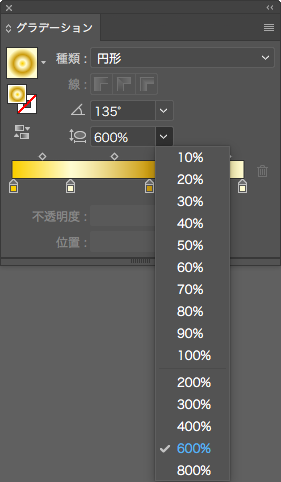
Aspect Ratio: 600%
Change the position of the second Color stop from 25.28% to 50%.
Finished!

[clink url=”https://soft-no-sosa.com/?p=7563&preview=true”]
The point is that the gradients are in close proximity.
When the colors are in close to the light and dark areas, you can make clear gradation.
If you want to make a gradation more flashy, I recommend this article!
[clink url=”https://soft-no-sosa.com/?p=7563&preview=true”]

