The Still Life Photography Techniques Vol.2 – Artificial Lighting
2020年6月16日
Last time: “The Still Life Photography Techniques vol.1 – Natural Lighting”, I explained the basics of shooting by natural light.
In this time, I’m going to introduce how to take photos with a fluorescent light that can be easily handled at home.
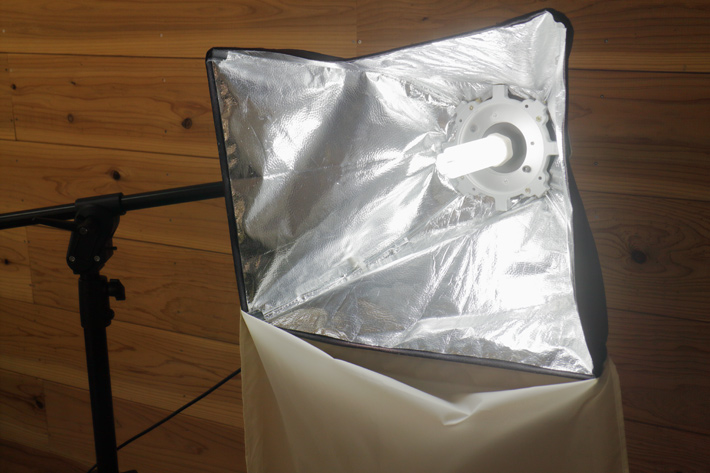
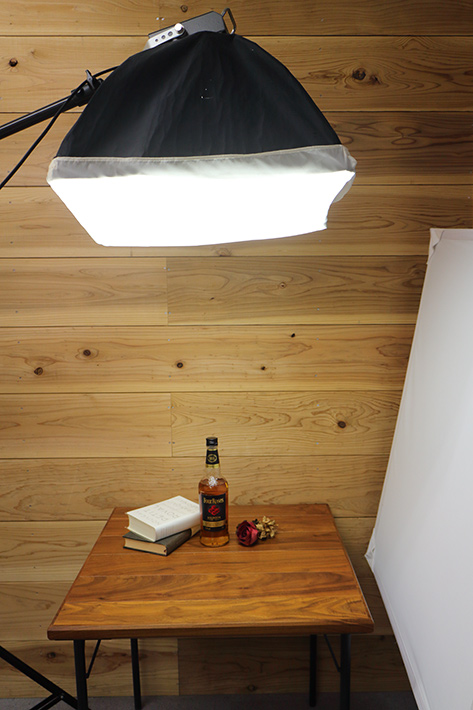
This is a “softbox” lighting device with a fluorescent light inside. It has a white diffuser on the front to create an even, soft light.
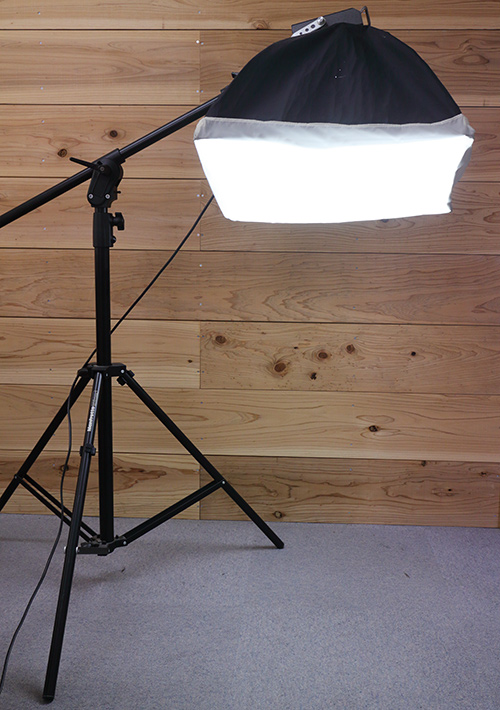
This is “Boom stand” that is used in combination with lights like Softboxes.
Softboxes can be set by an L-shaped arm.
You can easily take beautiful pictures of various objects with those tools.
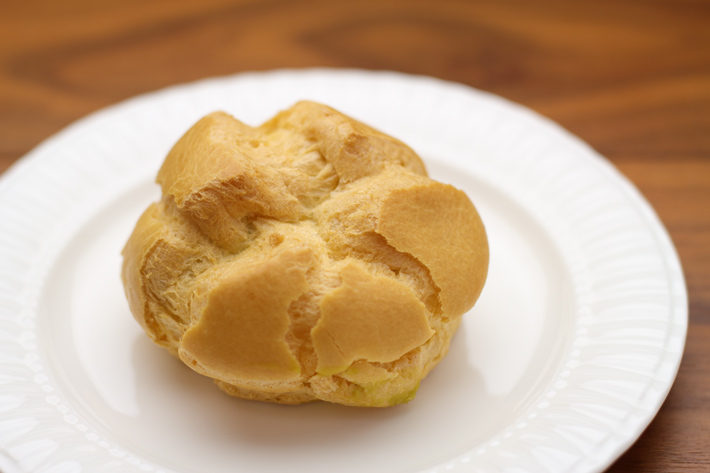
Semi-backlit lighting
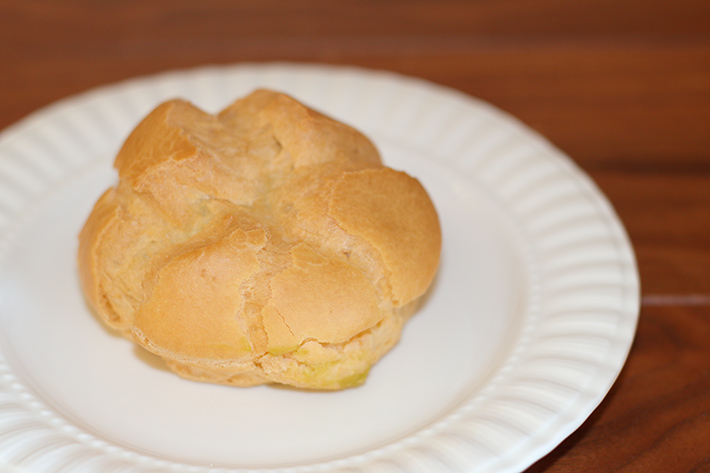
I took the cream puff in natural light last time.
I’ll show you photography in various lighting here.
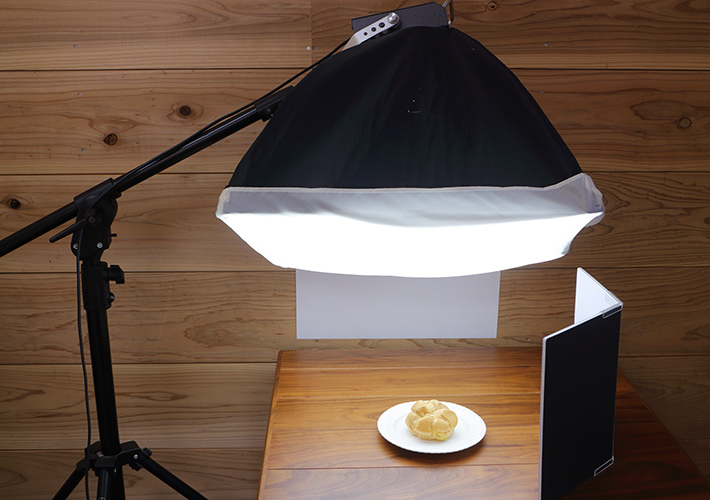
Shine the light on the softbox from above.
I put white paper on the back wall as a reflector to prevent unnecessary color reflections.
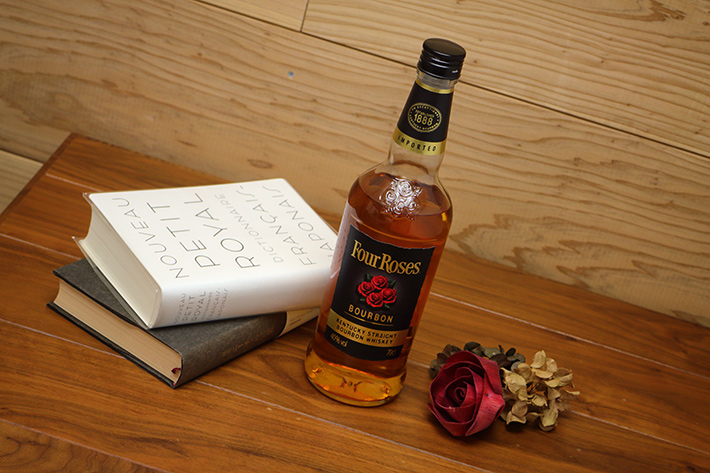
Bright the shadow area from the side to the front by reflector.
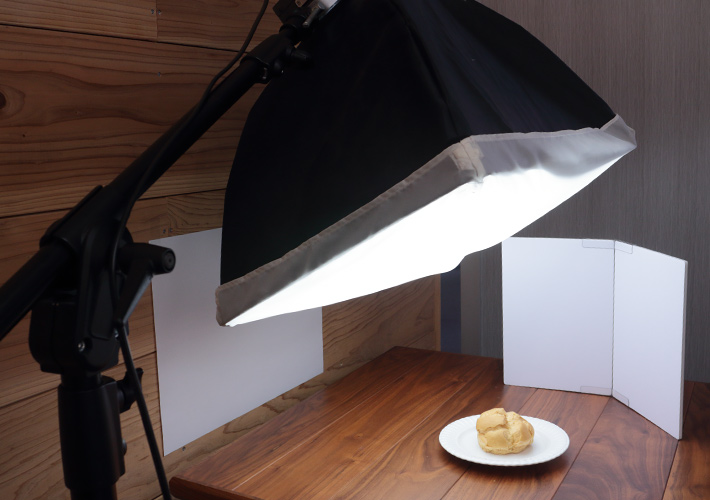
The softbox should be set at an angle to the rear, not directly above, so that it is slightly backlit. The direction of the light is like the natural light is coming in through the window.
It won’t be exactly the same as the one taken in natural light, but the mood of the light will be similar.
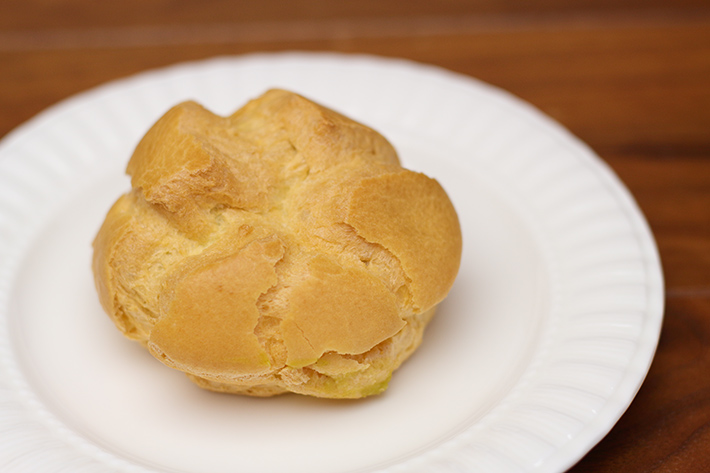
Direct lighting
Now let’s see what happens when you change the direction of the lighting to direct light.
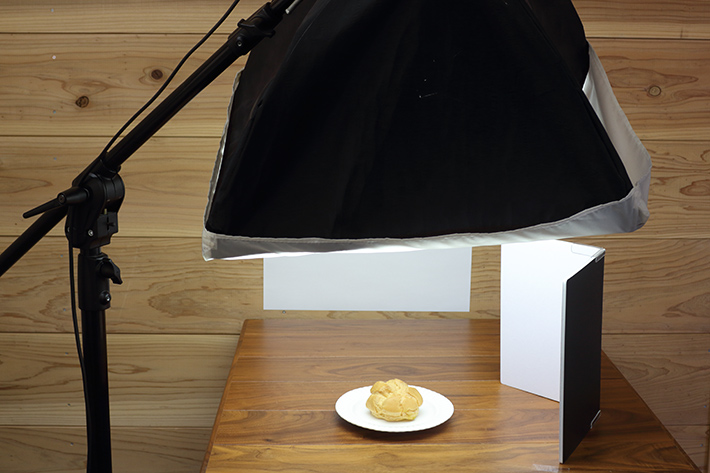
Set the softbox from the top in front of you.
It looks normal in this picture.
But actually, it looks flat with no shade when you compared to the Semi-backlit lighting photo.
Clip-on strobe
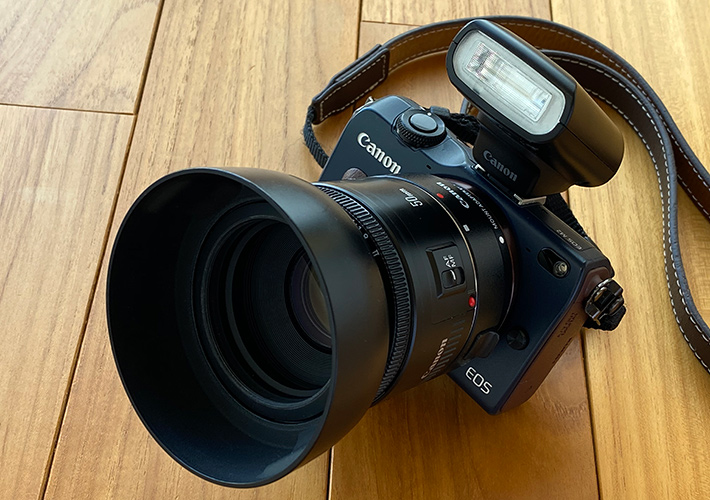
Next, I attached a clip-on strobe to the top of the camera.
It looks more like a private documentary photo than a product photo.
It’s gradually getting darker from the front to the back since the light is shone directly at the subject from the camera position.
If you use a compact camera with a strobe, it would look the same with the strobe on.
If you have a camera with a strobe that equipped with a bounce mechanism to change the direction of the light emitter, and you can direct the strobe at the ceiling (“Ceiling bounce”), you’ll be able to shoot like the top lighting, which I will explain next.
Top lighting
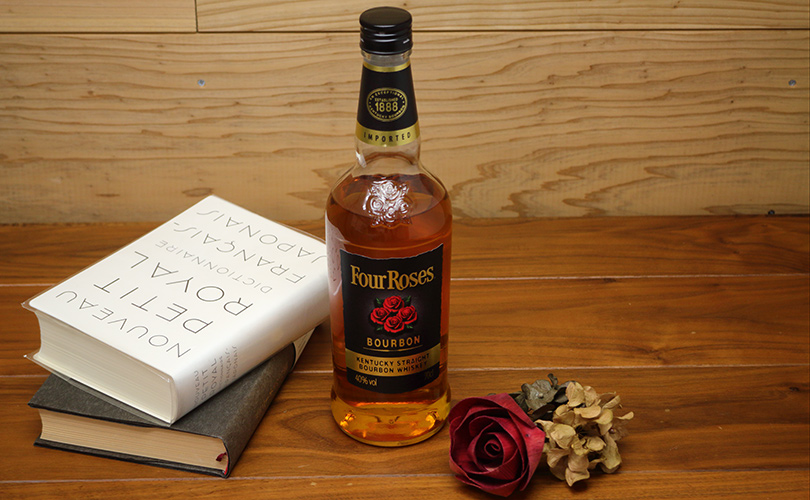
The eye catching image on this page is taken with the top lighting which is the lighting from almost directly above. If you need, you can use a reflector to compensate for the lack of brightness on the sides and other areas.
Top lighting is an easy way to create a flat light situation, like a cloudy day or the ceiling with a lighting fixture.
It creates a calm atmosphere for your shooting such as these subjects.
As you can see, lighting gives a very different impression.
You’ll need to change the lighting. It depends on how you want to show subjects.
The appearance of the subject depends on the lighting, angle, and composition.
It’s interesting to try shooting many different patterns and discover many different things.
Have a try it until you find your own way.
関連記事
-
 The 19 Best Free Stock Photo Sites
 -
How to Make a GIF Using Ezgif.com
-
Keycastr: Show Your Keystrokes on Display
-
The Still Life Photography Techniques Vol.1 – Natural Lighting
-
Clipy: The Best Free Clipboard App
-
Best 4 Sites for Free Stock Photos (Commercial use allowed)
-
[Challenge] Pen Tool Practice: Can you do it in one minute?