How to Make a GIF Using Ezgif.com
2020年8月26日
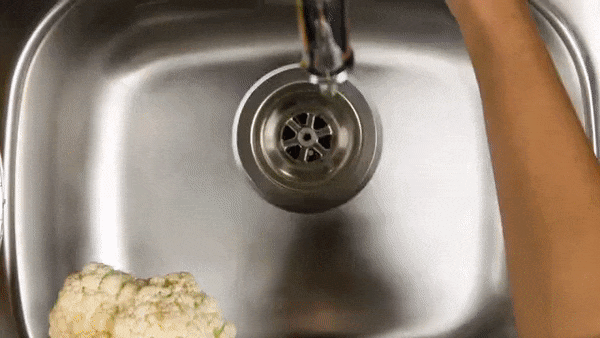
Have you ever seen the following animation playing automatically on a website?
This kind of movement adds an accent to your website.
Wouldn’t you be interested in such a site as a visitor?
GIF images are expressed in up to 256 colors, and GIF animations are made by combining these images and flipping through them.
Here’s a summary of their features.
Features of the GIF animation
- It’s both an animation and image (extension: .gif), and easy to use
- Auto-play (no play button)
- Many browsers are supported
- Limited number of colors (up to 256 colors)
- No audio
The following is a list of contents suitable for GIF animation.
Suitable Contents for GIF animation
- Just repeat (simple)
- Beauty doesn’t matter
- Only photos (you can’t make a video with only photos, but you can combine them to make a moving in GIF animation)
- Non audio needed
In this article, I’d like to introduce a website that allows you to convert video to GIF animation.
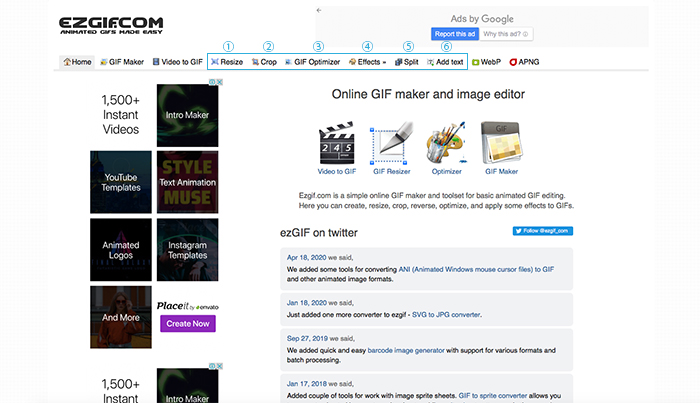
EZ GIF.COM
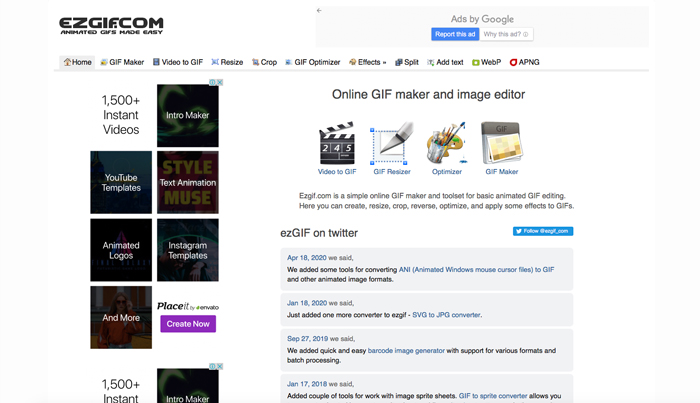
EZ GIF.COM is a great site that allows you to easily create GIF animations on the web, which can be difficult to create yourself.
You can upload images to create GIF animations or convert your videos into GIF animations.
Learn how to convert your videos to GIF animation with EZ GIF.COM.
1. Select [Video to GIF] on the top page
![Select [Video to GIF]](https://soft-no-sosa.com/wp/wp-content/uploads/2020/08/image_04-2.jpg)
Select [Video to GIF] on the top page.
2. Upload your file
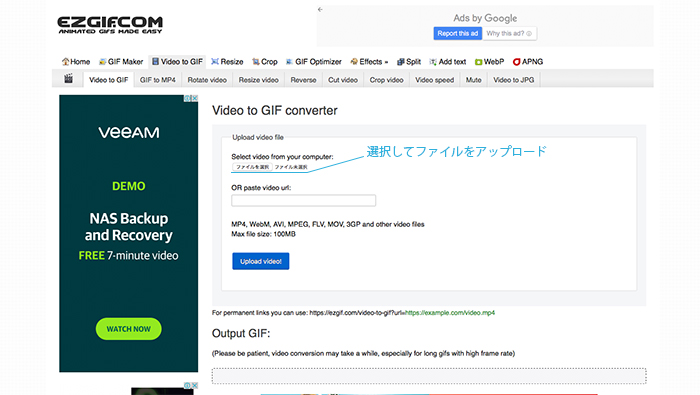
After the screen changes, click [Select File] button to upload the video to be converted to a GIF animation.
Select when the file name is displayed.
You can upload videos in almost all video formats, even those taken with smartphones.
However, please note that you can not convert videos over 100MB in maximum.
3. Settings

Next, set up details.
You can change the frame size in [Size] and how many frames per second are used in [Frame rate].
You don’t need to change the [Method] setting.
When you finished, select .
4. Finished!
After you select , the result will be displayed at the bottom of the screen.
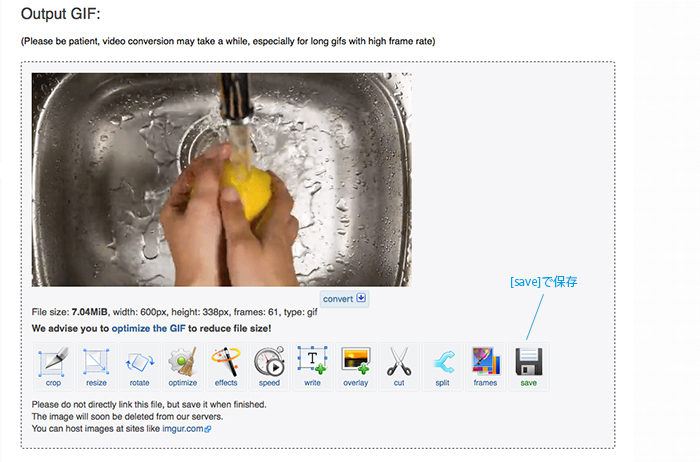
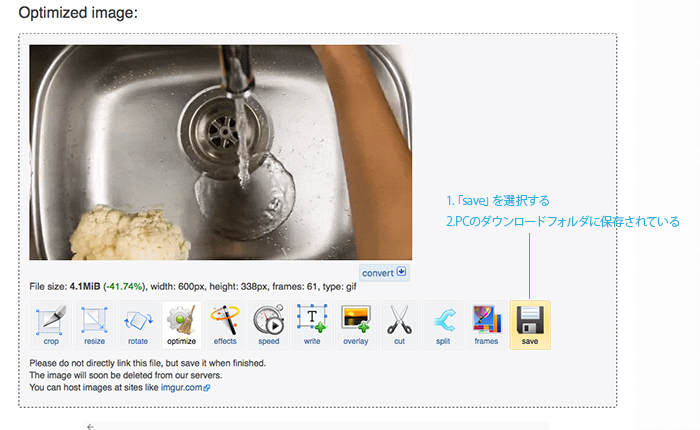
If everything is OK, select “Save” in the bottom right corner.
The GIF animation will be saved in your PC’s Downloads folder.
Optimize
The converted data was 7.04MB this time, but you can only upload up to 5MB of data on this site.
So I can’t upload this as it is.
At this time, you can reduce the file size with “Optimize”.
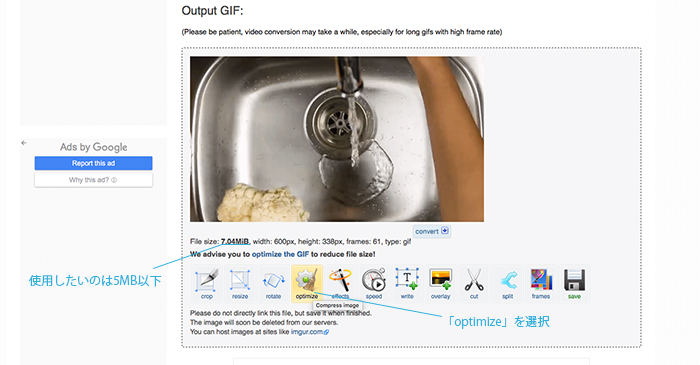
Choose [Optimize]
When you select “Optimize”, you will see the following screen.
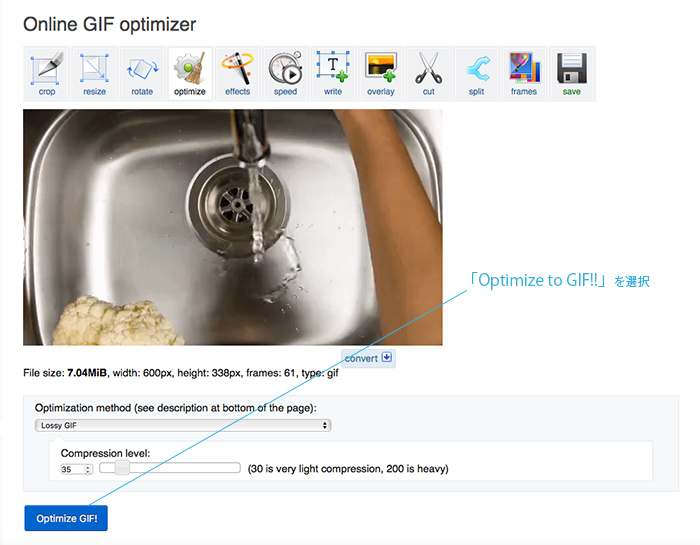
Reduce the “Compression level”.
Use the controller to reduce it.
You can set 30 as the smallest size.
After you set the value, select
Result of the compression
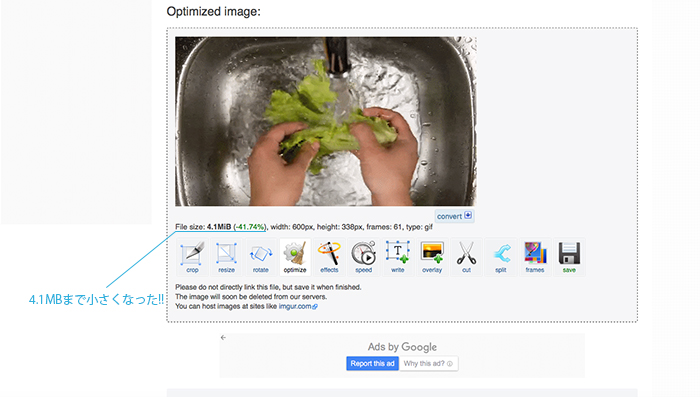
I was able to compress it down to 4.1MB.
If you are satisfied with this, choose “save” to save it in your PC’s download folder.
Other features
You can also use other contents specialized in GIFs on top page.
1.Resize
“Resize” allows you to reduce the size of the animation.
By default, it is set to [W:600px H:auto], but you can change it as you like.
Example [W:300px H:169px]
2.Crop
“Crop” is a trimming tool for animation.
It’s perfect for trimming extra parts of the animation. You can crop it by changing the default size.
Example [W:419px H:271px]
3.GIF optimizor
“GIF optimizor” can compress the file size as well as “Optimize” mentioned before.
4.Effect
“Effect” allows you to add a variety of effects to your animations.
You can use filters and fade-in/out effects.
Example [filter:sepia]

5.Split
“Split” allows you to export animations one by one as image data.
Examples
6.Add text
“Add text” allows you to put text into the animation.
Example
How was it?
Why don’t you try making GIF animations with EZ GIF.COM?
関連記事
-
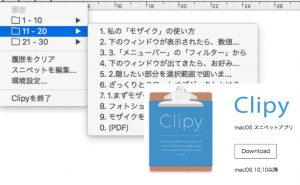
 Clipy: The Best Free Clipboard App
 -
[Challenge] Pen Tool Practice: Can you do it in one minute?
-
The Still Life Photography Techniques Vol.2 – Artificial Lighting
-
Best 4 Sites for Free Stock Photos (Commercial use allowed)
-
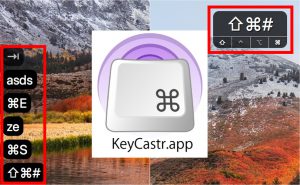
Keycastr: Show Your Keystrokes on Display
-
The Still Life Photography Techniques Vol.1 – Natural Lighting
-
The 19 Best Free Stock Photo Sites