How to Use 4 Masks in Photoshop
2020年7月7日
It’s a very useful mask, but did you know that there are actually four types? In this article, I’d like to explain the functions of these masks and how to use them. If you can find and use a mask that suits your work, you can be sure that your work efficiency will improve! So be ready to use it!
・Quick Mask
・Clipping Mask
・Layer Mask
・Vector Mask
What’s a Mask?
A mask is a non-destructive process, an editing method that can be done without editing the image directly. The reason why it’s called a “mask” is because it’s a feature that covers and hides the unnecessary parts of an image. It’s easy to imagine, isn’t it?
Using this function, you can create a selection, retouch an image, or hide an unwanted part of an image. You can redo it over and over again because it just hides the unnecessary parts.
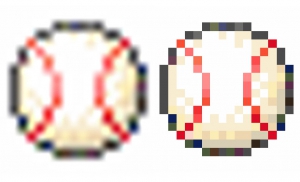
Quick Mask
1. First, select the any spot with the Quick Selection tool or the Lasso tool.
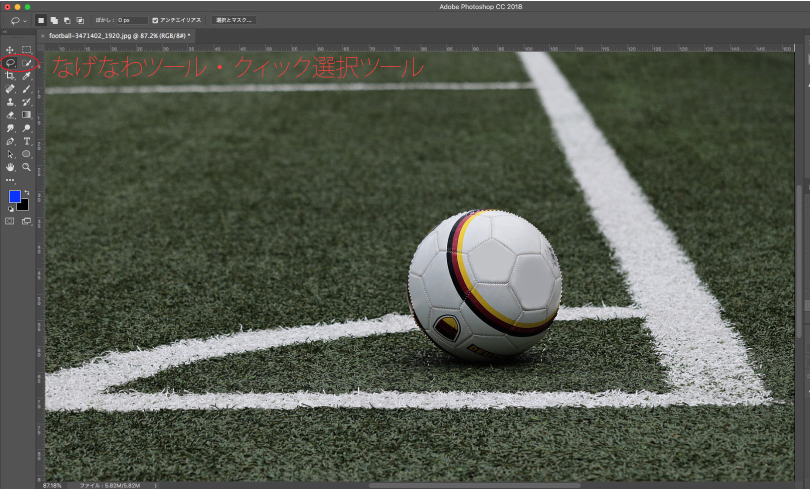
2. Click the Quick Mask mode button. As you can see in the following picture, it’s at the bottom of the toolbar.

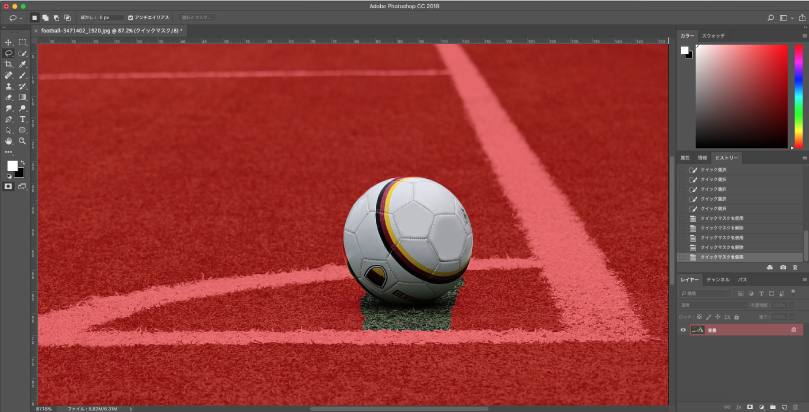
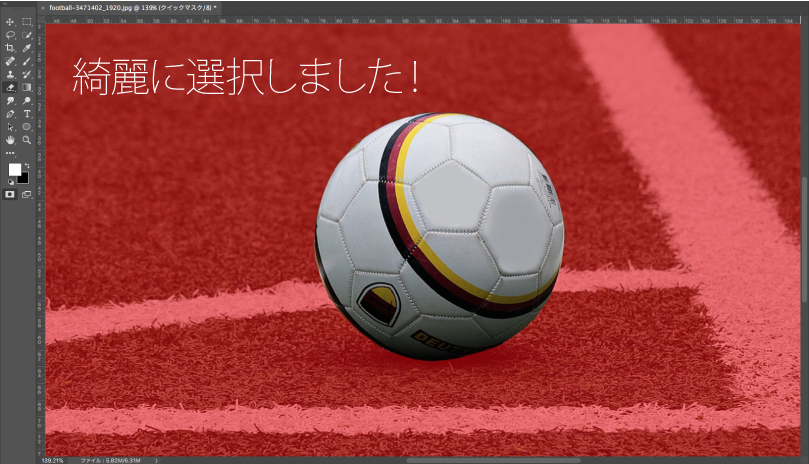
3. In Quick Mask mode, you can see the filled artboard as shown in the image below. (In the image, the mask is red, but it can be changed to other colors that are easier to see.)
You can clearly see that the underside of the soccer ball isn’t selected.
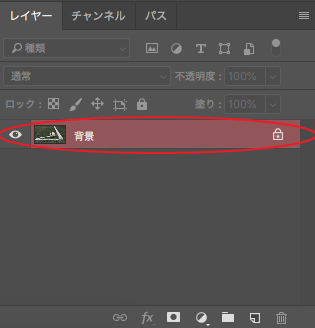
By the way, the QuickMask mode layer is shown in red, as shown below. You can see at a glance that it’s masked.
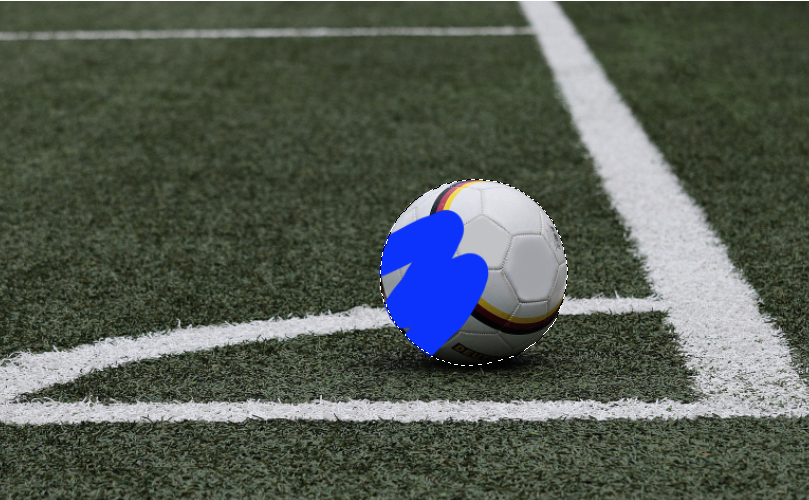
4. Finally, we’re going to use the mask! We’ll use not the Selection tool, but the “Brush Tool” and “Eraser Tool”.

The nice thing about this “quick mask mode” is that it’s easy to use without loss of image quality! Visually, the color is clear and easy to select. The “Selection and Mask” is similar to that, but this is a little heavier because of the ability to “blur”.
5. You can exit from the mask mode by pressing the “Quick Mask Mode button” again. Then you can edit as usual. In this state, you can edit as usual.
I could choose only the ball.
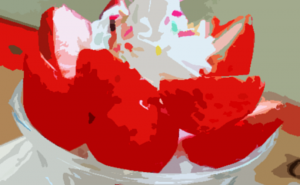
Clipping Mask
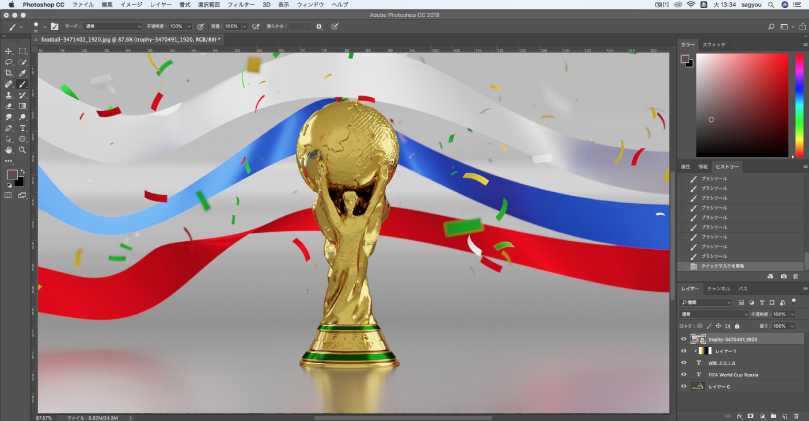
Unlike Illustrator, Photoshop’s clipping mask makes it look like the image on the top layer is cropped out, using the shape of the image on the bottom layer.
In order to cover it up, it’s important that there is a transparent area on the bottom layer.In this example, I’ll show you how to apply a clipping mask to a text.
1. Add some text with the Text tool.
You can use clipping masks for your own objects or cut-out images.
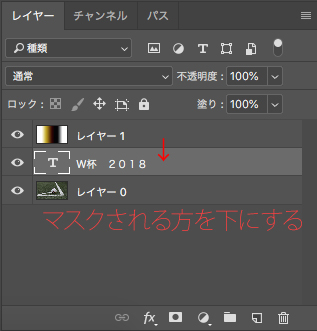
2. Create a layer to mask. This time I used the gradient tool to paint it.
3. Move it the bottom.
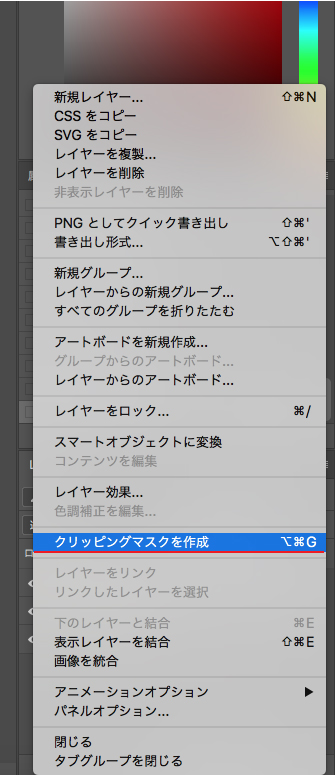
4. Select “Create Clipping Mask” from the options in the layer panel.
(You can also get a clipping mask by right-clicking on a layer with command key pressed. It’s convenient.)
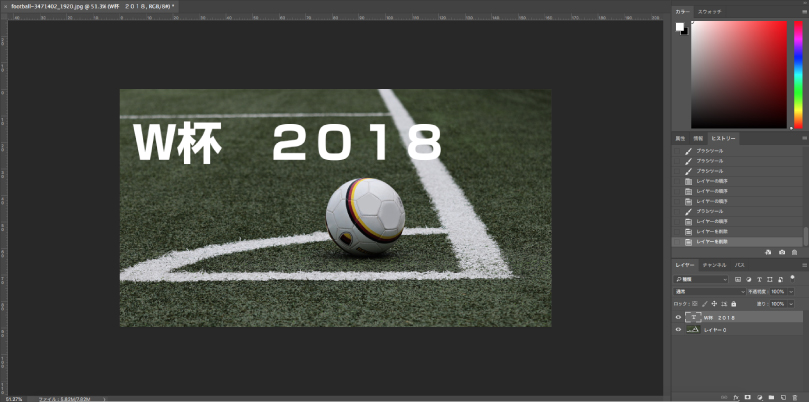
If you can see the icon in the red circle in the image below, it means that the image is clipping masked.
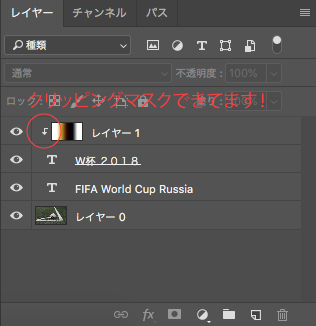
I got a clipping mask!

Layer Mask
Layer masks are made in two colors, white and black. There are layers only for layer masks, so you can work without processing the image directly, and enclose only the necessary part of the image in the selection to make the rest of the image transparent.
When you want to delete a part of the image, you can do so with the “Eraser tool” or “Delete”. If you fail, you can redo it as many times as you want by just editing the mask.
The disadvantage is that you can only use one layer mask per layer.(The same goes for vector masks.)
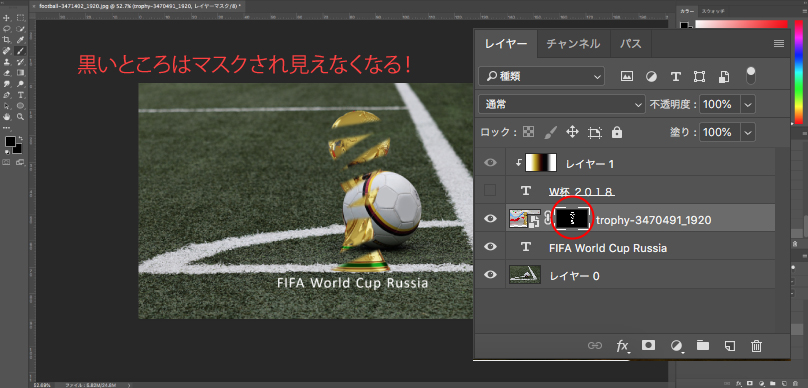
1. This time we’ll use only the trophy in this image. I used QuickMask mode to select only the trophy.

2. Mask the selection. Click “Add Layer Mask” at the bottom of the Layers panel (See the image below if you’re not sure).
If the layer mask thumbnail is shown on the right side of the layer you want to mask, the layer mask has been made.

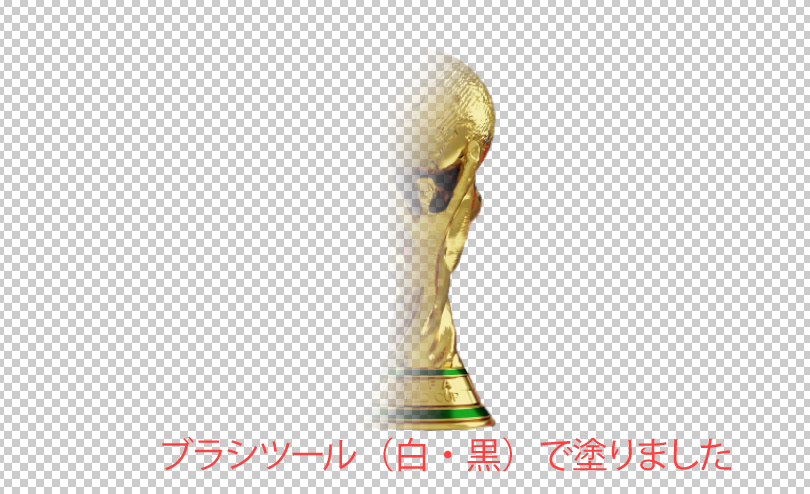
3. Select a layer of layer mask and paint it white or black with the brush tool. Painting it black hides it, and painting it white shows it. By the way, erasing with the Eraser tool hides the layer mask.

(Select black or white in the color panel and paint.)

Painting with the brush tool makes it look like the image below. You can even use the gradient tool to gradually hide it.
I put a gradient on it. That’s it for layer masks.
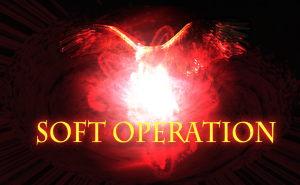
Vector Mask
Vector mask is similar to layer masks, but the difference is that they are masked using paths and shapes. You can use the Shape tool or the Pen tool to mask it with clean lines. Like layer masks, you can only create one mask per layer. I hope you can use a good combination of them.
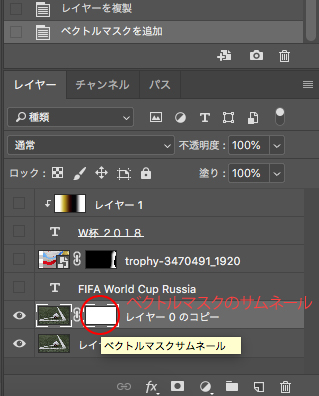
1. The vector mask is in the same place as the layer mask (see the image below, bottom of the layers panel). But please note that you need to right-click while holding down the command key to create a vector mask.
As with layer masks, vector masks are displayed on the right side.
2. In this time, we’ll use the Shape tool to draw a path. Shape is in the same place as the rectangle tool, so look for it! (see image below)

You can choose the shape type here.

I think it’s masked in the Shape tool path. You will be able to see it in the vector mask thumbnail in the layers panel.
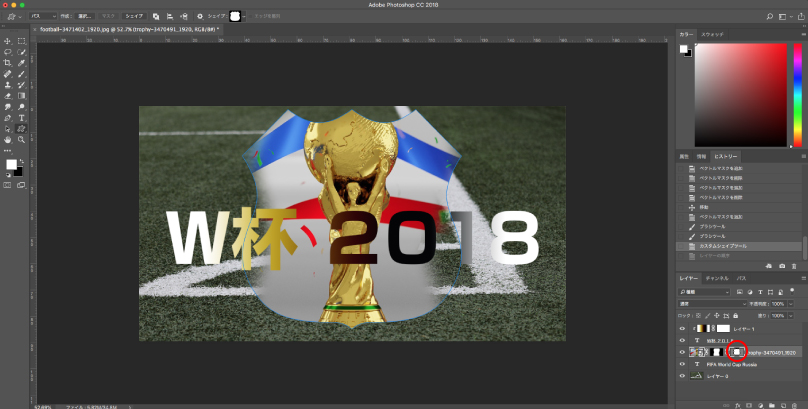
I combined with a layer mask.

How was it? There are four different types of masks in Photoshop, and each one is used differently.
“Quick Mask” is easy to use and similar to “Select and Mask”. “Clipping Mask” applies a mask to the layer below.
The “Layer mask” and “Vector mask” are similar, but the difference is whether you “hide a part of image with a path” or “hide it with black and white lightness”.
I hope you can use it differently!
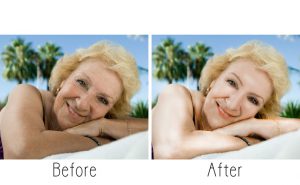
- How to Make Someone Look Younger in Photoshop
- “Select and Mask”: a convenient function to quickly crop an image
関連記事
-
 How to Use Photoshop Render Filters
 -
How to place an image in text with Masks in Photoshop
-
Photoshop Blending Modes Descriptions -Part1-
-
How to Create a Water Reflection with Photoshop
-
How to Enlarge Pixel Art Without Blurring
-
Creating a Cartoon Effect with “Cutout” Filter
-
How to Create Lighting Effects in Photoshop
-
Making Someone Younger in Photoshop