How to Use the Select and Mask in Photoshop
2020年8月20日
There are various selection tools in photoshop, and you can use them by multiple uses. Today, I’ll show you how to use one of them, “Select and Mask”, to quickly crop people’s photos. You can also use it to crop hair and clothes, so try it out.
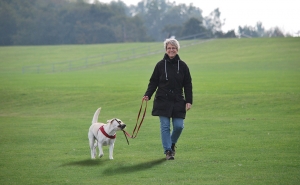
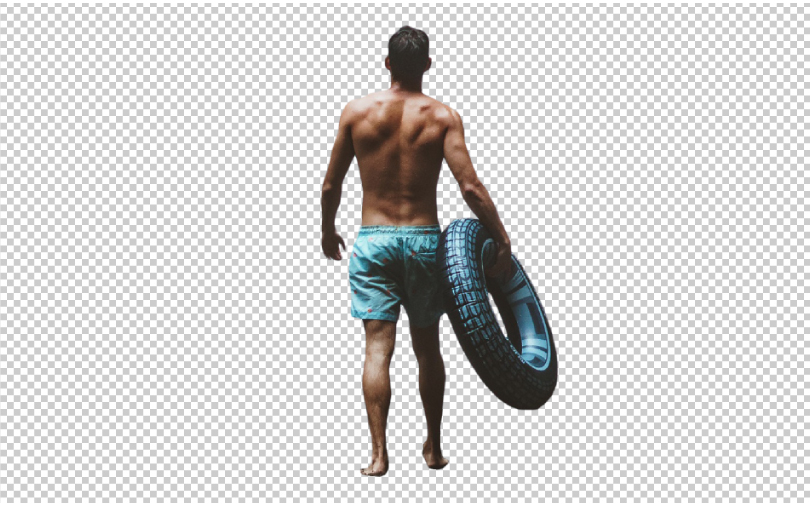
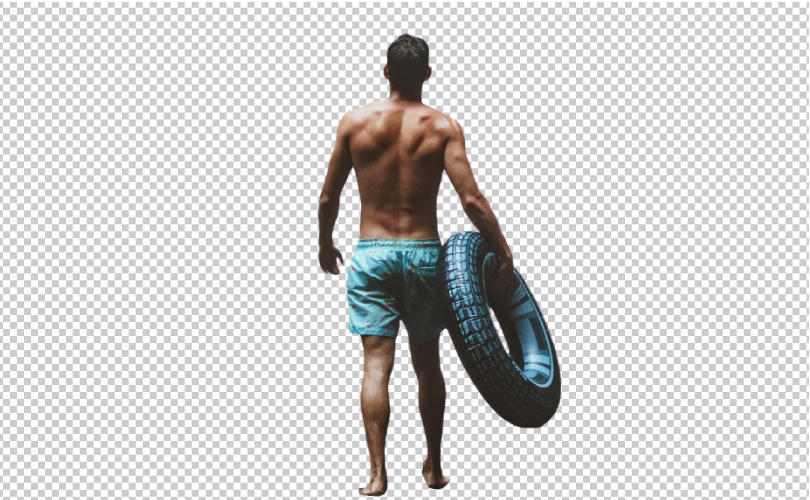
Final image
TOC
What’s the Select and Mask?
The Select and Mask is an upgraded version of the “Adjust Border” in Photoshop CS. It’s a great feature that helps you to create complex selections such as hair and clothing.
1. Create a new layer
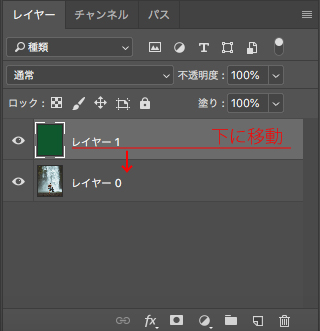
1. Change the background layer to layer 0.
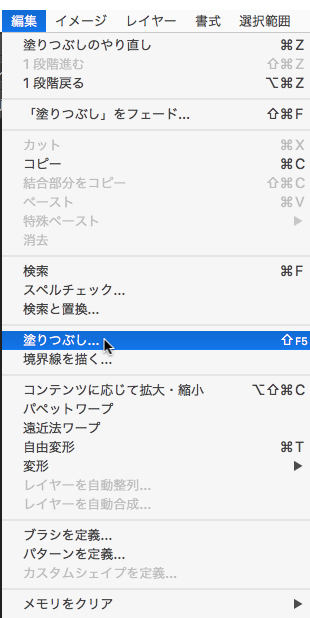
2. Go to [Edit] > [Fill].
At this step, you should choose a color that is easy to see the photo you are cropping.
Place the filled layer under the cropping layer (layer 0 in the video).
2. Use the Select and Mask
Now we are ready to crop the person, so we will use “Select and Mask” to do it.
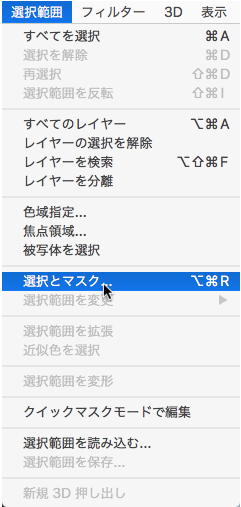
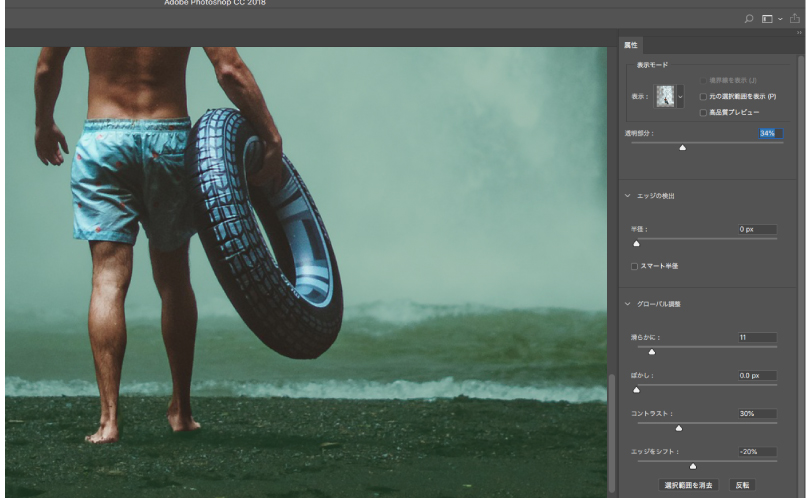
1. To find ” Select and Mask”, go to [Menu] > [Select] > [Select and Mask…].
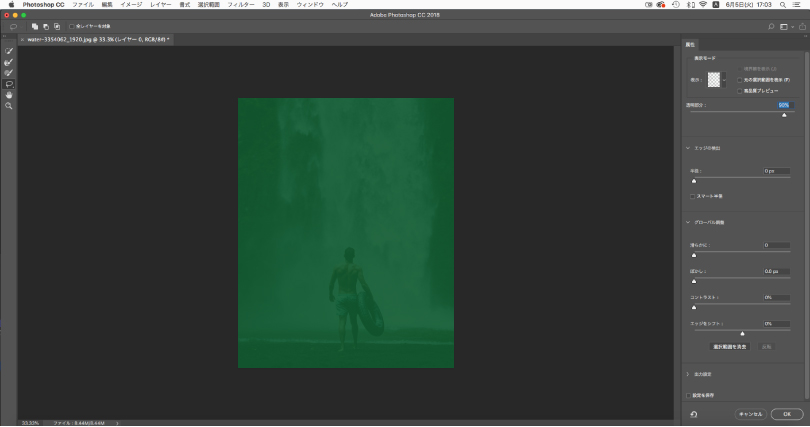
You will see a screen with the Properties Panel on the right.
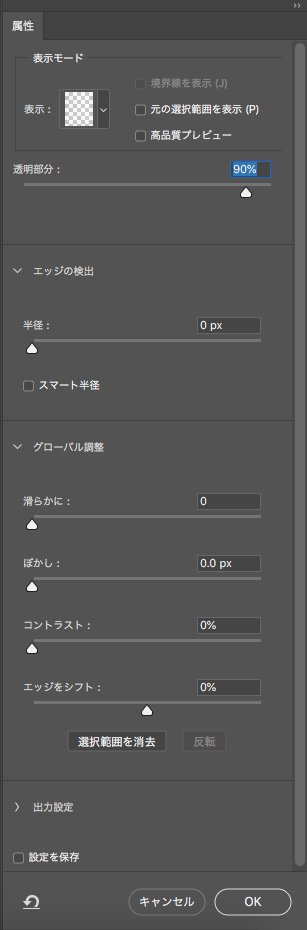
If you set the Transparency to 100%, you can see the color of the back layer. In this case, I worked at 90%, but you can adjust it as needed to work more easily.
You can reduce the size of a blurred edge by adjusting the [Contrast] and [Shift Edge] in [Global Refinements]. Conversely, [Feather] and [Smooth] are useful for selecting objects with blurred edges, such as hair.
Now let’s make a selection. The point is not to select all of them at once, but use the Lasso tool to correct the parts of them.
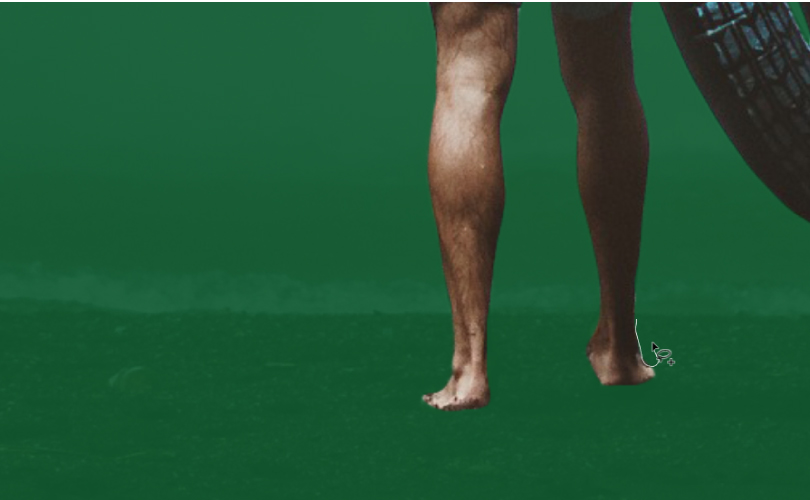
I worked by lowering the “Transparency” to check the selection of the foot.
When you made your selection, press OK to confirm it.
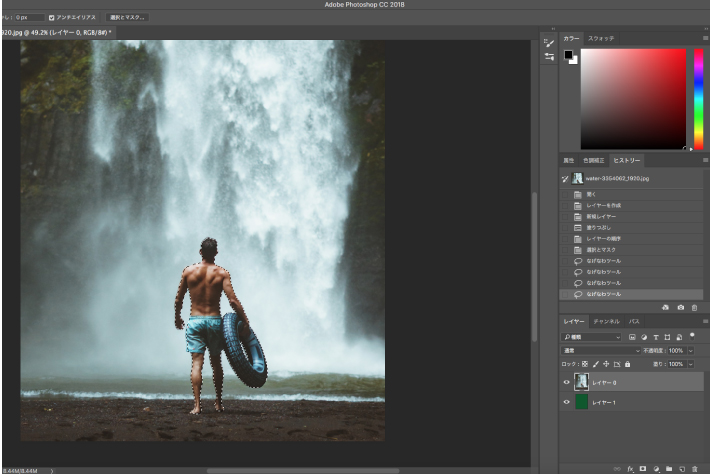
Check your selection.
On the border, you can’t see the blurred areas with the Global Refinements, but they are actually blurred.
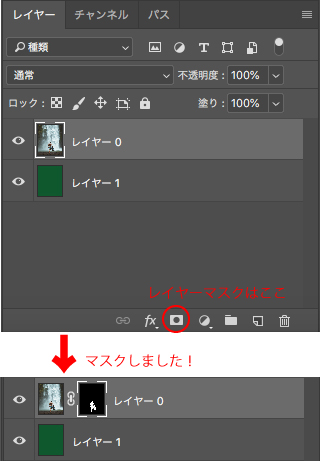
3. Hide the background with a Layer Mask
This time we will use a Layer Mask to hide the background.
1. Apply a Layer Mask to Layer 0.
If you just want to crop the object, you can copy and paste or flip the selection and erase the background. For complex objects that you may use frequently, it is useful to save the selection as a path.
Finished!
I hope you’ve found “Select and Mask” to be a very useful command.
It’s not easy to make a selection on complex photos and objects one by one with a path. Paths and Lasso tools have the advantage of being able to cleanly cut through them, so you can use them for different purposes.
If you’re looking to make your work a little more efficient, this is a good chance to master Select and Mask!
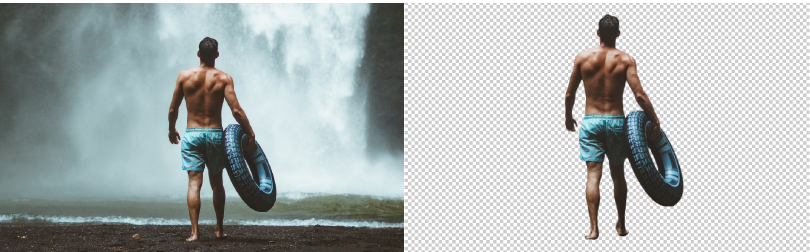
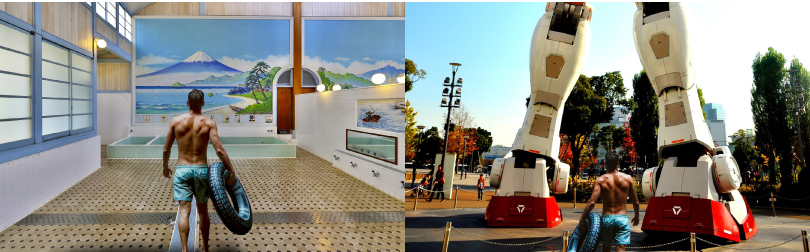
Examples


Recommended articles:
関連記事
-
 How to Fix Distortion of Image
 -
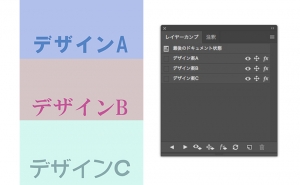
The Basics of Layer Comps
-
Adding Outlines to Images
-
How to Create Lighting Effects in Photoshop
-
The difference between a [Healing Brush Tool] and a [Clone Stamp Tool]
-
How To Create Realistic Shadows in Photoshop
-
Making a Pop-up Photo
-
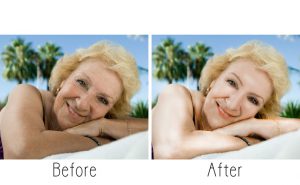
Making Someone Younger in Photoshop