How to Make a Sunburst Vector Easily

Have you ever seen an illustration like this?

I’ll show you an easy way to make a radial vector like this.

3 steps for making radial vectors
1. Create a perfect circle with the Ellipse tool
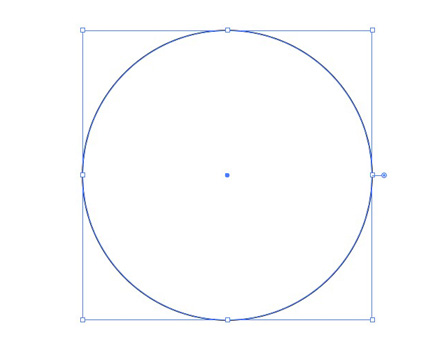
Draw a perfect circle with no fill and a black line (or any other color you like).
For create a precise circle, drag with holding down the shift key.
The diameter of this circle is 100mm.
2. Change the stroke weight
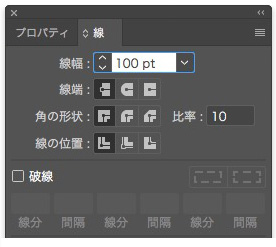
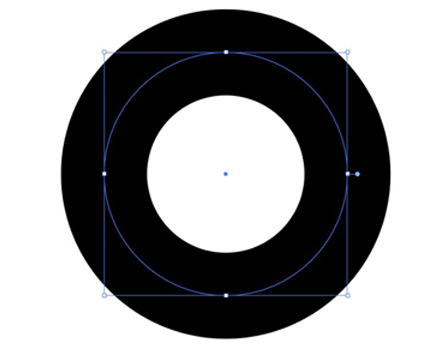
Change the stroke weight to 100pt in the Stroke panel.
3. Check the dashed line and change the value
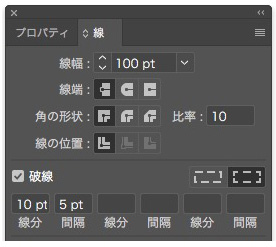
Check the dashed lines in the Stroke Panel.
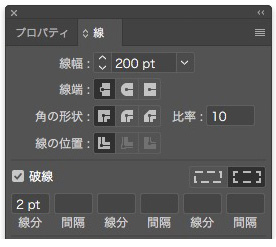
The appearance can be changed by adjusting the Weight, dash and gap.
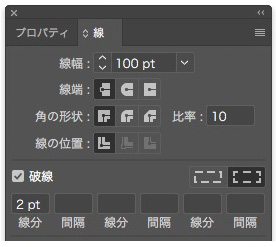
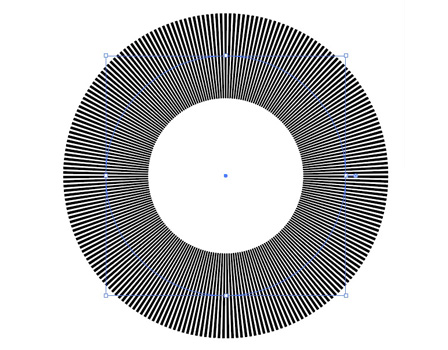
[With the stroke weight set to 200 pt / the length (width) from inside to outside changes.]
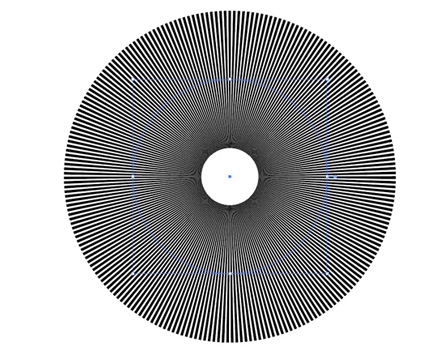
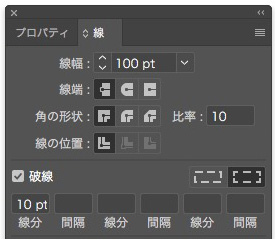
[With the dash set to 10 pt / The stroke thickness changes.]
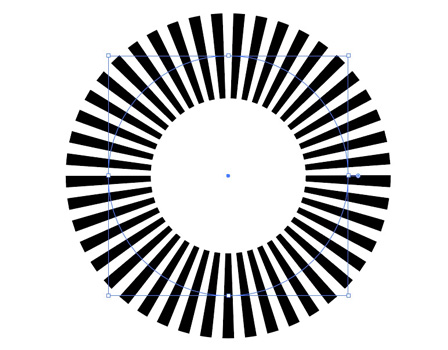
[With the dash at 10pt and gap at 5pt. / The spacing between each lines will change.]
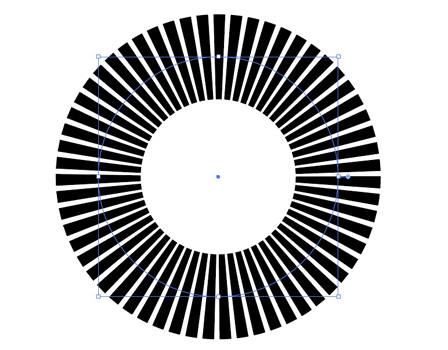
Change the values to get the shape you want.
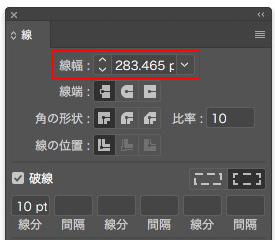
In this case, we create a shape without a hole in the center, so enter the size of the object (Enter “100mm” because this circle’s diameter is 100mm) in the Stroke weight field.
Even if the unit is different, it will be changed automatically, as shown below.
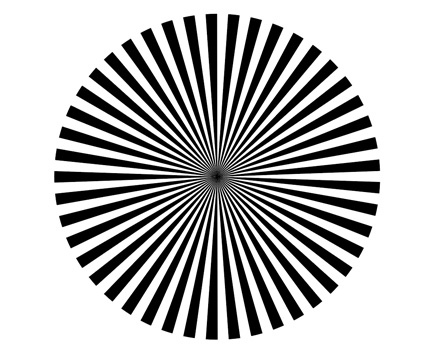
The shape was made in those 3 steps!
Now change the color (lines) as you want and apply a clipping mask.
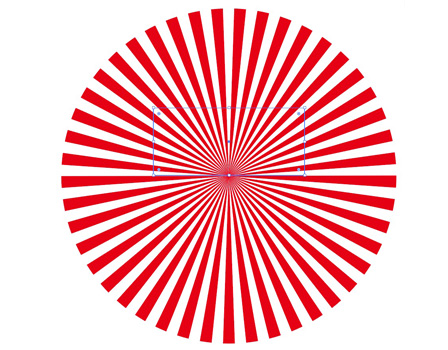
Create an object for the clipping mask in front of the radial object (which you want to display).
Select it with the radial object and create a clipping mask from the command(win ctrl)+7 or the [Object] in the menu bar.

If you want to make it look like a sunrise, add a sun object before you apply the mask.
This time I changed the angle of the radiation by setting the dash to 20pt.
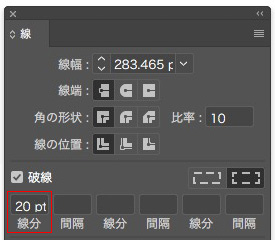

To outline a path or not depends on how you want to use it.
By the way, I made the folding fan below using the same method, then outlined the path and use only the part I needed.

By changing the values, the shape will change as well, so try out different things.

