How to Create a Water Reflection with Photoshop
In this article, I’ll explain how to create a realistic water reflection using Photoshop!
*The following values are just for reference.
1. Open your image in Photoshop
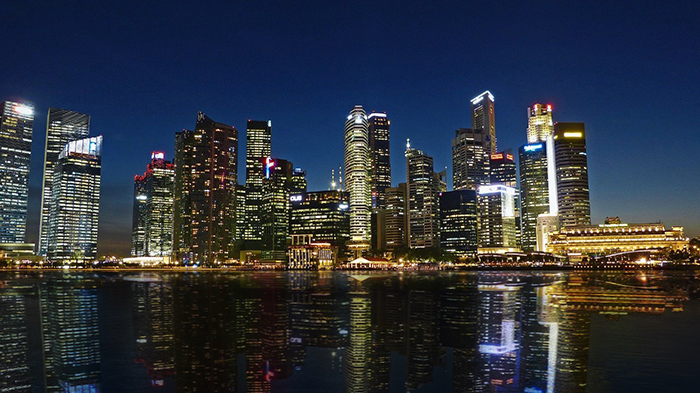
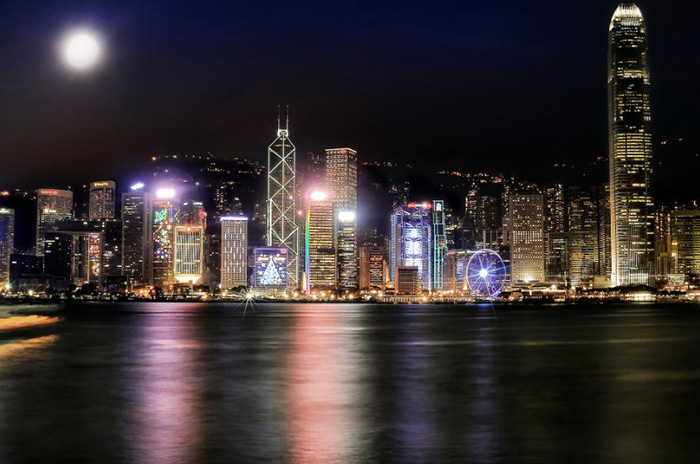
It’s a nice night view photo, but this time I’m going to add it water reflections.
2. Add a new layer
Change the new layer name to “Light” and set the Blending mode to [Overlay].

3. Paint the water surface in black with the Brush tool
Select the layer “Light” and use the Brush tool to fill the white areas on the water with black.
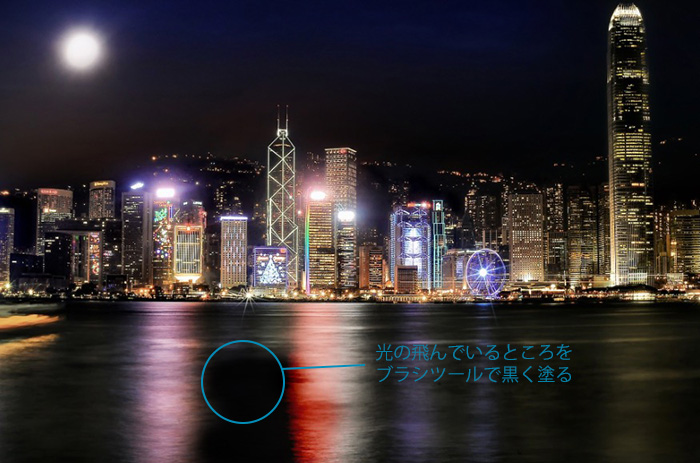
At this time, you can naturally remove white areas because the Blending mode is set to [Overlay].
*What is Overlay?: This is a Blending mode that makes light areas lighter and dark areas darker.
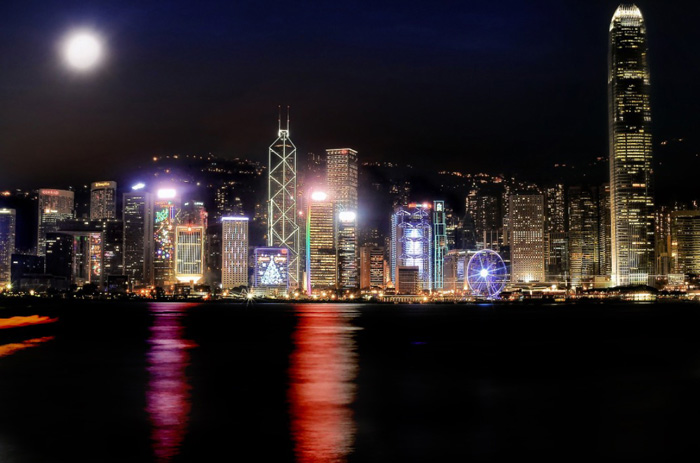
I’ve finished painting all.
4. Duplicate and flip the background layer
Select the background layer and duplicate it. Changed the layer name to “Reflections”.

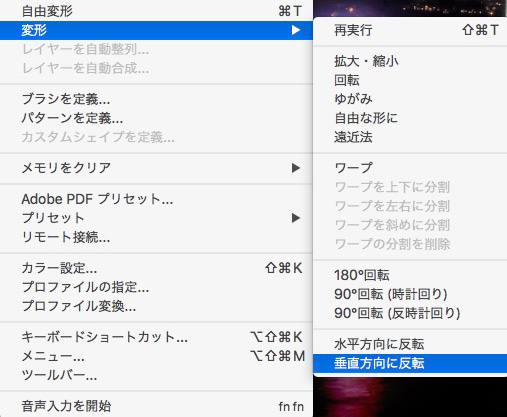
With the layer “Reflections” selected, choose [Edit] > [Transform] > [Flip Vertical].
Then check the border of the reflection by adjusting [Opacity] and so on.
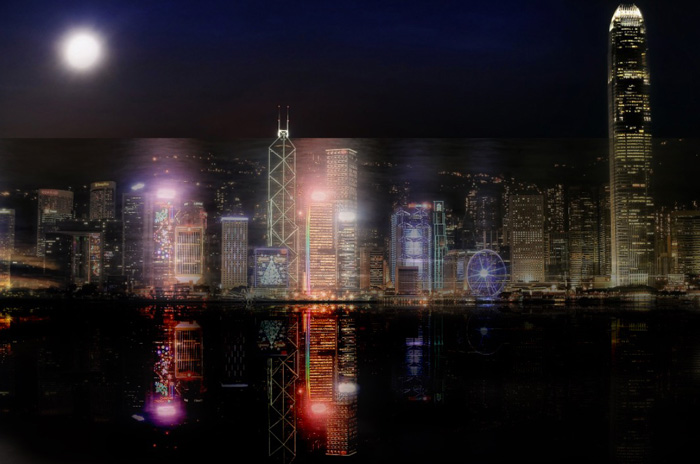
5. Create a selection of reflections
Create a selection in the reflection area of the layer “Reflections” using a tool such as the [Rectangular Marquee] Tool.
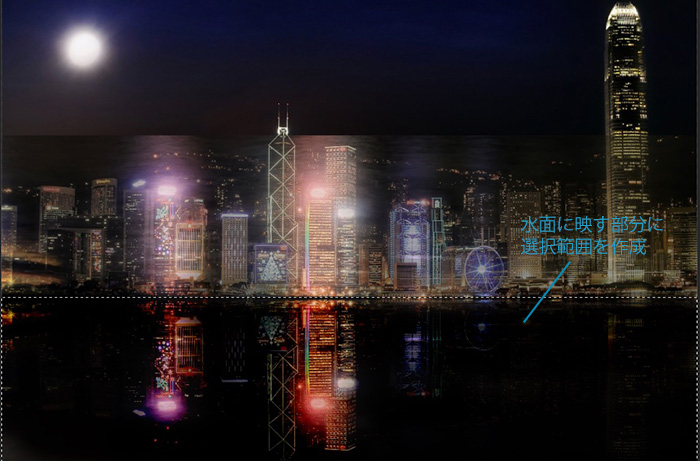
Then, create a layer mask.
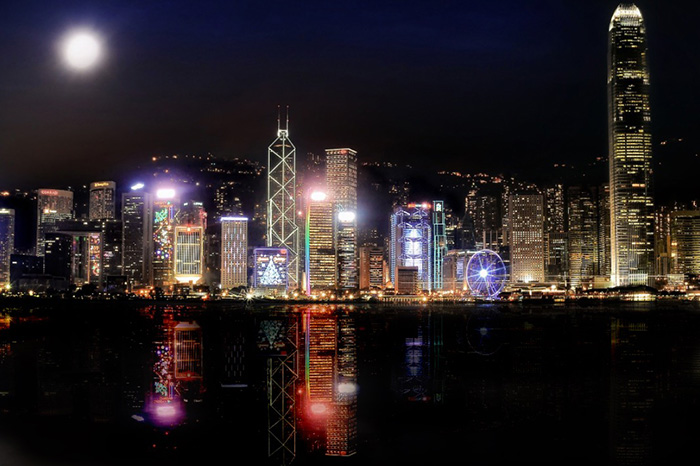
It’s looking good.
6. Adjust the layer “Light”
Select the layer “Light”.
Change [Fill] and adjust it to look more natural. In this case, I set [Fill:70%].

This is after changing the [Fill] setting.
![After changing the [Fill]](https://soft-no-sosa.com/wp/wp-content/uploads/2020/07/yakei_18.jpg)
7. Adjust the layer “Reflections”
Select the layer “Reflections”.

Choose [Filter] > [Blur] > [Motion Blur].
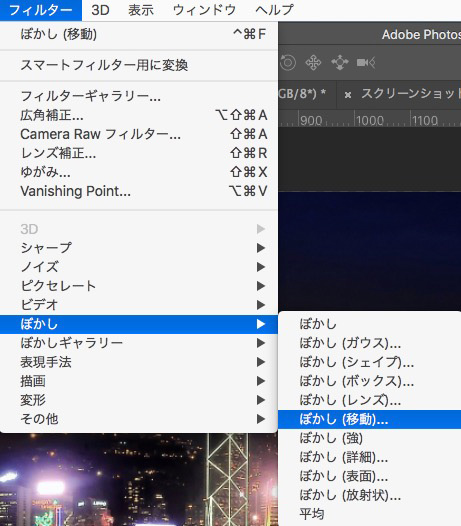
Set [Angle: -5°] and [Distance: 5px] in [Motion Blur] panel.
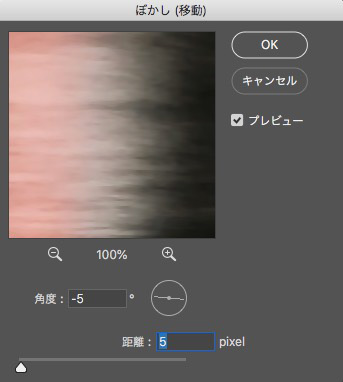
This allows you to create realistic ripples.
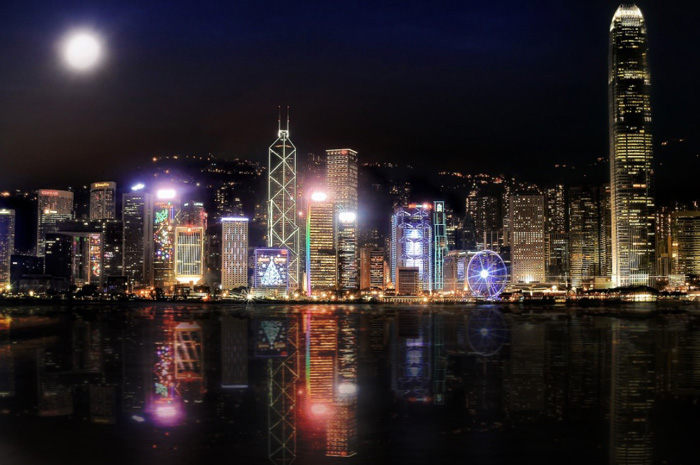
Finished!
Now it’s done!
How was it?
We were able to create a Water reflection in a simple way.
Please give it a try!
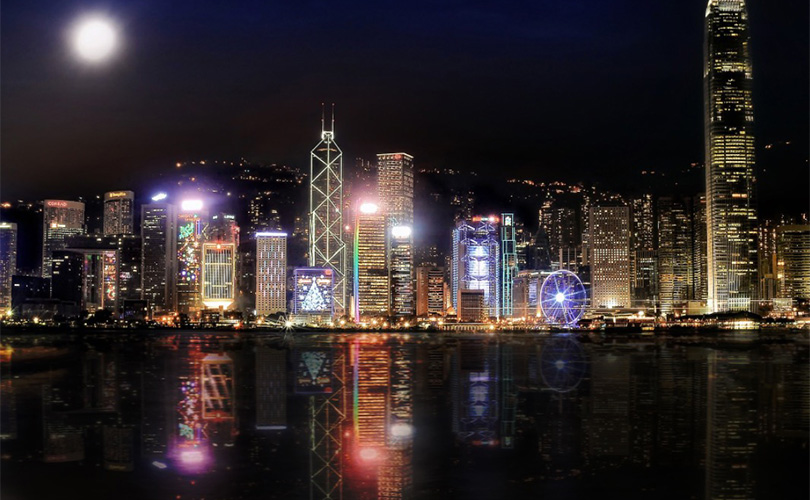
Photo of night view in Singapore using this technique.
