Photoshop Blending Modes Descriptions -Part1-
2020年8月27日
Do you know how many types of [Blending Modes] are there in Photoshop?
There are 27 different types!
In this article, we’ll talk about these Blending Modes in two parts.
Introduction
We can roughly categorize the Blending Modes into 3 types.
Darken Blending Modes
- Darken
- Multiply
- Color Burn
- Linear Burn
- Darker Color
Lighten Blending Modes
- Lighten
- Screen
- Color Dodge
- Linear Dodge (Add)
- Lighter Color
Contrast Blending Modes
- Overlay
- Soft Light
- Hard Light
- Vivid Light
- Linear Light
- Pin Light
- Hard Mix
There are 10 other different modes, but I’ll explain those as well.
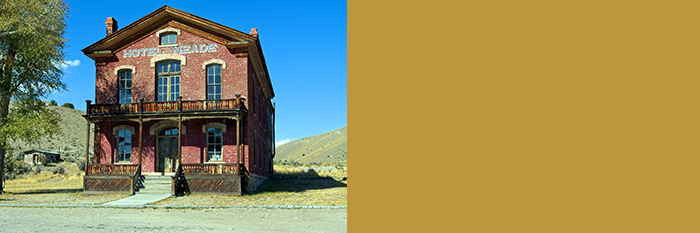
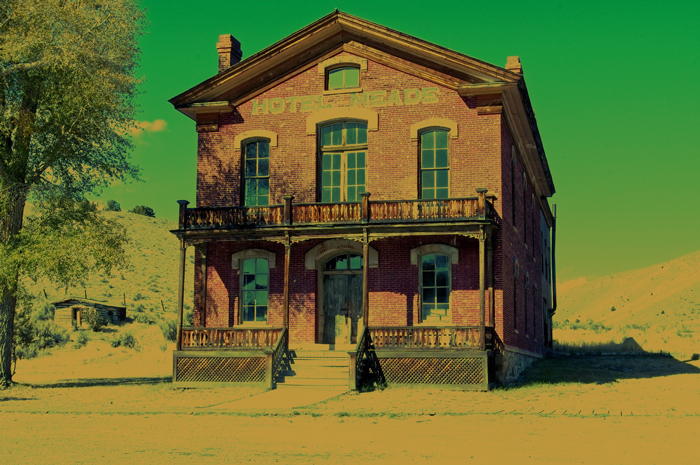
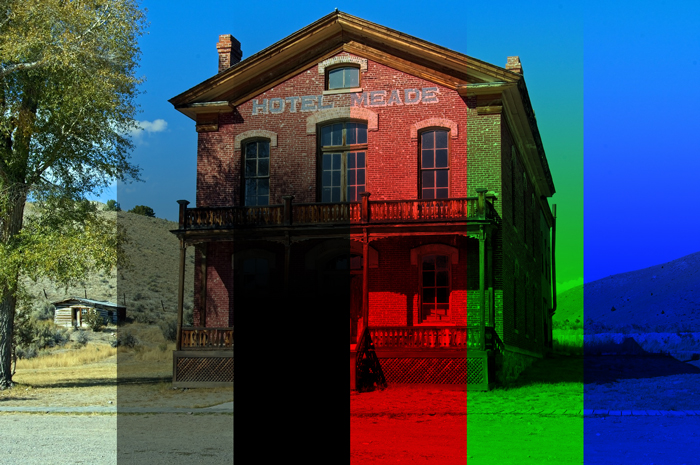
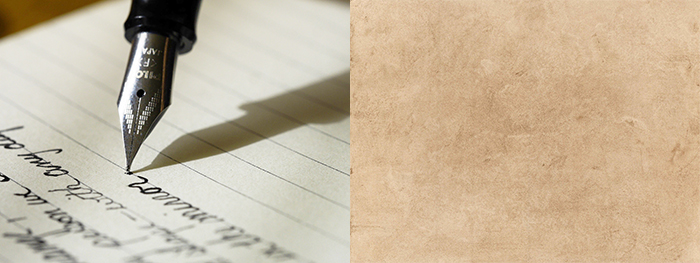
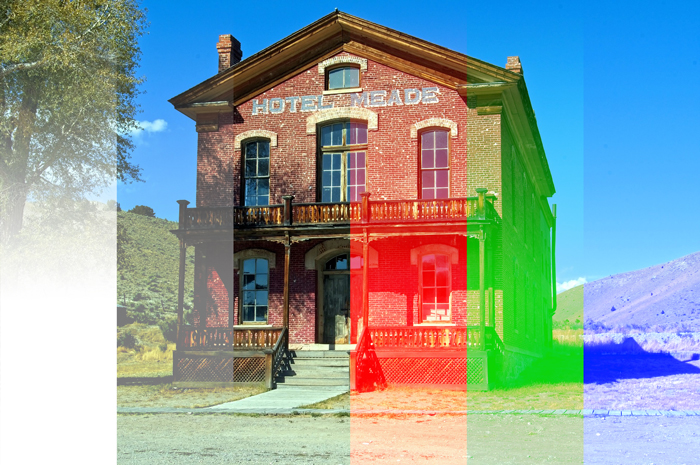
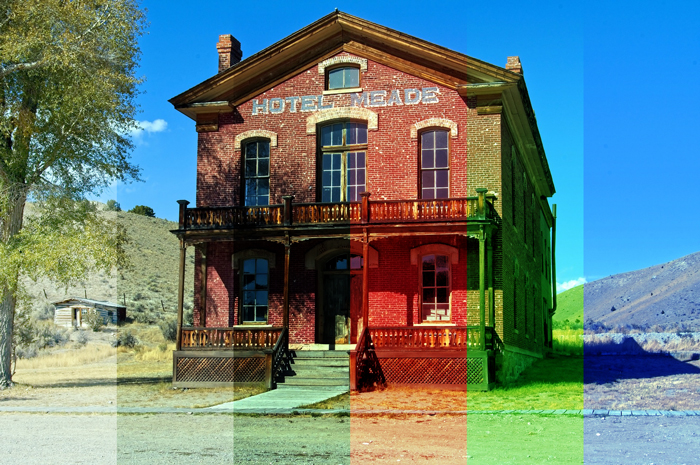
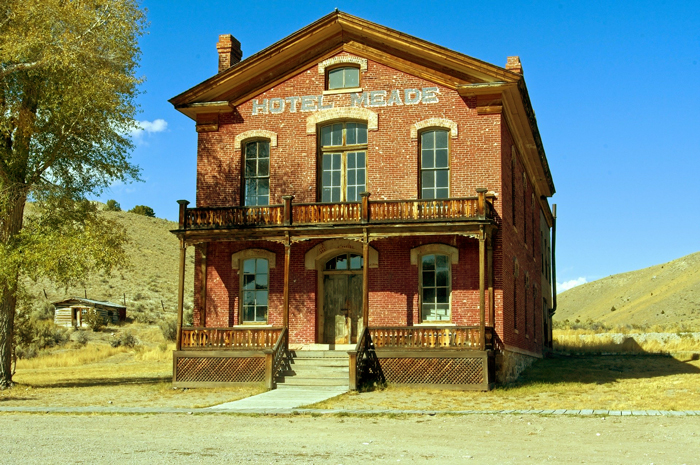
I’ll use these two layers this time.
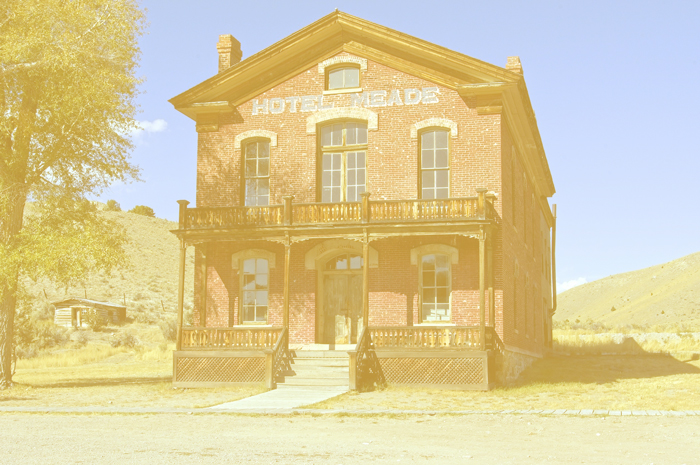
Layer 1 [Base color]
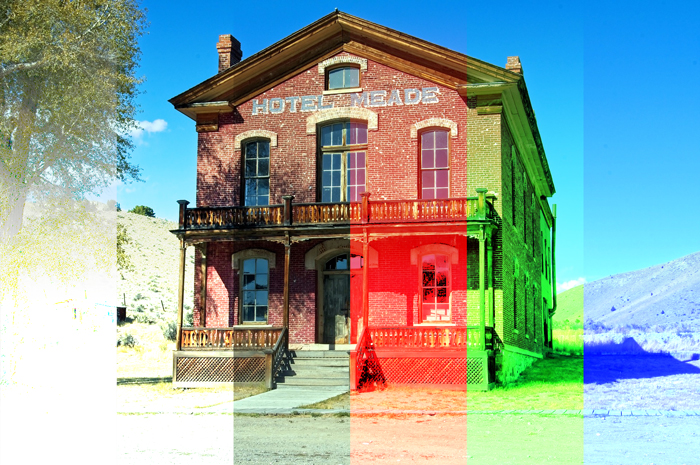
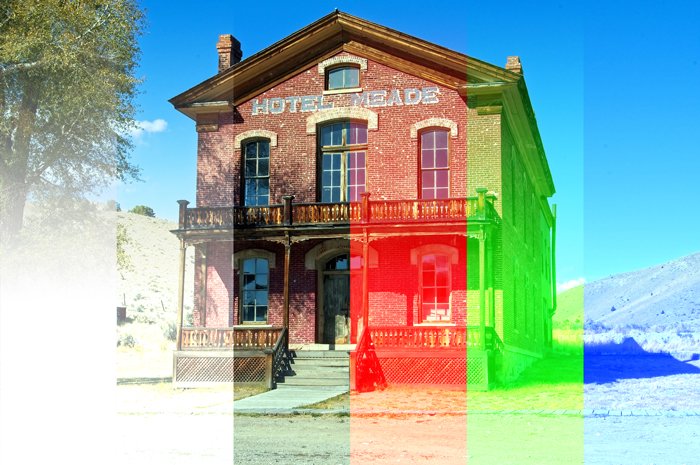
Layer 2 [Blend color](The upper is translucent.)
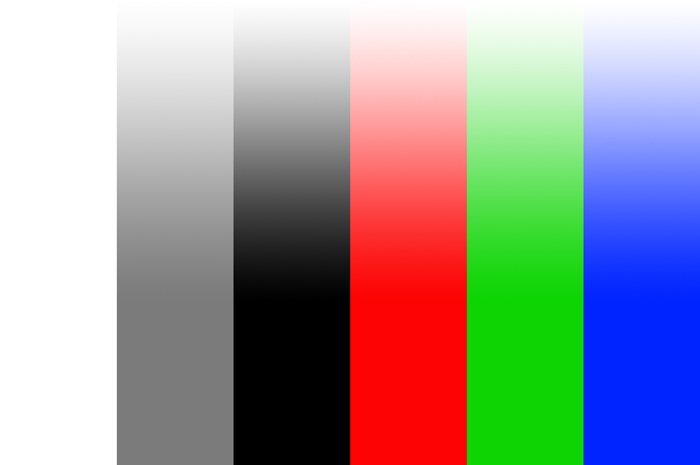
Work with putting layer 2[Blend color] on top of layer 1[Base color].
The state in which the two layers are stacked is called [Result color].
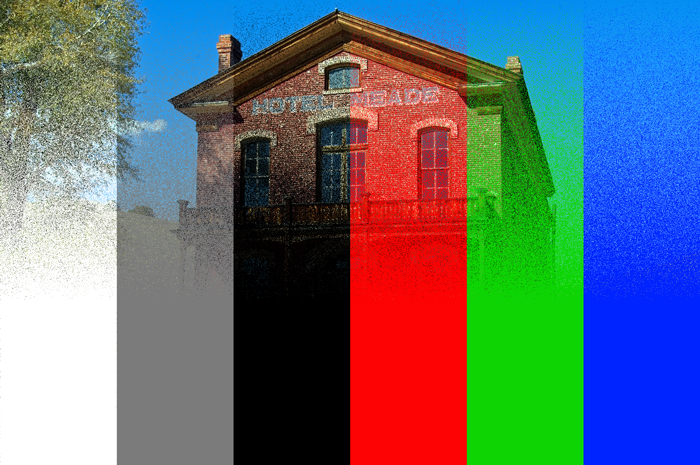
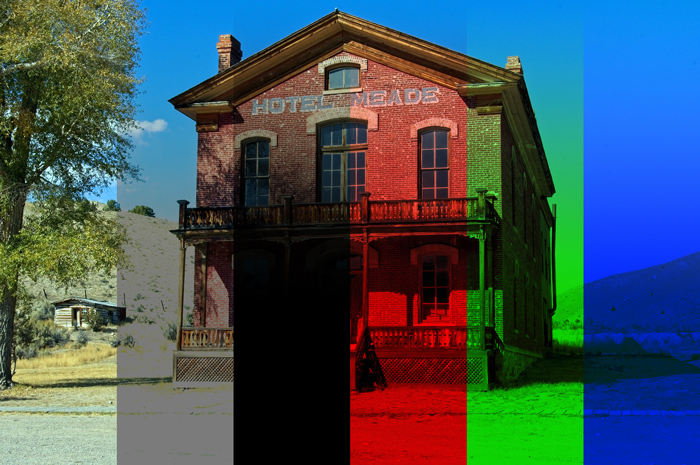
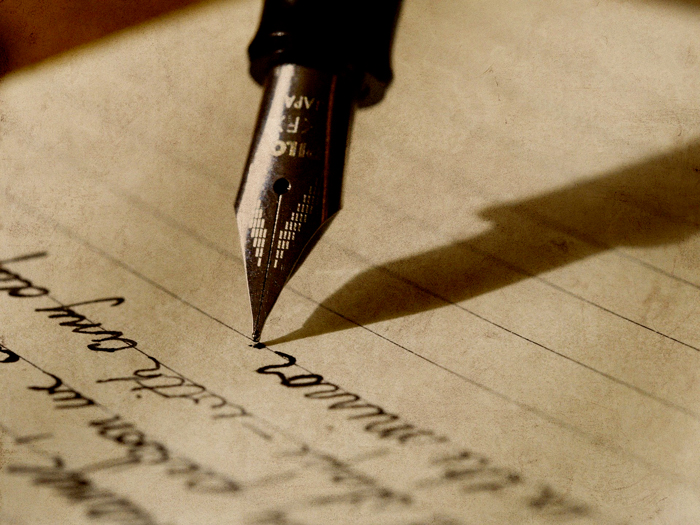
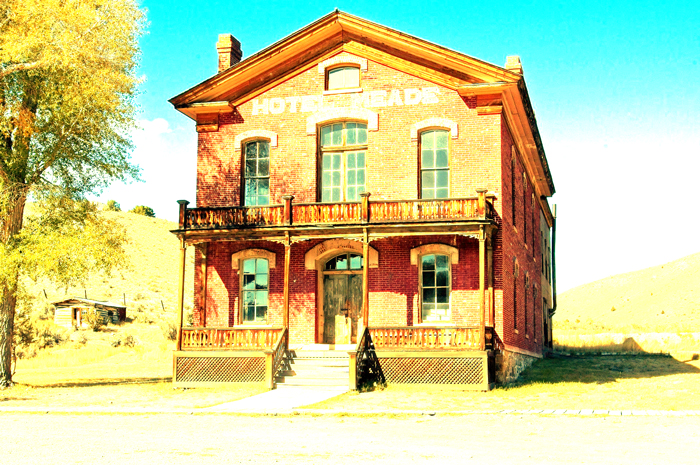
1. Normal
Normal is the default Blending Mode. Since [Blend color] is on top of [Base color], [Result color] looks like this.

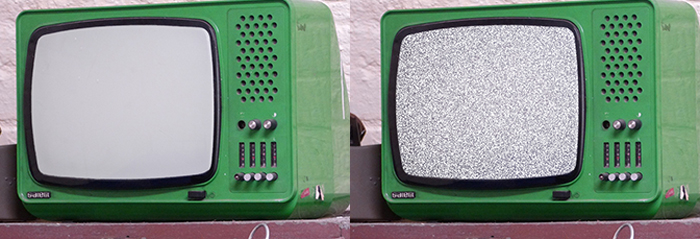
2. Dissolve
Dissolve can give a noise effect to the applied layer.
The noise intensity depends on the opacity value. The higher the opacity, the higher the density of noise, and the lower the opacity, the lower the density of noise.
Example
Changing the TV screen to a white noise.
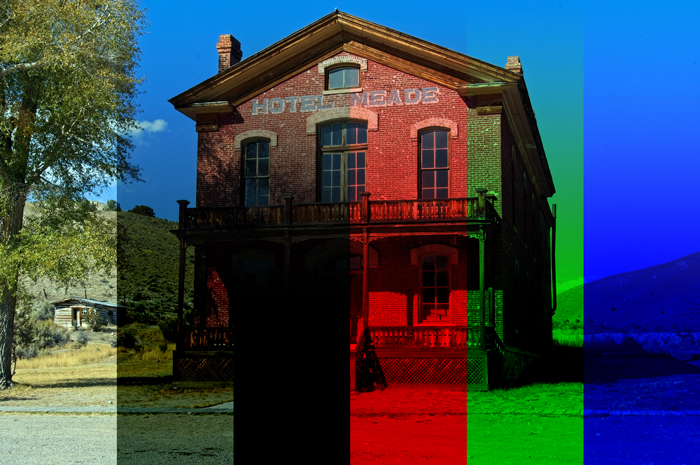
3. Darken [Darken Blending Modes]
When base color and blend color are overlapped, the one with a darker color value is displayed as the result color.
In other words, the color with a lower RGB value (darker color) is displayed in priority.
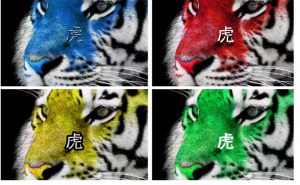
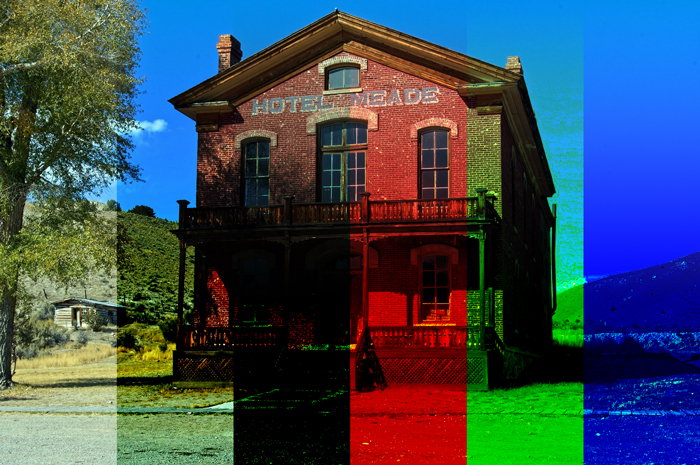
Example of combining image with a layer of [RGB:190 150 60].
Result
4.Multiply [Darken Blending Modes]
This mode multiples base color by blend color.
It makes the result color darker, so you can make darker images or shadows.
Multiplying with white doesn’t change the result color, while black remains its color.
Layering colors other than black or white makes the result color get darker.
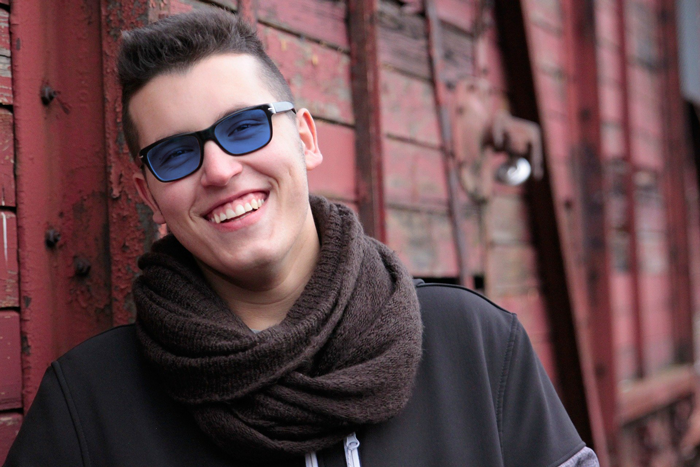
Example
Change the color of the glasses naturally.

Result
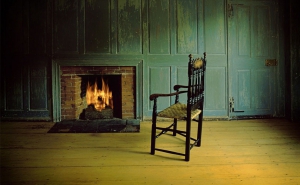
5. Color Burn [Darken Blending Modes]
This mode darkens the base color and reflect the blend color by increasing the contrast between them. There’s no change with blending with white.
Example
Add a nostalgic effect.
Result
6. Linear Burn [Darken Blending Modes]
This mode is similar in effect to the Color burn, but makes a result color darker than it.
It also adds similar effect with Multiply, so gives a darker image.
Example
Add a vintage look to image
Result
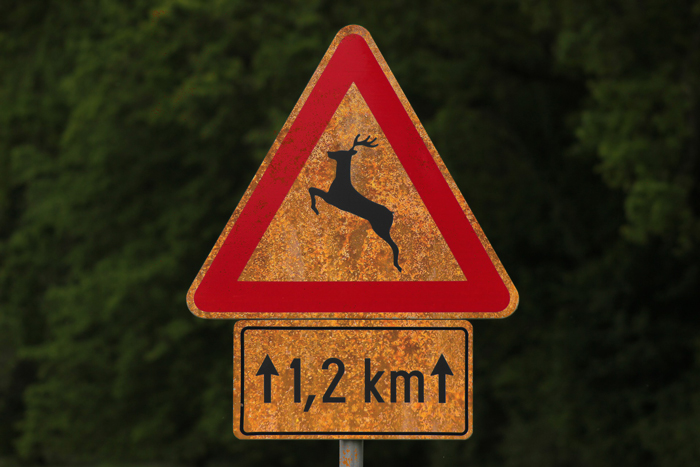
7. Darker Color [Darken Blending Modes]
Compares the sum of all channel values for the blend and basic colors, and displays the color with the lower value. While Darken chooses a color with a lower value for each RGB channel, Darker Color shows the color with the lowest total RGB value.
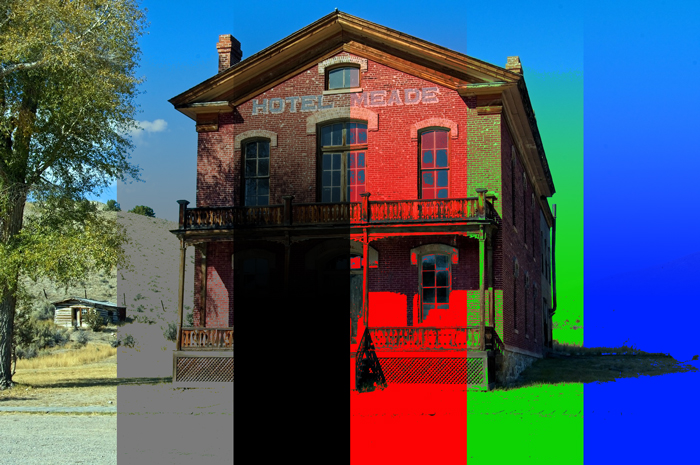
Example
Add a rust effect to a sign.
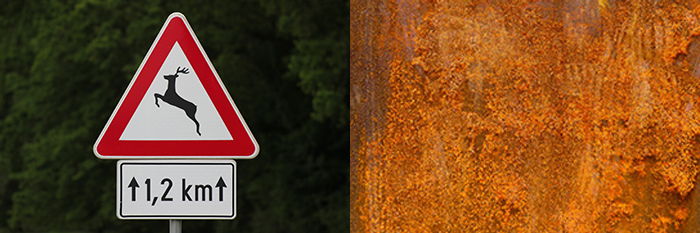
Result
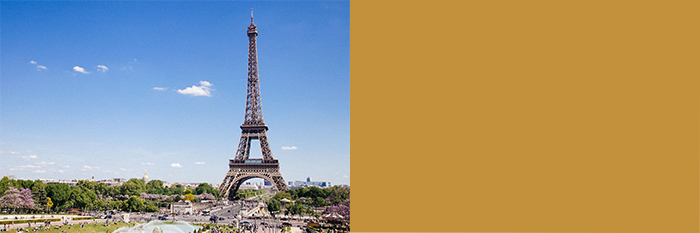
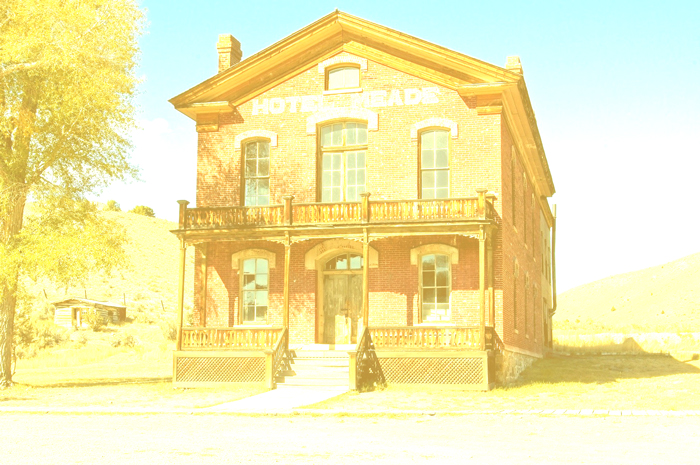
8. Lighten [Lighten Blending Modes]
When overlaying the basic color and blend color, the one with the brighter color value will be shown as the result color. The higher RGB value color (brighter color) will be displayed in preference.
There’s no change by blending with white.
Example of combining image with a layer of [RGB:190 150 60].
Result
9. Screen [Lighten Blending Modes]
It multiplies the inverse of the blend color and base color. The result color is lighter in contrast with Multiply. White is reflected, but black is not. It’s easy to imagine this as the opposite of Multiply.
Example of combining image with a layer of [RGB:190 150 60].
Result
10. Color Dodge [Lighten Blending Modes]
Based on the color information of each channel, brighten the base color and reflect the blend color by reducing the contrast between them. There is no change by combining with black. It is easy to understand if you think of it as the opposite of the Linear Burn.
Example of combining image with a layer of [RGB:190 150 60].
Result
11. Linear Dodge (Add) [Lighten Blending Modes]
Based on the color information in each channel, brighten the base color to reflect the blend color by increasing the brightness. There is no change by combining with black. The result color is brighter than the Color Dodge. It is easy to understand if you think of it as the opposite of the Linear Burn.
Example of combining image with a layer of [RGB:190 150 60].
Result
12. Lighter Color [Lighten Blending Modes]
Compares the sum of all channel values for the blend and basic colors, and displays the color with the higher value. While Lighten chooses a color with a higher value for each RGB channel, Lighter Color shows the color with the highest total RGB value.
You can easily understand this as the opposite of the Darker Color.
Example of combining image with a layer of [RGB:190 150 60].
Result
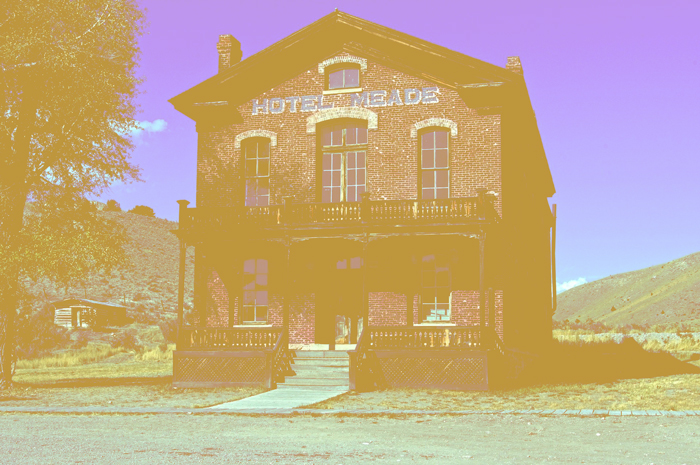
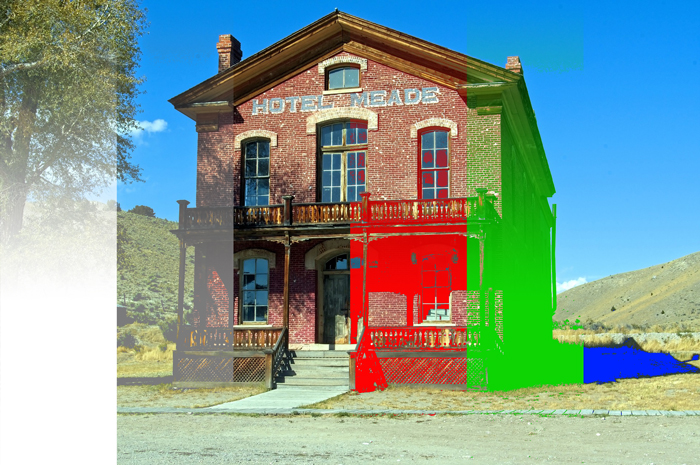
13. Overlay [Contrast Blending Modes]
This mode makes darker areas darker by Multiply, and light areas lighter by Screen. The result color is vivid and has a clear contrast.

Example of combining image with a layer of [RGB:190 150 60].
Result
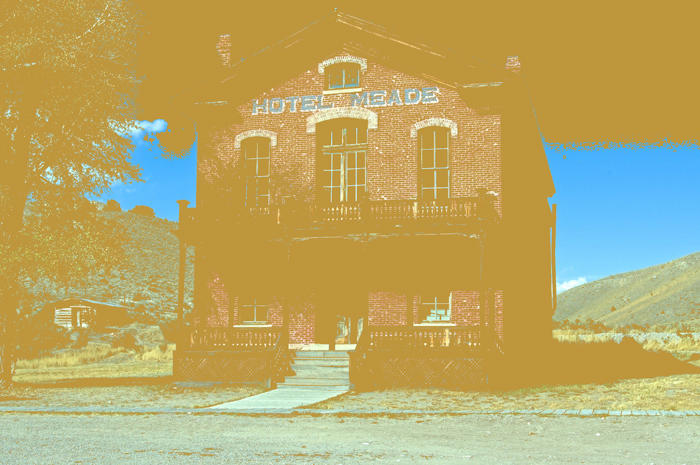
14. Soft Light [Contrast Blending Modes]
Soft Light makes light areas lighter and dark areas darker depending on the blend color without changing the hue, such as the overlay. It has less contrast than an Overlay.
Example of combining image with a layer of [RGB:190 150 60].
Result
(Source: Adobe/Blending modes https://helpx.adobe.com/photoshop/using/blending-modes.html)
That’s it for the first part.
Let’s continue on to Part 2!
[clink url=”https://soft-no-sosa.com/?p=9692&lang=en&preview=true”]
関連記事
-
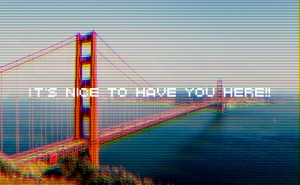
 How to Create VHS Glitch Effect in Photoshop
 -
How to Fix Distortion of Image
-
How to Use Photoshop Render Filters
-
Adding Artboards in Photoshop
-
How to place an image in text with Masks in Photoshop
-
How to Enlarge Pixel Art Without Blurring
-
Gold Text Effect With Just 2 Layers in Photoshop!
-
Creating Vintage Photo Effects in Photoshop