
Using the Photoshop Crop Tool
2020年8月11日

In this article, I’ll show you how to use the Crop tool in Photoshop.
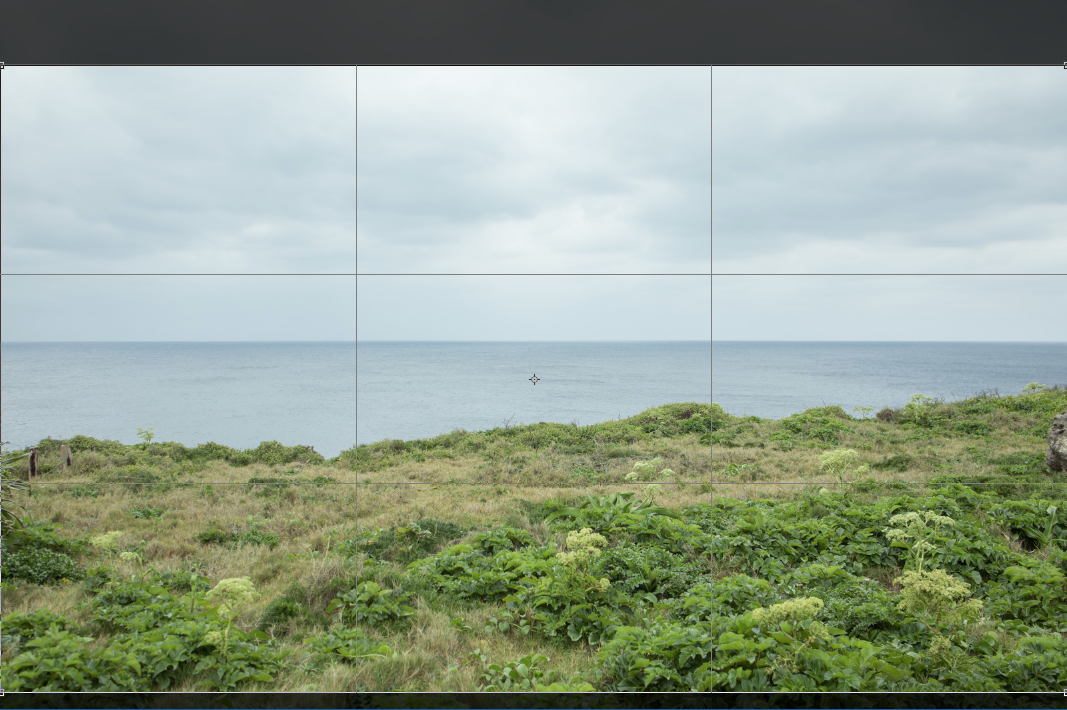
The Crop tool is used like selecting a selection.
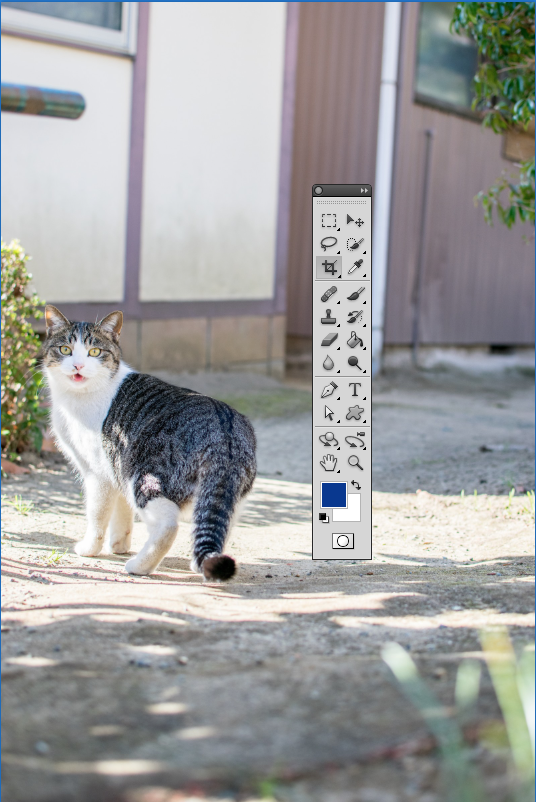
Surround the area you want to crop in the same way you create a selection or an object.
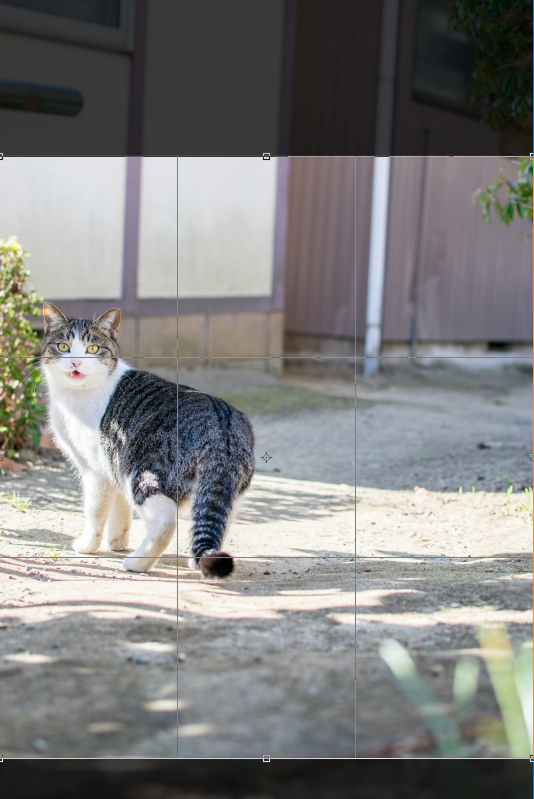
When you have finished enclosing the image, click the commit button at the top.
If you want to cancel the crop, click the cancel button.
The crop tool also allows you to change the angle of the crop. This is the same way as when you create a graphic object.

You can use the Crop tool with the settings of crop size.
When you enter a number in the field box of Width and Height on the left-top, you’ll not be able to make the selection larger than the number.
If you want to change the size, click the clear button and enter the number again.

Foreground is useful when you want to make image B the same size as image A.
Open the image of the one you want to make the same size in the other window and click on the foreground, you’ll see its image value.

Display the image you want to crop and use the Crop tool to crop with the same value.
It’s very handy and I encourage you to use it!

関連記事
-
 Using the Touch Type Tool for Typography
 -
Adding Outlines to Images
-
How to Create Superscript or Subscript in Illustrator
-
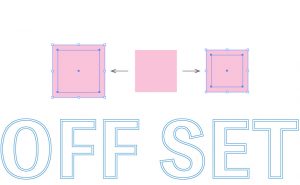
What is the “Offset Path” in Illustrator?
-
How to Warp Text with Envelope Distort
-
How to Make the Japanese Pattern
-
How to make realistic clouds with the [Ellipse Tool]
-
How to Make Trim Marks (Crop Marks)