How to place an image in text with Masks in Photoshop
Easy steps using “Clipping Mask”
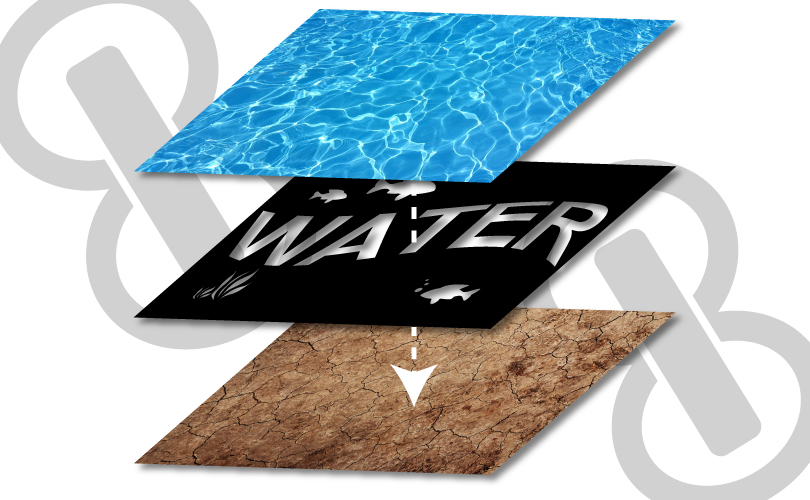
It’s easy to crop out a water image with text like this. Let’s give it a try!
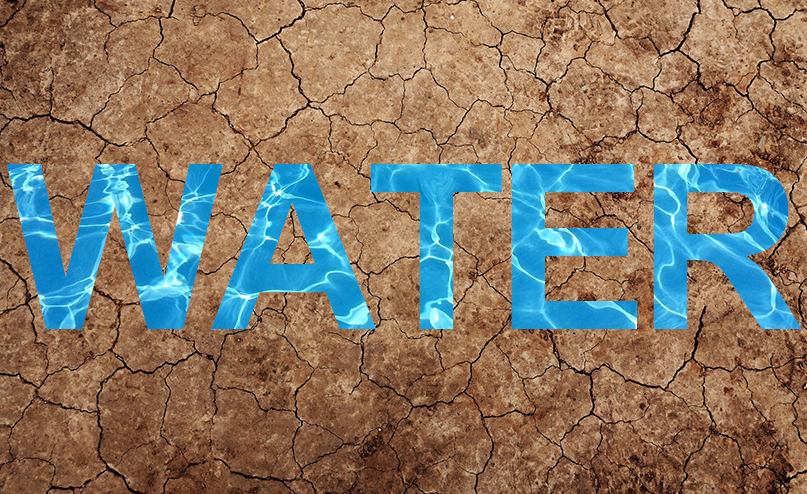
Place a water image on top of dry ground image in the background.
Use the Text tool to draw the text. You can use any color for the letters.
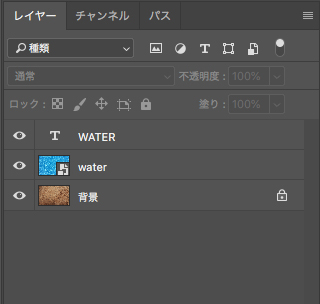
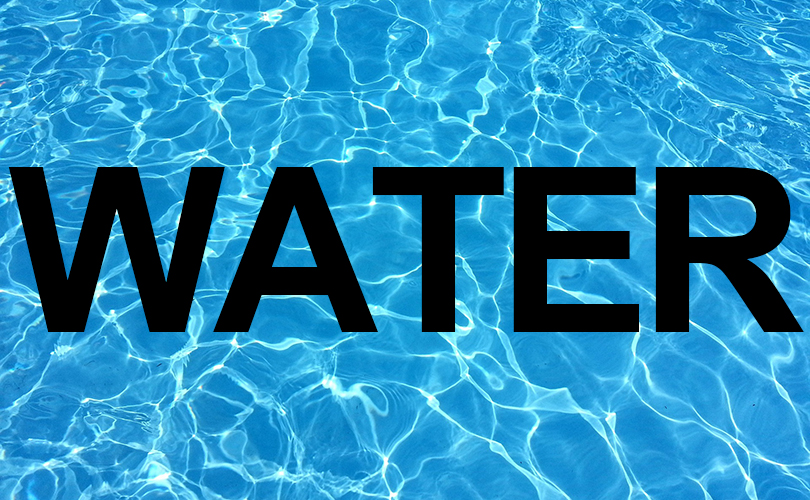
Move the water image layer over the text.
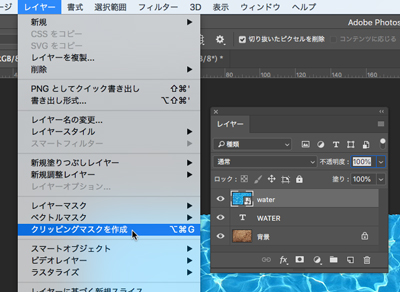
Select the layer of the water image and click the button of [Layer] > [Create Clipping Mask]
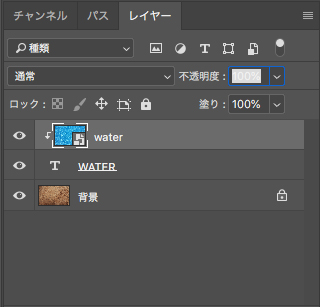
That’s it!
Let’s change the shape of the letters with Warp Text
Let’s change the shape of the letters to look like water.
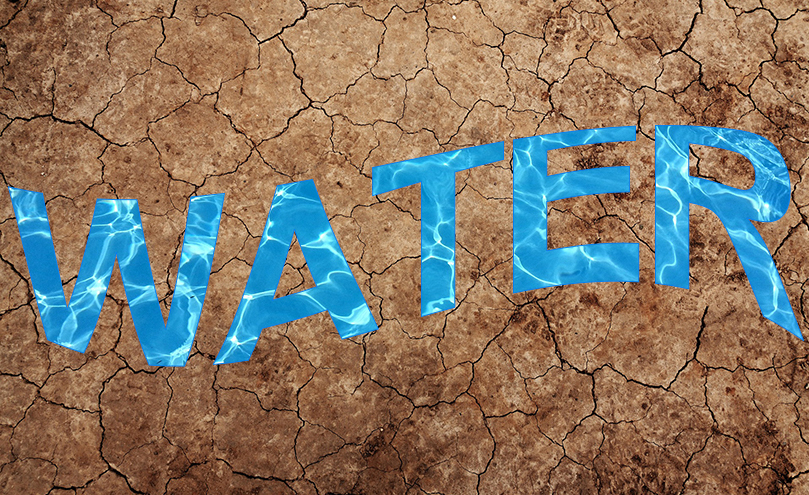
Select a layer of text,
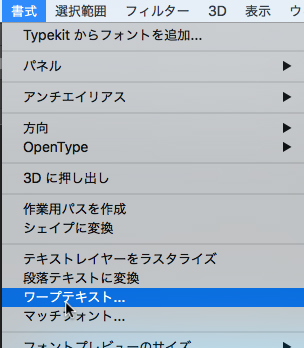
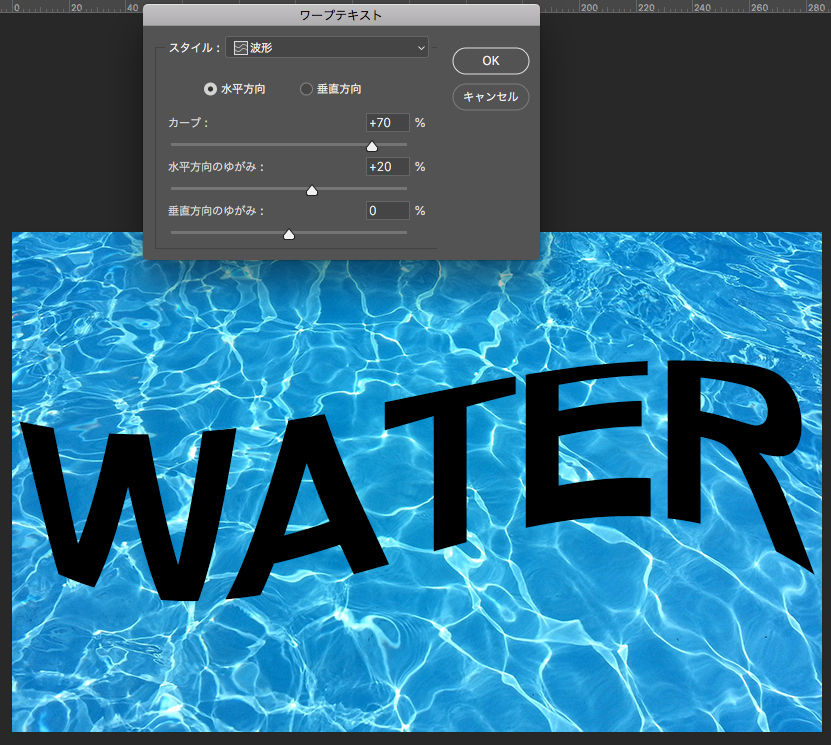
[Type] > [Warp Text] (*Photoshop CC)
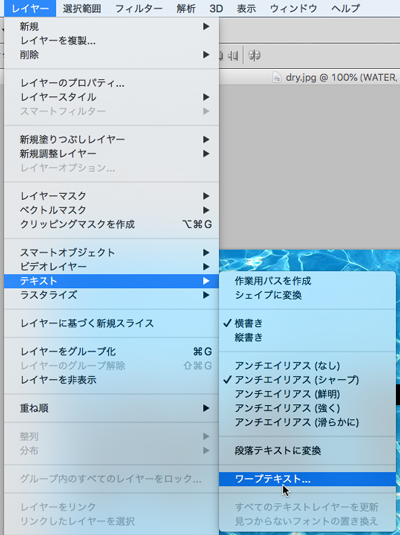
In Photoshop CS
[Layer] > [Type] > [Warp text]
Select a waveform and change the slider as you like watching the preview.
In this time, we’re going to add the fish shape and so on, so next I’ll explain the procedure for using the vector mask.
What is a Vector Mask?
Vector masks allow you to hide or show parts of a layer by paths drawn with the Pen tool or Shape tool.
Vector masks are vector data, not pixel data.
A pixel data mask with a selection is a “layer mask”.
(It’ll be confusing when you use Illustrator.)
Since it’s masked with a path, you can easily modify the shape of the mask by editing the anchor points and handles with the “Path Selection Tool”.
You can read more about the differences between Photoshop masks here.
How to Use 4 Masks in Photoshop
Outline the text and add a Vector Mask
Release the clipping mask.
Select the layer of the water image and go to [Layer] > [Release Clipping Mask]
I’ve moved the text layer upward to make it easier to see.
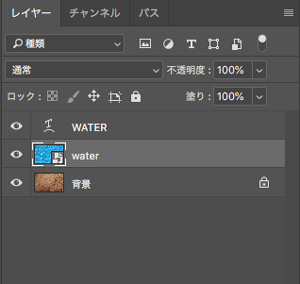
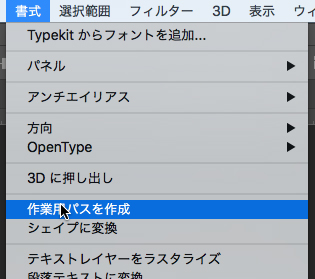
The text “WATER” is not a path, so make a path.
[Type] > [Make Work Path] (Photoshop CC)
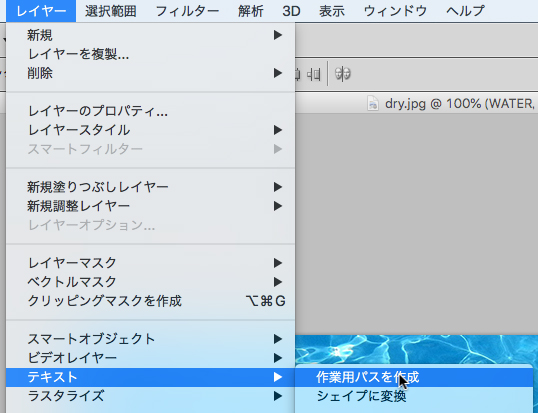
[Layer] > [Type] > [Make Work Path] (Photoshop CS)
To work with paths, use the Path Component Selection Tool not the Path Selection Tool.
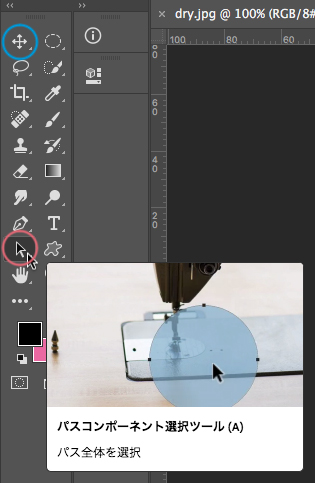
Press and hold the Path Component Selection Tool icon, you’ll find the Path Selection Tool.
Use it when you operate handles and anchor points.
Select the Work Path of the text “WATER”.
After selecting the water image layer, select [Layer] > [Vector Mask] > [Current Path]
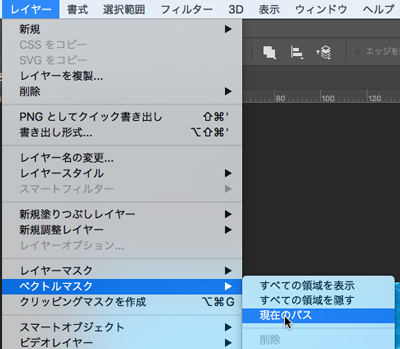
The vector mask is created.We don’t need a layer of text, so click on the eye icon to hide it.
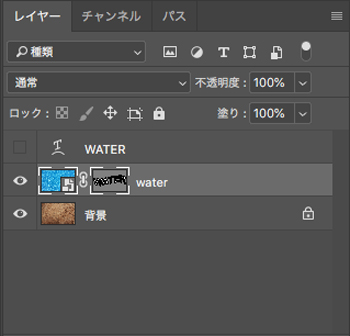
Add fish and seaweed to your mask
Create a fish or seaweed in the same way.
Click on the vector mask thumbnail next to the water image.
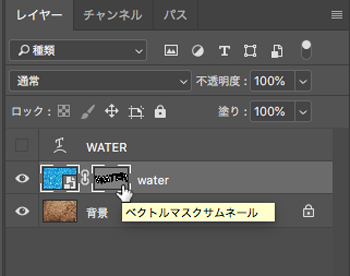
You can’t draw a fish? Don’t worry, it’s available in Photoshop.
Select the Custom Shape tool from among the shapes.
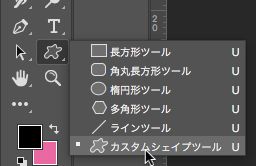
At the top of the screen, in the options bar, you will find “Shape”.
There are various shapes.
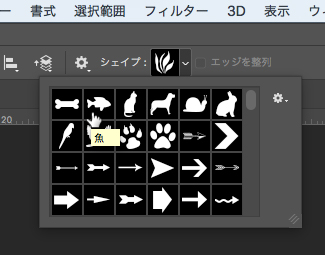
Click the gear icon (triangle icon in CS) on the right side in the dialog and select “All”, you can see all registered shapes.
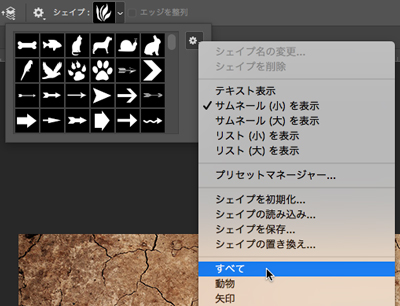
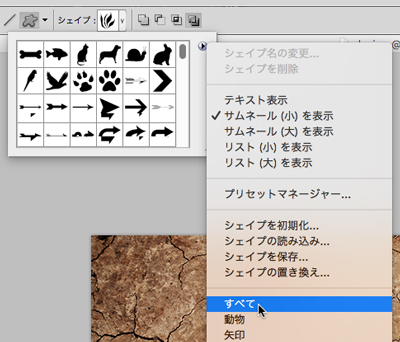
You can also add free custom shape material.
Select “Fish” from the custom shape and draw it in the Vector Mask.
Drag with holding down the shift key, you can keep the aspect ratio intact.
Let’s change the direction of the fish at the bottom.
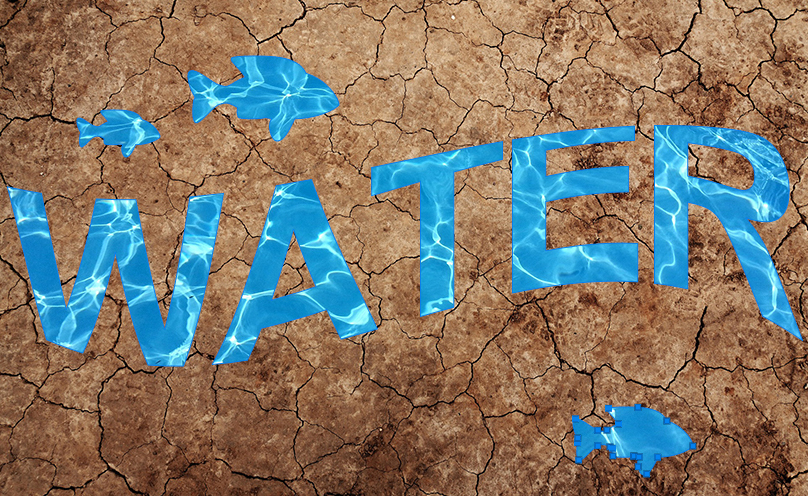
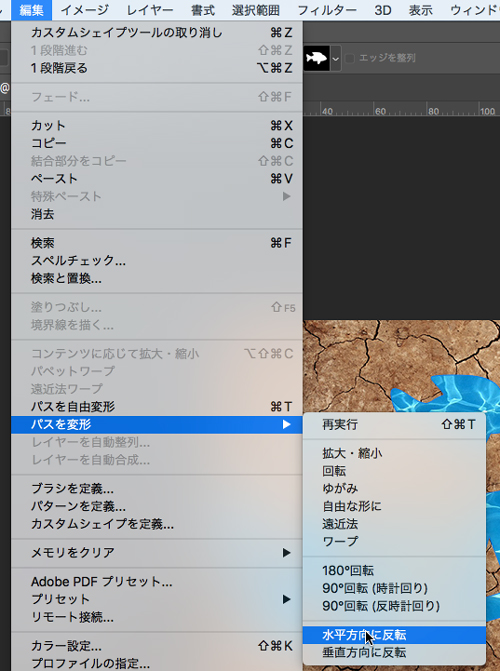
Select the fish below with the Path Component Selection Tool and select [Edit] > [Transform Path] > [Flip Horizontal]
One of them is now facing the opposite direction.
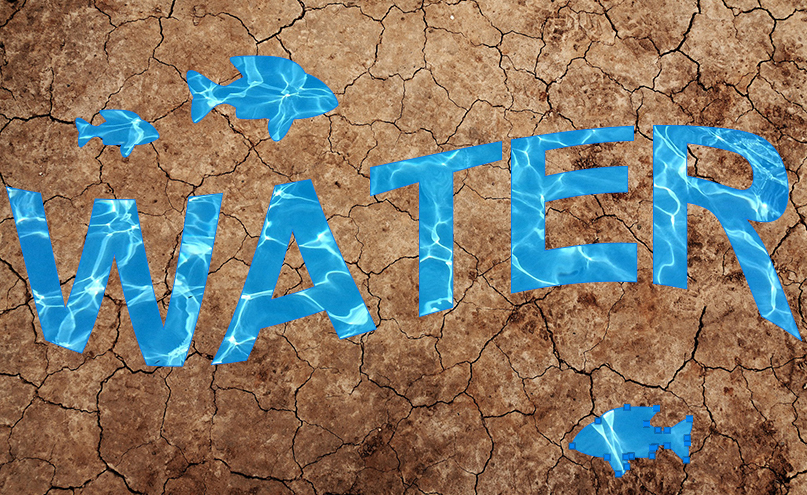
Finished!
Add “Grass 3” from Custom Shape to the bottom left corner for a seaweed.
Now it’s done.
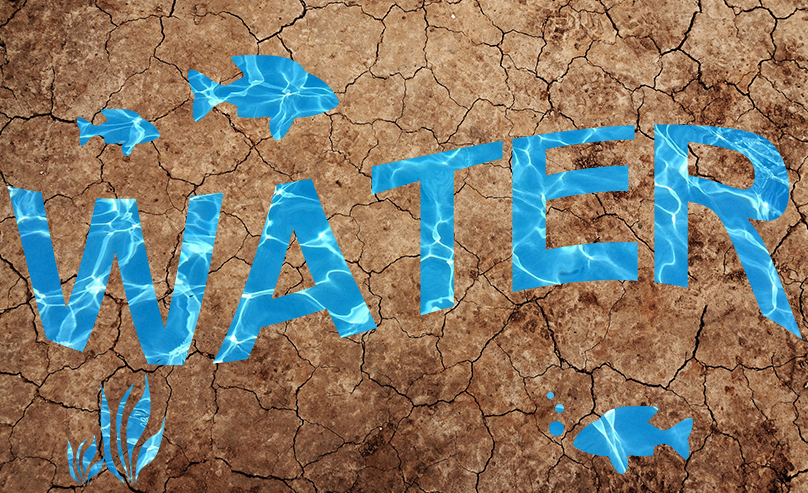
In this time, I shared how to use vector masks as a way to use both text and shapes.
If you use just text, I recommend the way using Clipping Mask.
There are many ways to do this in Photoshop, so I hope this is an example that will help you.


