How to Create Lightning in Photoshop
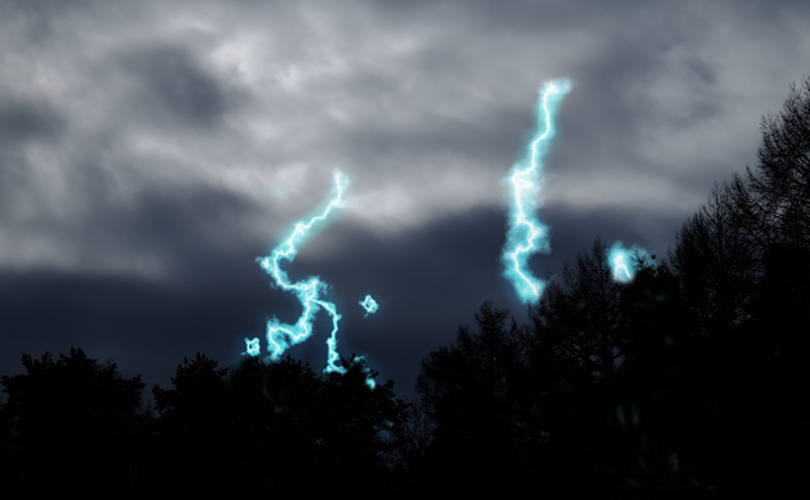
Let me introduce an easy way to make lightning in Photoshop.
Create lightning
First, we need to create a base of lightning.
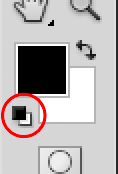
Click on [Default Foreground and Background Colors] at bottom of the tool panel to set the foreground color to black and the background color to white.
Choose [Filter] > [Render] > [Difference Clouds] to create a cloud pattern.
![Choose [Filter]/[Render]/[Difference Clouds] to create a cloud pattern.](https://soft-no-sosa.com/wp/wp-content/uploads/2019/03/d1f8eb137f1df577ca84ec9efb3df9e8.png)
![If you don't like the pattern, try [Difference Clouds] several times.](https://soft-no-sosa.com/wp/wp-content/uploads/2019/03/55237859353f08d1b94658e79fae031f-1.png)
Repeat the process once again.
Clouds are created randomly each time, so if you don’t like it, try [Difference Clouds] several times.
Go to [Image] > [Adjustment] > [Levels] to adjust levels.
![Go to [Image]/[Adjustment]/[Levels] to adjust levels.](https://soft-no-sosa.com/wp/wp-content/uploads/2019/03/058b258120fcc38485c341a4f547229e.png)
Move the Midtone and Highlight input level sliders at the top of the value to the left.
![This time, I set the value to [0 1.42 18].](https://soft-no-sosa.com/wp/wp-content/uploads/2019/03/cd5b47b553e5c0af76ec32271bb04d98-2.png)
Adjust the line so that it is a thin black line. This black area will become a lightning.
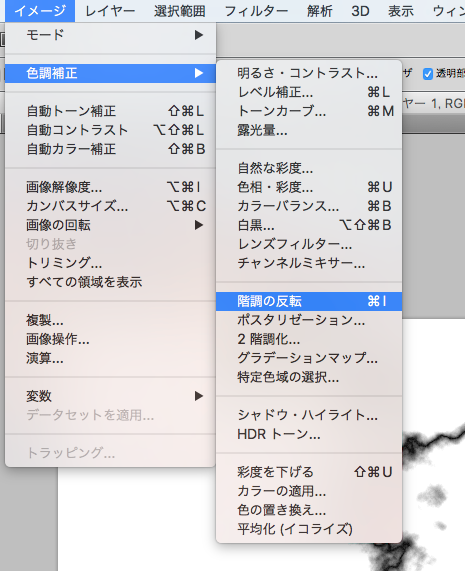
Next, Go to [Image] > [Adjustment] > [Invert].
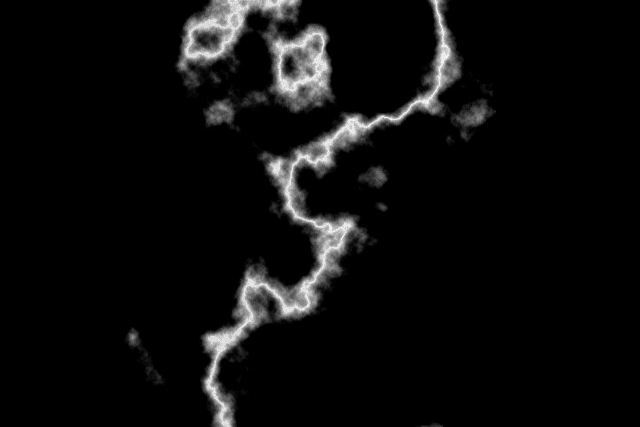
The white background changed to black, creating a lightning base.
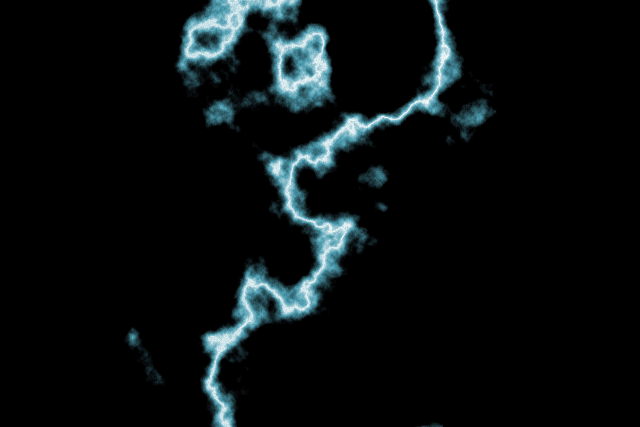
Now, go to the steps to add color to the lightning.
Go to [Image] > [Adjustment] > [Hue/Saturation] and check [Colorize] in the dialog box.
Adjust the slider to change the color as you like while looking at the canvas.
![To add color to the lightning, select [Hue/Saturation] and change the color by choosing [Colorize].](https://soft-no-sosa.com/wp/wp-content/uploads/2019/03/4246c62a8c9b3441074e282cbbe25afe.png)
We were able to make lightning.
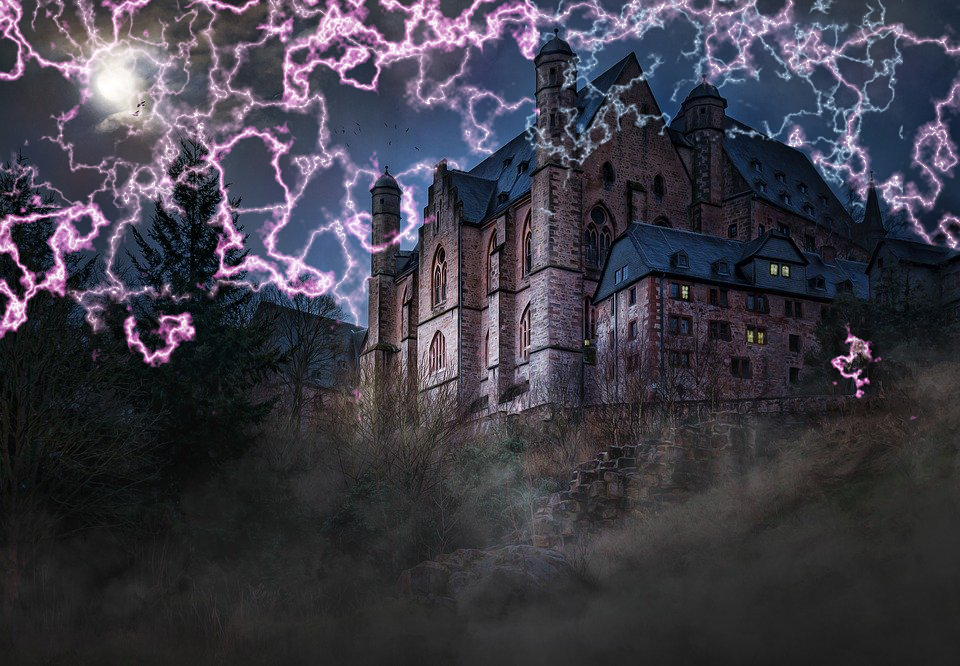
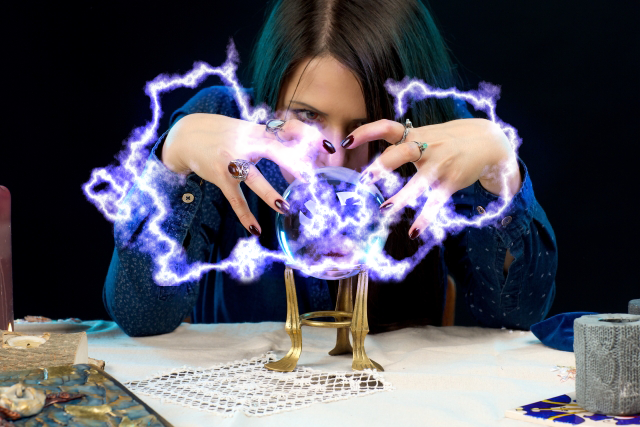
Combining the created lightning with other images
If you want to blend the created lightning with other images, change the [Blending Mode] of the lightning layer to [Screen].
![Change the [Blending Mode] of the lightning layer to [Screen].](https://soft-no-sosa.com/wp/wp-content/uploads/2019/03/237a42be150d9189c0011d6cf262c73f.png)
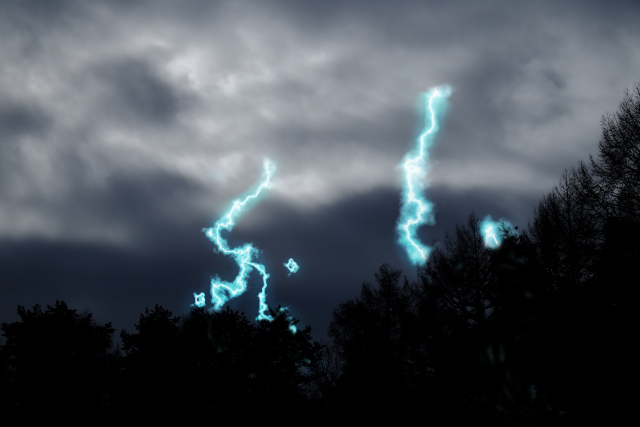
You can copy some parts and increase or transform them to create a different look.
For other effect
The atmosphere changes depending on the lightning color and the photo you combine.
You can use it as a variety of effects.
